Grilled chicken is a staple of summer cookouts, backyard gatherings, and weeknight dinners. Yet, too often it ends up dry, bland, or unevenly cooked. The difference between mediocre and mouthwatering grilled chicken lies not in luck—but in technique. With the right approach on a gas grill, you can achieve tender, juicy meat infused with smoky depth and seasoned to perfection. This guide breaks down the science, timing, and strategy behind consistently excellent grilled chicken.
Selecting and Preparing the Chicken
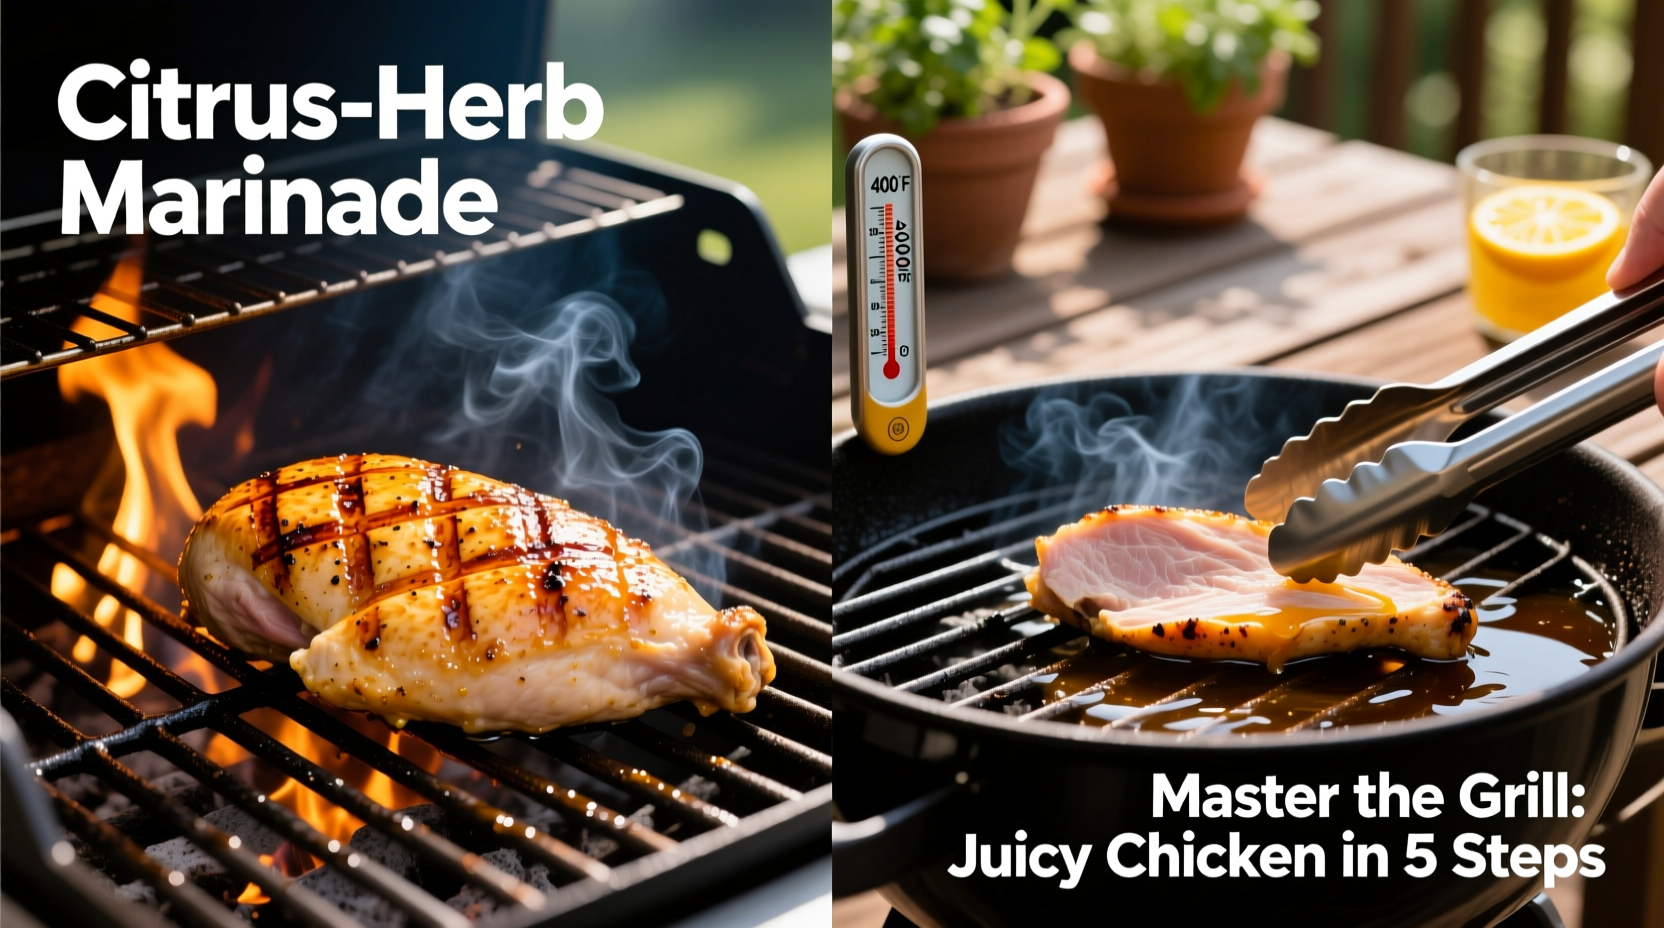
The foundation of great grilled chicken starts long before it hits the grate. Choose high-quality cuts—bone-in, skin-on pieces like thighs and drumsticks retain moisture better than boneless breasts. If using breasts, consider leaving the skin on or brining them to prevent drying out during cooking.
Uniform thickness ensures even cooking. If your chicken breasts are uneven, place them between two sheets of parchment paper and gently pound the thicker end until level. This prevents the thinner part from overcooking while the center reaches a safe temperature.
Tip: Pat chicken dry with paper towels before seasoning. Moisture on the surface inhibits browning and leads to steaming instead of searing.The Science of Flavor: Brining, Marinating, and Dry Rubs
Flavor doesn’t come from the grill alone—it begins with proper seasoning and moisture retention. Three primary methods enhance taste and texture: brining, marinating, and dry rubs.
Brining involves soaking chicken in a saltwater solution (often with sugar and aromatics) for 1–4 hours. This process uses osmosis to pull moisture into the muscle fibers, resulting in juicier meat after grilling. A basic brine: 4 cups water, 1/4 cup kosher salt, 2 tbsp sugar, plus herbs like thyme or rosemary.
Marinating works best with acidic ingredients like lemon juice, vinegar, or yogurt. These help tenderize the outer layer while infusing flavor. For optimal results, marinate for at least 30 minutes, but no longer than 12 hours—especially with citrus-based marinades, which can begin to “cook” the surface.
Dry rubs create a flavorful crust without added moisture. Combine spices such as paprika, garlic powder, onion powder, black pepper, and brown sugar. Apply generously and let sit for 30 minutes before grilling to allow flavors to adhere.
“Moisture management is half the battle. Whether you brine, marinate, or use a dry rub, always give the chicken time to absorb flavor and stabilize temperature.” — Carlos Mendez, Executive Chef & Grilling Instructor
Setting Up Your Gas Grill for Success
A gas grill offers precise temperature control, but only if used correctly. To master chicken, set up a two-zone fire: one side hot for searing, the other off or low for indirect cooking.
Preheat the grill for 10–15 minutes with all burners on high. Then, turn off one burner (or reduce to medium-low), creating a zone of direct and indirect heat. Aim for a sear zone of 375°F–450°F and an indirect zone around 325°F–350°F.
Clean the grates thoroughly with a brass brush, then oil them using tongs and a folded paper towel dipped in vegetable oil. This prevents sticking and promotes even grill marks.
Grill Setup Checklist
- Preheat grill for 10–15 minutes on high
- Establish two zones: direct (high heat) and indirect (low/no heat)
- Clean grates with a grill brush
- Oil grates to prevent sticking
- Keep lid closed during cooking to maintain temperature
Step-by-Step Grilling Process
Follow this timeline for perfectly grilled chicken every time:
- Prepare the chicken: Trim excess fat, pat dry, season with brine, marinade, or dry rub. Let rest at room temperature for 20–30 minutes.
- Preheat and set up the grill: Create two cooking zones as described above.
- Sear the chicken: Place skin-side down (if applicable) over direct heat. Close the lid and sear for 3–5 minutes until golden brown. Flip once—do not move frequently.
- Move to indirect heat: Transfer chicken to the cooler side of the grill. Close the lid and cook through slowly, allowing heat to penetrate evenly.
- Monitor internal temperature: Use an instant-read thermometer. Target temperatures:
- Breasts: 155°F (carryover heat will bring to 165°F)
- Thighs/Drumsticks: 175°F for optimal tenderness
- Rest before serving: Remove chicken from grill and let rest 5–10 minutes. This allows juices to redistribute, preventing dryness when cut.
| Cut of Chicken | Searing Time (per side) | Indirect Cooking Time | Target Internal Temp |
|---|---|---|---|
| Boneless Breast | 3–4 min | 6–8 min | 155°F → 165°F |
| Bone-in Breast | 4–5 min | 15–20 min | 155°F → 165°F |
| Thighs (skin-on) | 5–6 min | 20–25 min | 175°F |
| Drumsticks | 5 min | 25–30 min | 175°F |
Avoiding Common Mistakes
Even experienced grillers make errors that compromise texture and taste. Recognizing these pitfalls improves consistency.
- Overcooking: Relying on time instead of temperature leads to dry chicken. Always use a meat thermometer.
- Flipping too often: Resist the urge to check constantly. One flip is enough to develop a good sear.
- Skipping the rest: Cutting immediately after grilling forces juices to escape, leaving meat dry.
- Using cold chicken: Taking chicken straight from the fridge causes uneven cooking. Let it warm slightly before grilling.
- Opening the lid too much: Every peek drops the temperature and extends cooking time. Trust the process and keep the lid closed.
Real Example: From Dry Disaster to Juicy Triumph
Mark, a home cook in Austin, used to dread grilling chicken breasts. His results were consistently rubbery and tasteless. After switching to a simple brine (1 hour in salted water with garlic and peppercorns), bringing the chicken to room temperature, and using a two-zone setup on his propane grill, everything changed. He seared each side for 4 minutes, moved them to indirect heat, and pulled them at 155°F. After resting, the chicken was moist, with a crisp exterior and deep seasoning penetration. His family now requests grilled chicken weekly.
Frequently Asked Questions
Can I grill frozen chicken?
No. Grilling frozen chicken leads to uneven cooking—burnt outside, raw inside. Always thaw completely in the refrigerator before grilling.
How do I get crispy skin on chicken thighs?
Start skin-side down over direct heat. Press lightly with tongs for full contact. Sear 5–6 minutes without moving, then transfer to indirect heat to finish cooking. Avoid flipping until ready to move zones.
Should I baste the chicken while grilling?
Basting can add flavor, but only during the last 5–10 minutes. Applying sugary sauces too early causes burning. Use butter, herb oil, or glaze near the end for shine and richness.
Final Tips for Consistent Excellence
Great grilled chicken isn’t about complexity—it’s about control. Manage heat, respect carryover cooking, and prioritize moisture retention. Invest in a reliable meat thermometer. Experiment with global flavors: try a Middle Eastern spice blend with cumin and coriander, or a Caribbean jerk marinade with scotch bonnet and allspice. Rotate cuts—dark meat is more forgiving and deeply flavored than breast.
And remember: resting is not passive. It’s the final stage of cooking, where heat equalizes and juices reabsorb. Skipping it wastes all prior effort.
“The grill doesn’t forgive rushing. Patience, precision, and preparation—that’s the trinity of perfect chicken.” — Lena Torres, BBQ Pitmaster & Culinary Educator
Conclusion: Fire Up with Confidence
Mastering juicy, flavorful chicken on a gas grill is within reach for any home cook. By selecting the right cuts, preparing with purpose, managing heat zones, and respecting internal temperatures, you transform a common protein into something extraordinary. No special tools, no secret ingredients—just smart technique applied consistently.
💬 Ready to elevate your next barbecue? Try one new technique this weekend—whether it’s brining, two-zone grilling, or accurate temp monitoring—and share your results in the comments below.