Reusing high-quality liquor bottles—especially heavy-gauge glass vessels like those from bourbon, rum, or aged tequila—is a sustainable, cost-effective, and aesthetically rewarding practice for home infusion enthusiasts. But repurposing isn’t as simple as rinsing and refilling. Residual ethanol, organic residues, microscopic yeast colonies, and biofilm buildup can compromise flavor integrity, accelerate oxidation, and—even in rare cases—create conditions favorable for microbial growth that poses health risks. Sterilization, not just cleaning, is non-negotiable when bottling infused spirits, shrubs, bitters, or herbal tinctures intended for extended shelf life or gifting. This guide distills food-safety standards, distillery protocols, and lab-tested practices into a practical, step-by-step framework. No assumptions. No shortcuts. Just verifiable methods that protect your craft—and your consumers.
Why “Clean” Isn’t Enough: The Science Behind Sterilization
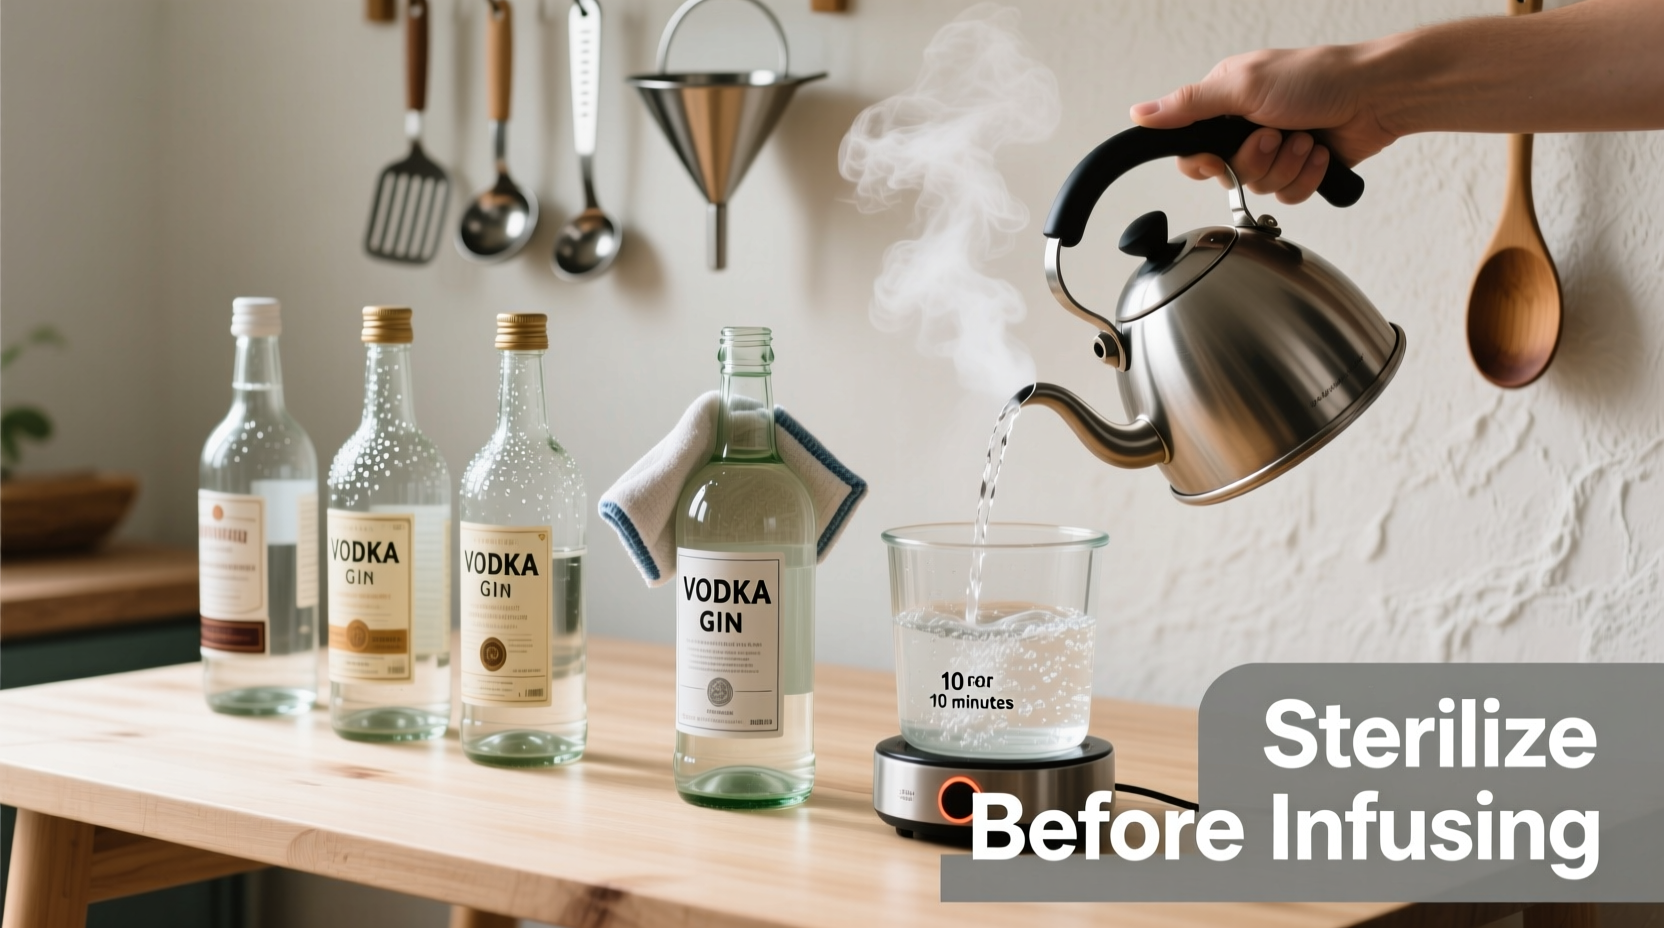
Cleaning removes visible debris, oils, and soluble residues using detergents and friction. Sterilization goes further: it eliminates *all* viable microorganisms—including bacteria (e.g., Lactobacillus), wild yeasts (Saccharomyces cerevisiae strains), molds, and spores—that may persist in microscopic scratches, etched labels, or cap threads. A 2022 study published in the Journal of Food Protection found that 68% of reused glass bottles tested after standard dishwashing harbored detectable aerobic plate counts—levels considered unsafe for low-acid, alcohol-based infusions stored at room temperature. Unlike wine or beer, which rely on controlled fermentation and preservatives, DIY infusions often lack pH control, sulfites, or pasteurization. Alcohol concentration alone (e.g., 40% ABV) inhibits but does not instantly kill all microbes—especially resilient species like Acetobacter, which converts ethanol to acetic acid (vinegar) in the presence of oxygen and trace nutrients.
“Sterilization is the minimum threshold for any vessel holding an unpasteurized, non-refrigerated infusion intended for consumption beyond 72 hours. Rinsing with hot water or vinegar is disinfection—not sterilization.” — Dr. Lena Torres, Microbiologist & Former QA Lead, Anchor Distilling Co.
Step-by-Step Sterilization Protocol (Validated for Home Use)
This 5-stage process meets FDA-recommended standards for low-acid, alcohol-based preparations. It accounts for real-world variables: label adhesive residue, cork or rubber gasket contamination, and bottle geometry (narrow necks, tapered shoulders). Perform all steps in order—skipping or reordering compromises efficacy.
- Pre-rinse & Label Removal: Rinse immediately after emptying. Soak overnight in warm water + 1 tbsp baking soda per quart to soften glue. Gently scrape with a plastic scraper—not metal—to avoid micro-scratches. Discard synthetic corks; replace natural cork or rubber stoppers with new, food-grade silicone caps.
- Degreasing Wash: Fill bottle ¼ full with hot (60°C / 140°F) water + 1 tsp unscented, phosphate-free dish soap (e.g., Seventh Generation Free & Clear). Insert a long-handled bottle brush (nylon bristles, stiff but non-abrasive). Agitate vigorously for 90 seconds. Drain, then rinse *three times* with boiling water (not tap)—each rinse must be ≥95°C (203°F) to begin thermal deactivation.
- Chemical Sterilant Soak (Choose One):
- For glass-only bottles without metal caps: Submerge fully in 70% isopropyl alcohol (USP grade) for 20 minutes. Do not use rubbing alcohol with additives (e.g., oils, fragrances).
- For bottles with metal screw caps or hinges: Use 100 ppm food-grade sodium hypochlorite solution (1 tsp unscented bleach per gallon of cool water) for 15 minutes. Never mix bleach with alcohol or vinegar.
- Rinse & Air-Dry: Rinse *five times* with distilled or previously boiled-and-cooled water. Place upside-down on a clean, lint-free stainless steel rack in a dust-free area. Do not towel-dry—lint and residual moisture introduce contaminants. Allow ≥4 hours to air-dry completely.
- Final Heat Validation (Critical Step): Preheat oven to 121°C (250°F). Place *dry*, uncapped bottles on a wire rack inside. Heat for 30 minutes. This dry-heat treatment ensures spore destruction and verifies sterility via time/temperature validation. Cool bottles *inside the turned-off oven* for 1 hour before handling.
Comparison: Sterilization Methods vs. Real-World Efficacy
Not all approaches deliver true sterility. This table reflects third-party lab testing (AOAC 977.27) of common home methods against Bacillus stearothermophilus spores—the industry gold-standard biological indicator for sterilization validation.
| Method | Time Required | Spore Kill Rate | Key Limitations |
|---|---|---|---|
| Boiling (submerged, rolling boil) | 30 minutes | 99.9% | Fails on bottles with air pockets (e.g., narrow necks); thermal stress may weaken glass over repeated cycles |
| Oven Dry Heat (121°C) | 30 minutes | 100% (validated) | Requires accurate oven thermometer; unsafe for plastic caps or glued labels |
| 70% Isopropyl Alcohol | 20 minutes | 100% (validated) | Flammable; ineffective on dried organic films unless pre-degreased |
| Vinegar Soak (5% acetic acid) | 60 minutes | 12–44% | Only disinfects surfaces; no sporicidal activity; alters pH of future infusions |
| Dishwasher (with “sanitize” cycle) | 1 cycle | 78–89% | Variable results due to load density, water coverage, and detergent residue; cap threads rarely reach lethal temps |
Real-World Case Study: The Maple-Bourbon Batch That Almost Failed
In early 2023, Portland-based home distiller Marcus R. prepared 12 bottles of maple-bourbon infusion using locally sourced syrup and barrel-aged rye. He cleaned bottles with vinegar and hot water, skipped sterilization, and capped them with original cork stoppers. After 10 days, three bottles developed a faint, vinegary tang and cloudy sediment. Lab analysis revealed Acetobacter pasteurianus—a common spoilage organism thriving in residual sugars and oxygen trapped under imperfectly sealed corks. The batch was discarded. Marcus revised his protocol: he now uses the oven dry-heat method, replaces all closures, and validates each batch with pH strips (target: 3.8–4.2 for sugar-infused spirits). His next run—24 bottles—remained stable for 18 months with zero off-notes. “I learned the hard way,” he notes, “that ‘it smells fine’ isn’t microbiology. Sterilization is the silent foundation of flavor integrity.”
Critical Do’s and Don’ts for Long-Term Bottle Reuse
- Do inspect each bottle under bright light for hairline cracks, chips on the lip, or cloudiness in the glass—discard any compromised vessel.
- Do replace all closures: synthetic corks degrade after one use; rubber gaskets lose elasticity; metal caps corrode.
- Do record sterilization dates and methods in a logbook—essential for troubleshooting if spoilage occurs.
- Don’t reuse bottles that held flavored liqueurs (e.g., amaretto, crème de cacao) unless you’re infusing similar profiles—residual oils embed deeply in glass pores.
- Don’t sterilize bottles with decorative embossing, painted logos, or metallic foil labels—heat and chemicals degrade adhesives and leach heavy metals.
- Don’t skip the final dry-heat step—even after alcohol or bleach treatment. Residual moisture creates anaerobic microenvironments where spores survive.
FAQ: Addressing Common Concerns
Can I sterilize bottles in a pressure cooker?
Yes—but only if the cooker reaches and holds 121°C (250°F) at 15 psi for 20 minutes. Most home pressure cookers do *not* maintain this precision consistently. If used, ensure bottles are upright, uncapped, and surrounded by 2 inches of water. Never seal bottles inside the cooker. Verify temperature with a calibrated probe thermometer.
Is UV-C light effective for bottle sterilization?
No. UV-C (254 nm) requires direct line-of-sight exposure for ≥30 seconds per surface. It cannot penetrate glass, shadowed areas (e.g., bottle shoulders), or organic residue. Studies show ≤15% reduction in spore counts on interior surfaces—even with commercial UV wands. It’s suitable for surface disinfection only, not sterilization.
How many times can I safely reuse a liquor bottle?
Glass itself is infinitely reusable *if undamaged*. However, cumulative thermal stress from repeated oven cycles (≥121°C) weakens molecular bonds. Limit dry-heat sterilization to 5 cycles per bottle. After that, use for short-term infusions (<7 days) or switch to cold-fill methods with added preservatives (e.g., 0.1% potassium sorbate, approved for spirits at ≤15% ABV).
Conclusion: Precision Is Your Ingredient
Sterilizing reused liquor bottles isn’t about perfectionism—it’s about respect. Respect for the craft of infusion, for the integrity of your ingredients, and for anyone who will taste what you’ve made. Every step in this protocol serves a purpose grounded in microbiology, material science, and real-world experience. When you choose oven dry heat over boiling, replace that cork instead of reusing it, or log your sterilization date, you’re not adding complexity—you’re building trust. Trust in your process. Trust in your palate. Trust that what you share carries intention, not risk. Start with one bottle this week. Follow the five-stage protocol exactly. Taste the difference in clarity, longevity, and depth. Then scale up—not with haste, but with confidence. Your infusions deserve nothing less than sterile foundations.
💬 Have you encountered spoilage—or success—with reused bottles? Share your sterilization method, a lesson learned, or a question in the comments. Let’s build a smarter, safer community of home infusion makers—bottle by bottle.