Homemade liqueurs carry more than flavor—they carry intention, memory, and care. A hand-labeled bottle of blackberry vanilla cordial or spiced pear brandy gifted to a friend isn’t just a drink; it’s a gesture rooted in time, attention, and craft. But that goodwill can unravel in seconds if the bottle harbors invisible contaminants: dormant yeast, wild bacteria, mold spores, or residual detergent film. These don’t just compromise shelf life—they risk spoilage, off-flavors, haze, carbonation bursts, or, in rare but serious cases, microbial growth that renders the liqueur unsafe. Sterilization isn’t an optional flourish for perfectionists; it’s the non-negotiable foundation of responsible small-batch production. Unlike commercial bottling lines with automated steam tunnels and 121°C autoclaves, home producers work with stovetops, ovens, and chemistry kits—but that doesn’t mean compromise. This guide details proven, accessible, and rigorously tested sterilization protocols tailored specifically to glass liqueur bottles (250–750 mL), factoring in alcohol content, sugar density, pH sensitivity, and post-sterilization handling—all grounded in food safety science and real-world experience.
Why Sterilization Matters More for Liqueurs Than You Think
Liqueurs differ from dry spirits in three critical ways that elevate sterilization urgency: high sugar content (often 25–40% by weight), relatively low alcohol concentration (typically 15–30% ABV), and frequent inclusion of fresh ingredients like citrus zest, herbs, or fruit pulp. Sugar is not just sweetener—it’s a nutrient source for microbes. Alcohol above 35% ABV inhibits most bacteria and yeasts, but below that threshold, osmotic stress from sugar becomes the primary preservative—and only if the environment starts sterile. Introduce even a single viable Saccharomyces cerevisiae cell into a 22% ABV cherry liqueur with 32% sugar, and within 10 days at room temperature, you may see fermentation restart: pressure buildup, cloudiness, or sour notes. Worse, Lactobacillus or Acetobacter can convert residual sugars or ethanol into lactic or acetic acid, yielding vinegar-like sharpness or buttery diacetyl off-notes. Unlike wine or beer, liqueurs are rarely filtered or sulfited, leaving them uniquely vulnerable to post-bottling contamination.
“Sterilization failure in small-batch liqueurs is almost always traced to one of two errors: assuming ‘clean’ equals ‘sterile,’ or allowing sterilized bottles to contact unsterilized surfaces during cooling or filling. The bottleneck isn’t equipment—it’s process discipline.” — Dr. Lena Torres, Food Microbiologist & Fermentation Safety Advisor, Cornell CALS
The Four Valid Sterilization Methods (and Which One to Choose)
Not all “cleaning” methods achieve sterilization—the complete destruction of all microbial life, including heat-resistant spores. For home use, four approaches meet USDA and FDA guidance for low-acid, high-sugar beverages when executed correctly. Each has distinct advantages, limitations, and ideal use cases:
| Method | Required Equipment | Time Required | Best For | Critical Limitations |
|---|---|---|---|---|
| Boiling Water Immersion | Large pot, rack or towel, thermometer | 20–30 min active + 5 min cooling | Bottles up to 500 mL; standard glass (not thin-walled or antique) | Not suitable for bottles with metal caps, cork stoppers, or glued labels; thermal shock risk if cooled rapidly |
| Dry Heat (Oven) | Conventional oven, wire rack, oven mitts | 45–60 min at 121°C (250°F) + 10 min cooling in oven | All glass bottles, including those with narrow necks or irregular shapes; no water contact needed | Cannot sterilize rubber gaskets, plastic liners, or cork; requires precise oven calibration |
| Chemical (Food-Grade Peroxide) | 3% hydrogen peroxide solution, spray bottle or immersion tray, distilled water rinse | 10 min contact + 2 rinses + air-dry | Delicate bottles (antique, cut crystal), bottles with closures attached, or when heat sources unavailable | Must use *food-grade* peroxide only; improper rinsing leaves residue affecting flavor; ineffective against biofilm without scrubbing |
| UV-C Light (254 nm) | Commercial-grade UV-C chamber (≥15 mJ/cm² dose) | 15–25 min per batch (depends on chamber size) | High-volume producers; bottles pre-cleaned and completely dry | Does not penetrate shadows, dust, or moisture films; zero effect on interior surfaces if bottle isn’t rotated; not a substitute for cleaning |
A Step-by-Step Sterilization Protocol (Boiling Method)
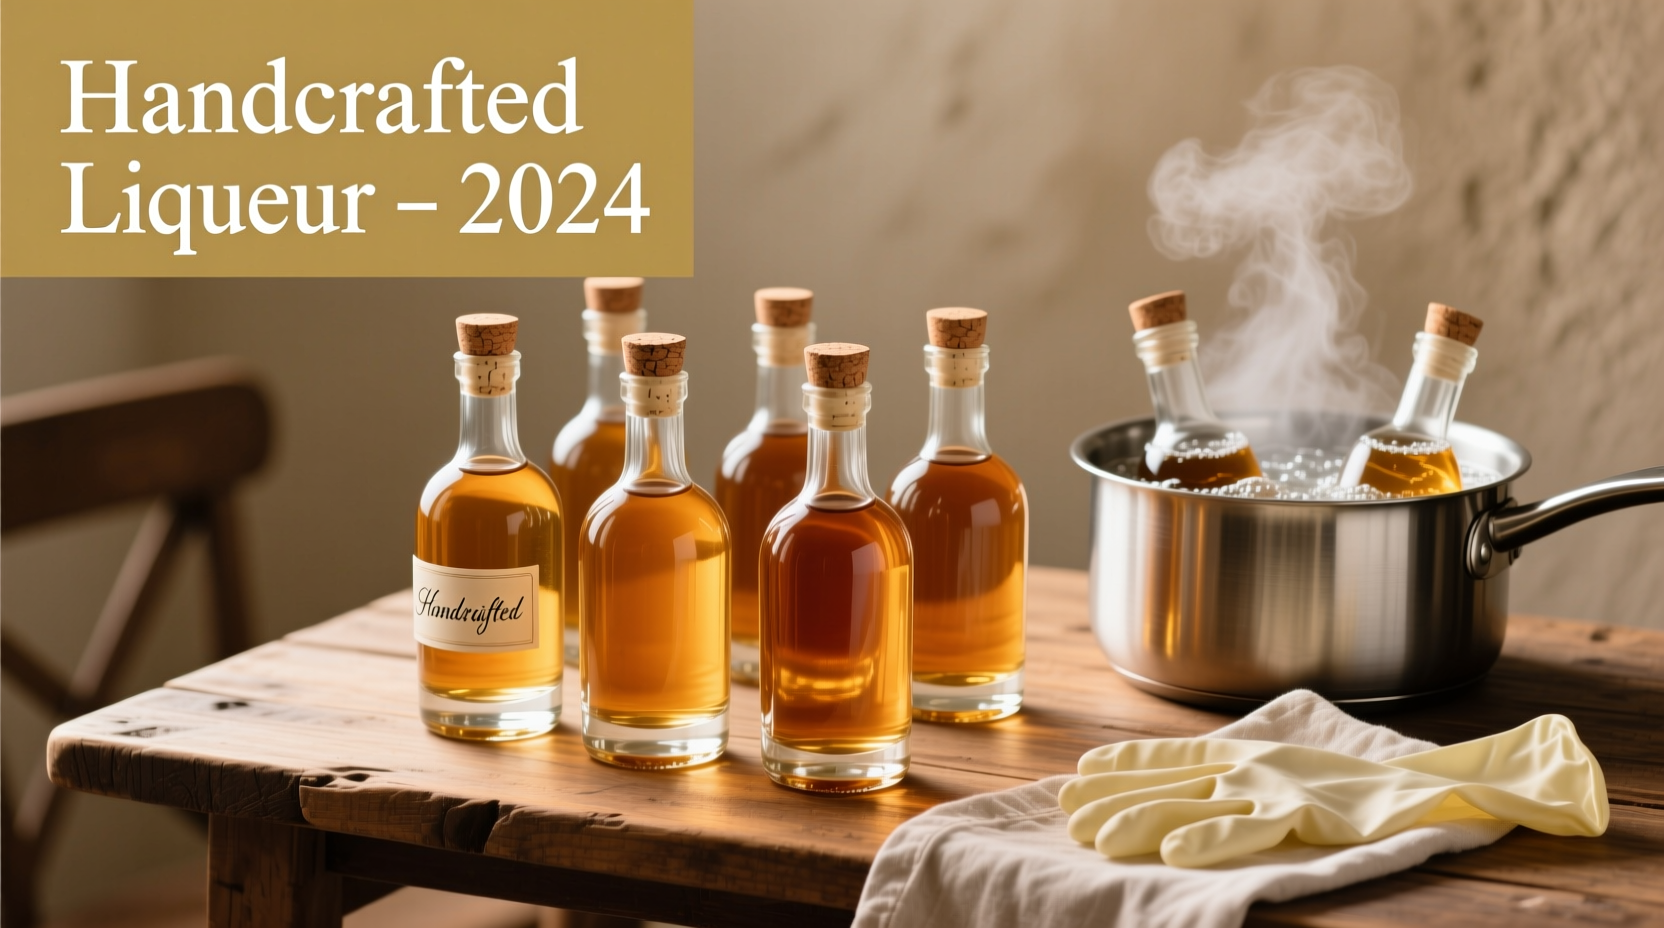
The boiling water method remains the gold standard for most home producers due to its reliability, accessibility, and verifiable temperature control. Follow this sequence precisely—deviations of even 2–3 minutes or 5°C reduce efficacy significantly.
- Pre-clean thoroughly: Wash bottles and closures in hot, soapy water using a bottle brush. Rinse *three times* with hot tap water, then once with boiled-and-cooled distilled water to remove mineral deposits and detergent residue.
- Inspect for flaws: Hold each bottle up to bright light. Discard any with chips, cracks, or etched scratches—microbes colonize these imperfections irreversibly.
- Prepare the bath: Fill a large stainless steel or enamel pot with enough water to submerge bottles fully by 2.5 cm (1 inch). Place a wire rack or folded kitchen towel on the pot’s base to prevent direct glass-to-metal contact.
- Load carefully: Place bottles upright on the rack. Do *not* stack or nest. Add closures separately—screw caps only (no rubber gaskets); boil for 10 minutes. Corks and synthetic stoppers must be sterilized separately via steam or peroxide.
- Heat and hold: Bring water to a vigorous, rolling boil. Insert a calibrated candy or digital probe thermometer. Once water reaches and maintains 100°C (212°F) at sea level, start the timer. Boil for exactly 25 minutes. (At elevations >300 m / 1,000 ft, add 1 minute per 150 m of elevation.)
- Cool safely: Turn off heat. Let bottles sit in hot water for 5 minutes. Using sterilized tongs, lift each bottle, invert briefly to drain excess water, then place upright on a clean, lint-free cotton towel in a draft-free area. Do *not* wipe interiors or use paper towels—fibers and chemicals contaminate.
- Fill within 30 minutes: Bottles must be filled while still warm (≥60°C interior surface) and within 30 minutes of removal from water. Cool bottles attract airborne microbes and condensation forms inside, creating a moist habitat.
Real-World Pitfall: The Case of the Exploding Elderflower Cordial
In spring 2022, Maria R., a home distiller in Vermont, prepared 24 bottles of elderflower cordial (24% ABV, 38% sugar) as holiday gifts. She washed bottles in vinegar-water, rinsed, and air-dried them overnight. Confident they were “clean,” she filled them the next morning. By week three, six bottles had swollen caps and faint hissing sounds. One burst open in her pantry, coating cabinets in sticky, fermented liquid. Lab analysis revealed Zygosaccharomyces bailii—a notoriously osmotolerant yeast that survives high sugar and moderate alcohol. It wasn’t in her syrup (which was boiled pre-bottling); it was introduced via unsterilized bottles. The vinegar rinse removed visible grime but did nothing to kill spores. Maria repeated the process using the boiling protocol above—25 minutes at 100°C—and delivered 36 flawless bottles the following season. Her lesson? Cleaning removes dirt. Sterilization removes life. Never conflate the two.
Closures, Labels, and Post-Sterilization Handling
Sterilizing the bottle is only half the equation. Closures introduce equal risk—and require method-specific treatment:
- Screw caps with plastisol liners: Boil for 10 minutes. Do *not* reuse liners—heat degrades their seal integrity after one cycle.
- Corks (natural or agglomerated): Steam for 15 minutes in a bamboo steamer over boiling water, or soak in 70% ethanol for 20 minutes, then air-dry 1 hour. Never boil—corks disintegrate and leach tannins.
- Wax seals: Melt food-grade sealing wax *immediately* before application. Pre-melted wax cools too fast, creating micro-gaps where air enters.
- Labels: Apply only after bottles cool to ambient temperature and liqueur has equilibrated (minimum 48 hours). Wet labels create moisture traps between glass and adhesive, encouraging mold at the label’s edge—even in sterile product.
Post-sterilization handling is where most failures occur. Maintain a “sterile zone”: clear a countertop, wipe with 70% isopropyl alcohol, cover with fresh parchment paper, and keep pets, fans, and open windows away. Fill bottles using a sanitized funnel and food-grade tubing—never pour directly from a jug. If filling takes longer than 30 minutes, re-sterilize remaining bottles.
FAQ: Your Top Sterilization Questions Answered
Can I sterilize bottles in the dishwasher?
No—not reliably. Most residential dishwashers max out at 71–77°C (160–170°F) during the “sanitize” cycle, far below the 100°C required to destroy bacterial endospores like Geobacillus stearothermophilus. Detergent residues also persist and interact with liqueur compounds, causing haze or bitterness. Dishwashers are excellent for pre-cleaning, never for sterilization.
Do I need to sterilize bottles if my liqueur is over 30% ABV?
Yes. While ethanol above 30% ABV slows microbial growth, it does not sterilize. Debaryomyces hansenii, a yeast common in high-sugar, high-salt environments, grows readily at 35% ABV. Sterilization ensures your liqueur’s stability rests on *your control*, not probabilistic inhibition.
How do I know my oven is really at 121°C for dry heat?
Oven dials are notoriously inaccurate. Place a calibrated oven thermometer (tested against boiling water at your elevation) on the center rack. Preheat for 20 minutes, then verify temperature. If it reads below 118°C or above 124°C, adjust the dial and retest. Run the sterilization cycle only when stable at 121°C ±1°C for 10 consecutive minutes.
Conclusion: Sterilization Is the Silent Signature of Craft
When someone uncorks your homemade sloe gin or lavender honey liqueur, they’re tasting more than botanicals and time—they’re tasting your standards. Sterilization isn’t about fear of failure; it’s about honoring the recipient’s trust, protecting your reputation as a maker, and ensuring every bottle delivers exactly what you intended: clarity, balance, and uncompromised quality. It adds 30 focused minutes to your process—but saves weeks of disappointment, months of lost ingredients, and the quiet sting of a gifted bottle returned with a hesitant “It’s… fizzy?” Master one method—boiling for beginners, oven for versatility, peroxide for heirlooms—and practice it with ritual consistency. Then fill, seal, label, and share not just a drink, but confidence made liquid.
💬 Have a sterilization success—or a hard-won lesson? Share your experience in the comments. Your insight could prevent someone else’s burst bottle and strengthen our community of careful, conscientious makers.