Every parent or teacher has faced the same frustrating moment: a child reaches for their favorite marker during an art project, only to find it’s dried out and useless. Instead of tossing them into the trash, there are several quick, reliable ways to bring those markers back to life. With just a few common household items and a little patience, you can save money, reduce waste, and keep creative time flowing smoothly. This guide walks through proven techniques that work on both water-based and alcohol-based markers—safely and effectively.
Why Markers Dry Out (And How to Prevent It)
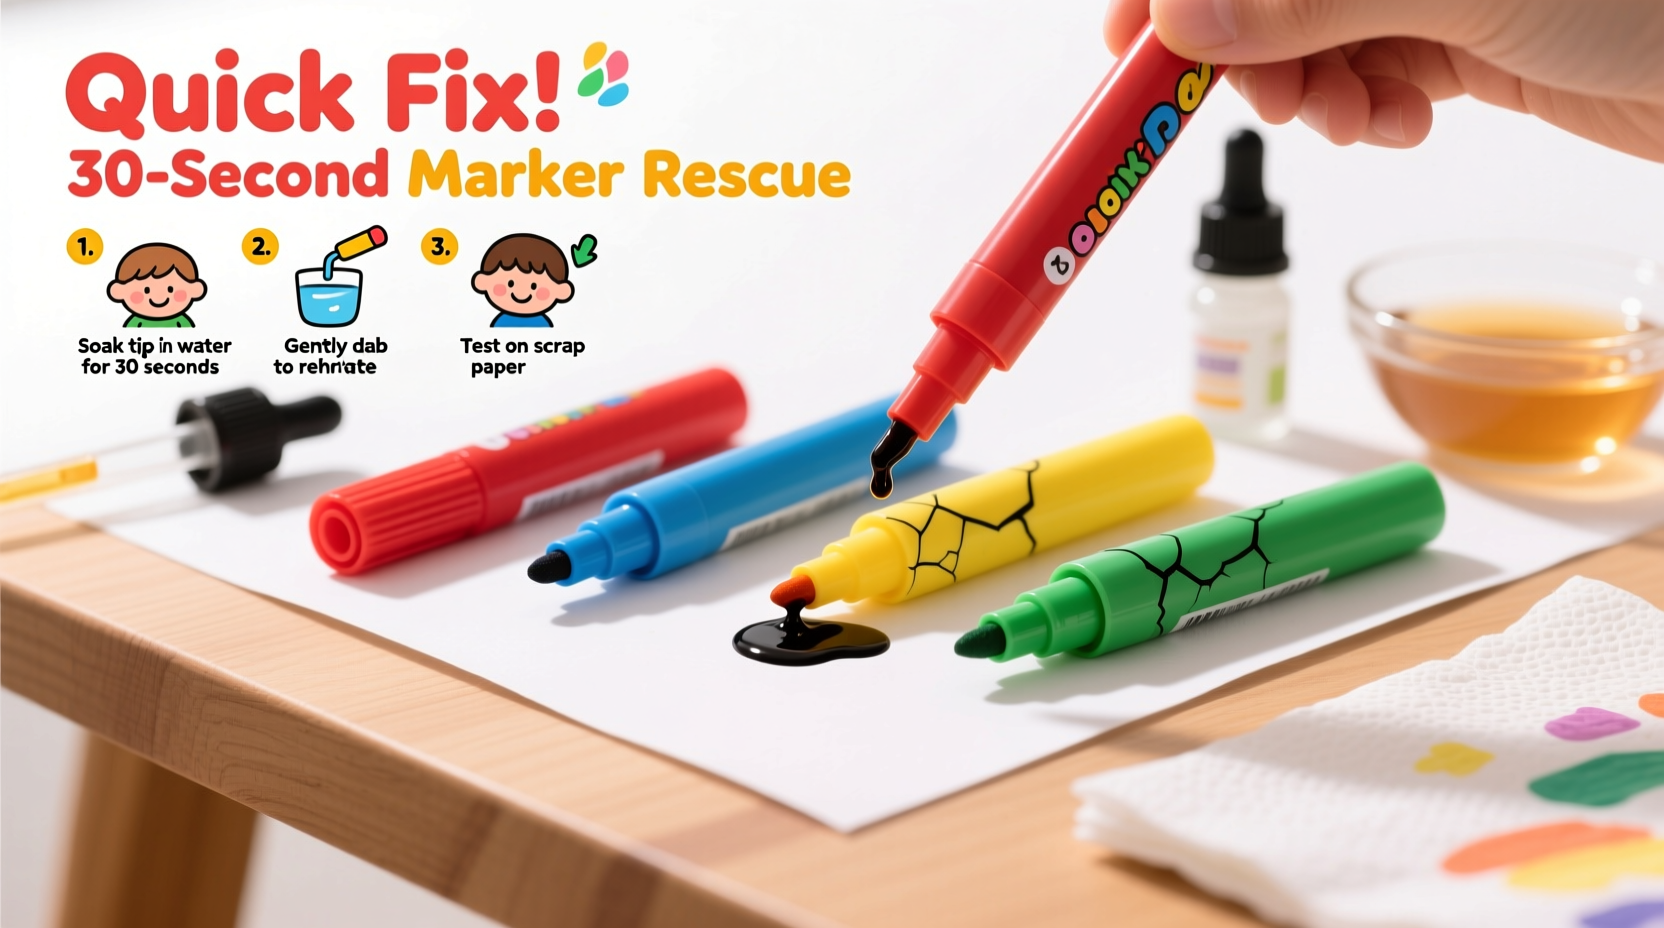
Markers dry out when the ink evaporates from the tip or reservoir due to exposure to air. This happens most often when caps aren’t sealed tightly or are left off for too long. Water-based markers like Crayola or washable kids’ brands lose moisture quickly in warm, dry environments. Alcohol-based markers such as Sharpies or Copic pens are more stable but still vulnerable over time, especially if stored upright (which pulls ink away from the nib).
The good news is that drying isn’t always permanent. In many cases, the ink reservoir still contains usable liquid—it just needs rehydration. The key is acting early before complete desiccation occurs.
Tip: Always store markers horizontally with caps securely closed to maintain even ink distribution and minimize evaporation.Step-by-Step Guide: 5 Fast Methods to Revive Dried Markers
Below are five practical, tested methods for reviving dried markers. Each works best under specific conditions, so choose based on the type of marker and severity of drying.
Method 1: Warm Water Soak (Best for Washable Kids’ Markers)
This method is ideal for non-toxic, water-based markers commonly used by children. It's safe, simple, and often effective within minutes.
- Fill a small bowl with warm (not boiling) water—about 1 inch deep.
- Submerge only the marker tip downward for 5–15 minutes.
- Remove and gently test on paper. If faint, repeat for another 5 minutes.
- Dab excess water and recap immediately after use.
Warmth helps loosen dried pigment while water rehydrates the felt tip. Avoid soaking the entire body—this can cause leaks or label damage.
Method 2: Rubbing Alcohol Revival (For Permanent & Alcohol-Based Markers)
When dealing with stubborn permanent markers like Sharpies, water won't cut it. Isopropyl alcohol (rubbing alcohol) mimics the solvent base of these inks and can restore flow.
- Pour rubbing alcohol (70% or higher) into a shallow container.
- Place the marker tip-down in the liquid, ensuring only the tip is submerged.
- Wait 30 minutes to several hours, depending on dryness level.
- Test on scrap paper. Reinsert if output remains weak.
This method works because alcohol dissolves clogged ink particles and replenishes the volatile carrier fluid needed for smooth delivery.
Tip: Use a dropper to add a few drops of rubbing alcohol directly into the marker barrel if you're comfortable disassembling it—but this should be done cautiously and kept away from children.Method 3: Cap Sealing Trick (Passive Reactivation)
Sometimes, all a marker needs is time and moisture retention. If the marker hasn’t been unused for months, simply sealing it properly may revive it.
- Dip the tip lightly in water (for washable) or alcohol (for permanent).
- Replace the cap tightly.
- Store horizontally in a cool place for 6–12 hours.
- Test again—the cap traps humidity, allowing slow reabsorption.
This low-effort trick leverages basic physics: trapped vapor re-moisturizes the nib over time. It's perfect when you need results without immediate action.
Method 4: Steam Exposure (Gentle Moisture Infusion)
Steam delivers moisture without oversaturating the marker—a great middle ground between soaking and passive sealing.
- Boil water in a kettle or pot.
- Hold the marker tip about 1–2 inches above the steam for 10–20 seconds.
- Cap immediately and wait 30 minutes before testing.
The heat opens the pores of the felt tip, letting vapor penetrate deeply. Be careful not to hold too close—excessive heat can warp plastic barrels.
Method 5: Marker Refill Kits (Long-Term Solution)
For frequent users—especially classrooms or craft-heavy homes—marker refill kits offer a sustainable fix. These include bottles of replacement ink and syringes for precise injection.
- Remove the marker cap and pull out the ink core (if possible).
- Use a syringe to inject matching color ink into the reservoir.
- Reassemble and let sit for an hour before use.
While slightly more involved, refilling extends marker life significantly and reduces plastic waste. Brands like Copic make this easy, but universal kits now exist for common types including Sharpie-style markers.
Comparison Table: Best Method by Marker Type
| Marker Type | Recommended Method | Time Required | Success Rate |
|---|---|---|---|
| Washable Kids’ Markers | Warm Water Soak | 5–15 min | High |
| Permanent Markers (Sharpie, etc.) | Rubbing Alcohol Soak | 30 min – 2 hrs | Very High |
| Felt-Tip Highlighters | Cap Sealing + Light Dip | 6–12 hrs | Moderate |
| Alcohol-Based Art Markers | Refill Kit or Alcohol Soak | 30 min – 1 hr | High |
| Unknown / Mixed Types | Steam Method | 10–20 sec + 30 min wait | Moderate |
Do’s and Don’ts When Reviving Markers
- Do label containers when soaking multiple colors to avoid mix-ups.
- Do supervise children during revival processes involving alcohol or hot water.
- Do store revived markers horizontally to preserve renewed ink flow.
- Don’t soak markers overnight—this can degrade internal components.
- Don’t use tap water for alcohol-based markers—it can create sludge.
- Don’t shake markers vigorously; it may introduce air bubbles or leaks.
Mini Case Study: Reviving Classroom Supplies on a Budget
A third-grade teacher in Portland, Oregon, noticed her students were going through markers at an alarming rate—nearly two packs per week. Concerned about cost and environmental impact, she began collecting “dead” markers in a labeled bin instead of discarding them.
Over one weekend, she tested the rubbing alcohol and warm water methods on 47 dried markers. Of those, 38 came back to full functionality, nine showed partial improvement, and only two were beyond saving. She stored the revived ones horizontally in labeled bins and taught her students the cap-sealing trick for future maintenance.
Within a month, marker consumption dropped by 60%. The students also learned lessons in sustainability and problem-solving. “It turned a frustration into a science lesson,” she said. “Now they ask, ‘Can we try to fix it first?’ instead of reaching for a new one.”
Expert Insight: What Professionals Say About Marker Care
“Most markers don’t die—they dehydrate. Simple rehydration techniques can restore up to 90% of seemingly unusable markers, especially in educational settings where usage is high but budgets are tight.” — Dr. Lena Torres, Educational Resource Sustainability Consultant
“Storing markers tip-up is the biggest mistake people make. Gravity pulls ink down, starving the nib. Horizontal storage maintains consistent saturation.” — Marcus Reed, Industrial Designer specializing in writing instruments
Checklist: How to Revive and Maintain Markers Effectively
✅ Quick Action Plan:
- Identify marker type (water-based vs. alcohol-based)
- Choose appropriate revival method from this guide
- Gather supplies: warm water, rubbing alcohol, bowls, timer
- Soak or treat tips according to instructions
- Test on scrap paper after treatment
- Recap tightly and store horizontally
- Implement a weekly check for early-dry markers
- Educate kids on proper cap discipline
- Consider investing in refillable marker sets for long-term savings
Frequently Asked Questions
Can I use vinegar or soda to revive dried markers?
No. Vinegar is acidic and can corrode internal materials. Soda contains sugar, which will gum up the tip and attract insects. Stick to distilled water, warm tap water, or isopropyl alcohol depending on the marker type.
How long do revived markers last after treatment?
Revived markers typically last anywhere from a few days to several weeks, depending on frequency of use and post-revival care. Proper storage dramatically extends their second life. Some treated markers perform as well as new if maintained correctly.
Are these methods safe for young children to try?
With supervision, yes. The warm water soak is safest for kids aged 5+. Alcohol-based methods should be handled by adults due to flammability and chemical exposure risks. Always conduct treatments in well-ventilated areas and keep substances out of reach afterward.
Conclusion: Turn Waste Into Wonder
Dried-out markers don’t have to mean the end of creativity. With simple household tools and a bit of know-how, you can breathe new life into old supplies and keep kids’ art projects moving forward without interruption. These revival techniques aren’t just economical—they teach responsibility, resourcefulness, and environmental awareness.
Whether you’re a parent managing a home craft drawer or a teacher overseeing a bustling classroom, taking a few minutes to revive markers pays dividends in savings and sustainability. Start today: gather your dried markers, pick a method, and watch color come back to life.
💬 Have a favorite marker revival hack? Share your experience in the comments below and help other families and educators save supplies and spark creativity!