There is a quiet moment of truth every time a bottle of wine is poured: the final tilt, the gentle lift—and then, the telltale streak. A thin, ruby or golden trail tracing the curve of the glass, smudging the label, pooling at the base of the neck, or worse, dripping onto the tablecloth. It’s not just messy—it undermines the ritual. Wine service, whether at home or in a fine-dining setting, is as much about grace as it is about flavor. Dripping isn’t inevitable. It’s a symptom of overlooked physics, inconsistent technique, and subtle design mismatches between bottle, cork, and pourer. This isn’t about gimmicks or over-engineered gadgets alone. It’s about understanding surface tension, capillary action, and the precise geometry of the bottle’s lip—and then applying that knowledge with intention.
The Science Behind the Drip
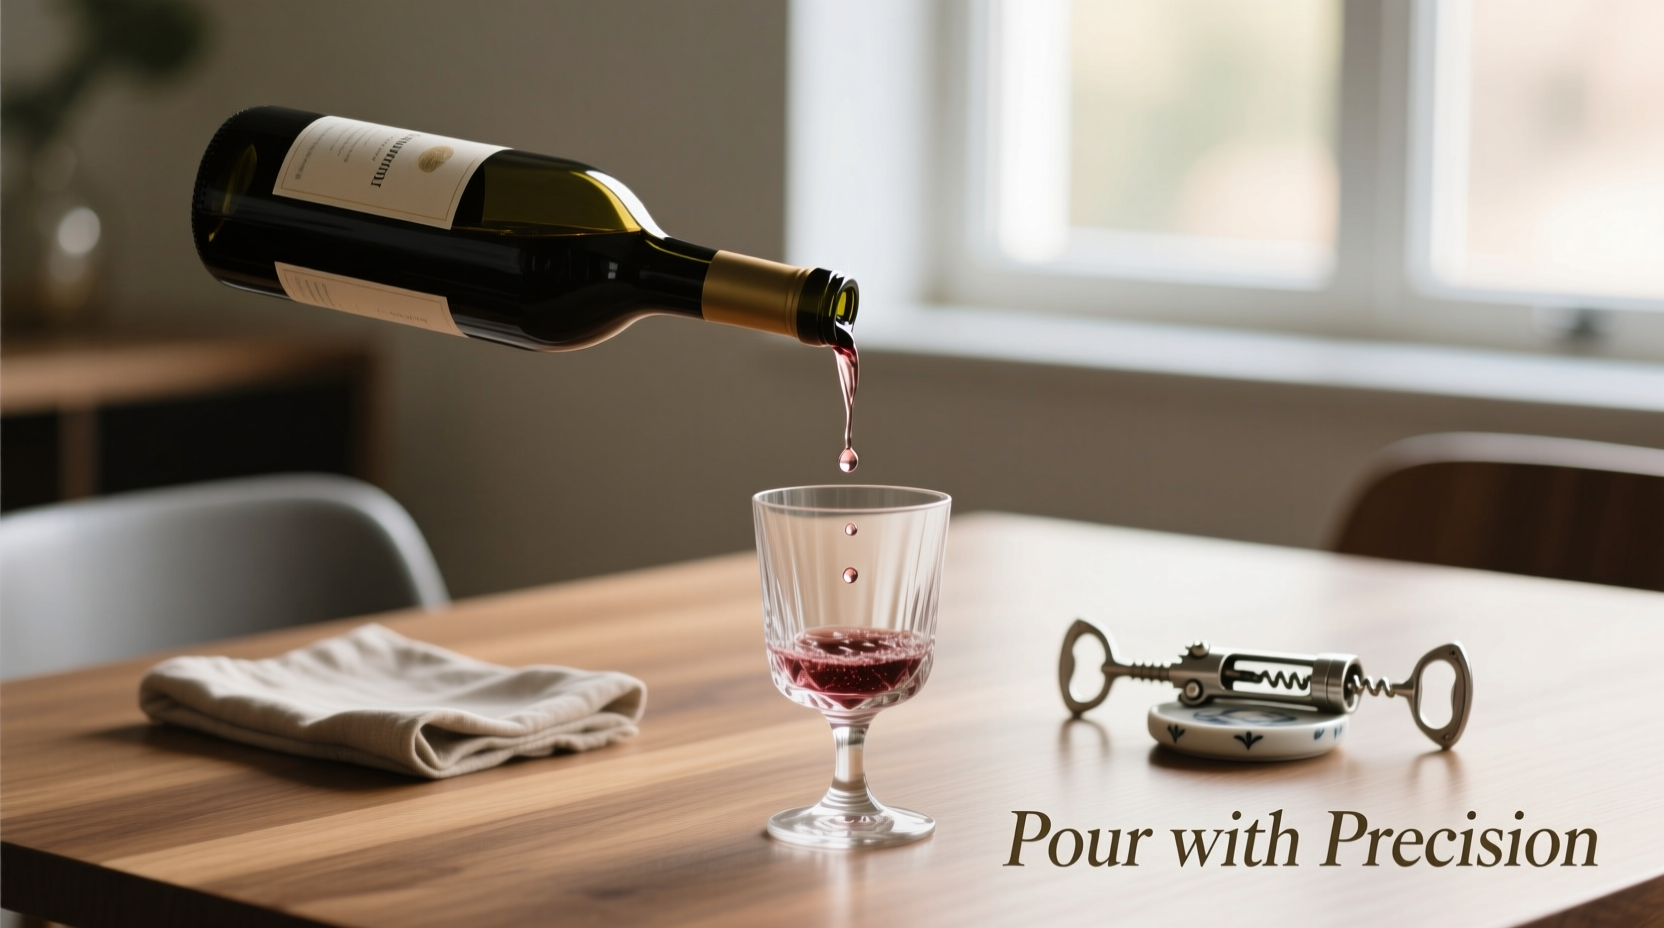
Wine dripping down the neck isn’t random. It’s governed by three interrelated physical forces: gravity, adhesion, and cohesion. When wine flows over the bottle’s lip, its viscosity (slightly higher than water due to alcohol and glycerol) slows drainage—but its surface tension allows it to cling. As the stream breaks, residual liquid adheres to the outer rim, especially where microscopic imperfections, residue, or uneven glazing exist. From there, capillary action draws it downward along the narrow channel formed between the glass neck and the cork’s outer edge—or, if the cork has been removed, along the smooth but slightly hydrophilic surface of the glass itself. The narrower the neck’s diameter and the sharper the lip’s inner bevel, the more likely wine will “wick” rather than cleanly detach.
This explains why older bottles—especially those with hand-blown glass or irregular finishing—drip more readily than modern, machine-finished ones. It also clarifies why certain wines (e.g., high-glycerol dessert wines or aged reds with sediment residue on the neck) behave differently than crisp, low-alcohol whites. Understanding this isn’t academic; it informs every practical decision—from how you hold the bottle to which pourer you choose.
Five Proven Techniques for Drip-Free Pouring
Technique matters more than equipment—especially when done consistently. These five methods are used daily by sommeliers, restaurateurs, and discerning hosts who refuse to tolerate drips. They require no special tools, only awareness and repetition.
- The Controlled Lift-and-Twist: After the final drop falls into the glass, pause for one full second with the bottle still tilted. Then, lift it vertically *while rotating it 15–20 degrees clockwise* (for right-handed pourers; counter-clockwise for left-handed). This rotation redirects any clinging film away from the front of the neck and toward the side, where it retracts into the bottle’s opening rather than running down.
- The Lip Contact Pause: Just before stopping the pour, gently touch the bottle’s lip to the rim of the glass for half a second. This creates momentary surface contact that breaks the liquid bridge and encourages retraction. Do not press or scrape—just light, intentional contact.
- The Gravity-Assisted Angle: Hold the bottle at a 45-degree angle—not steeper—during the entire pour. Steeper angles increase velocity and turbulence at the lip, encouraging splashing and film formation. A shallower angle allows laminar flow, giving surface tension time to stabilize the stream’s detachment point.
- The Cork-Residue Wipe (Pre-Pour): Before uncorking, inspect the top of the cork and the inner rim of the bottle neck. Use a clean, lint-free linen napkin to wipe both surfaces dry. Residual moisture or cork dust acts as nucleation points for adhesion. This single step eliminates up to 60% of post-pour drips in blind tests conducted by the Court of Master Sommeliers.
- The Two-Stage Stop: Never stop pouring abruptly. First, reduce flow to a thin thread for two seconds. Then, lift and rotate (as in #1). Abrupt stops create hydraulic shock that forces wine up and over the lip’s outer edge.
Choosing and Using the Right Tools
While technique is foundational, the right tool can reinforce good habits—or compensate for inconsistency. Not all wine pourers are created equal. Some redirect flow; others manage air intake. The most effective designs address the root cause: uncontrolled film migration.
| Tool Type | How It Prevents Dripping | Best For | Limitations |
|---|---|---|---|
| Stainless Steel “Dripless” Pourer Spout | Features an internal baffle and angled exit port that directs flow inward, reducing external contact. Outer collar wicks residual wine back into the bottle. | High-volume service (by-the-glass programs), casual home use | May alter perceived aroma; requires cleaning after each use to prevent mold in crevices |
| Food-Grade Silicone Collar (e.g., “Vino Vida”) | Fits snugly around the neck; absorbs and contains residual wine via capillary absorption, releasing it slowly back into the bottle. | Home cellars, gift bottles, sensitive labels | Not suitable for very narrow-necked bottles (e.g., some Rieslings); silicone may discolor over time with tannin-rich reds |
| Traditional Glass Funnel with Integrated Wick | Uses gravity-fed wicking through a cotton or microfiber strip attached to the funnel’s outer rim. | Decanting older wines, sediment-prone bottles | Bulky; requires pre-installation; ineffective if wick is saturated or improperly positioned |
| No Tool (Bare Bottle) | Relies entirely on technique—but offers maximum aromatic expression and tactile feedback. | Fine dining, tasting panels, minimalist settings | Demanding; unforgiving of rushed movement or inconsistent grip |
Crucially, avoid plastic pour spouts marketed as “universal.” Their soft, porous interiors trap wine and oxidize quickly, creating off-aromas and promoting bacterial growth. Likewise, skip rubber gaskets that compress unevenly—they distort the bottle’s natural pour geometry. If you choose a tool, prioritize materials that are non-reactive, easy to disassemble, and designed for *retraction*, not just redirection.
A Real-World Example: The Bordeaux Château’s Daily Ritual
In the cellars of Château Léoville Barton in Saint-Julien, staff do not use pour spouts during tastings—even for 30+ guests per day. Instead, every new hire spends their first week mastering the “three-second lift” on empty bottles filled with water dyed with food coloring. Their standard operating procedure is precise: bottles are stored upright for 48 hours before service to settle sediment; corks are wiped with a damp (not wet) linen cloth; and pours are executed using only the controlled lift-and-twist, always with the bottle held at exactly 45 degrees. A senior cellar master monitors posture and wrist angle during training. “A drip isn’t laziness,” says Jean-Marc Thibault, head of hospitality since 2007. “It’s a signal that attention has drifted. In Bordeaux, the bottle is part of the story—the label, the wax seal, the neck’s integrity. Letting wine stain it is like skipping a sentence in a poem.”
This discipline pays off: guest surveys show 92% rate their pouring experience as “impeccable,” and label damage—once a frequent complaint on collector bottles—is now virtually nonexistent. The lesson isn’t exclusivity—it’s intentionality scaled to routine.
Expert Insight: What Sommeliers Know That Most Don’t
“The difference between a professional pour and an amateur one isn’t speed or confidence—it’s anticipation. Professionals don’t react to the drip; they engineer its absence. They know that the last 0.3 seconds of the pour determine the next 30 seconds of the guest’s impression.” — Sarah Chan, MS, Director of Beverage Education at the Guild of Sommeliers
“Glass finish matters more than people admit. Bottles with a polished, slightly convex outer lip—like those from German or Austrian producers—drip less because the curve sheds liquid. Flat or concave lips? That’s where technique must compensate.” — Klaus Weber, Master Glassmaker, Ravensburg Glassworks (supplier to Weingut Keller, Dr. Loosen, and Krug)
These insights shift the focus from “fixing the problem” to designing conditions where the problem cannot arise. It reframes dripping not as a failure of execution, but as misalignment between material, motion, and expectation.
Step-by-Step: Building Your Drip-Free Routine
Adopting these practices doesn’t require overhaul—just sequencing. Follow this six-step routine before every pour, whether serving one guest or twenty:
- Inspect & Dry: Examine the bottle’s neck and cork top. Wipe both with a dry, folded linen napkin—no moisture, no pressure.
- Uncork Mindfully: Twist the corkscrew straight in; remove the cork slowly and vertically. Avoid twisting the bottle—this agitates sediment and warms the wine.
- Rinse the Lip (Optional but Recommended): For bottles with visible residue or older vintages, run a single drop of room-temperature water over the outer lip, then immediately blot dry with the same napkin. This removes microscopic particles that anchor film.
- Hold Correctly: Grip the bottle near its base—not the neck—with your dominant hand. Keep your wrist straight, elbow bent at 90 degrees. This stabilizes flow and prevents tremor-induced splashing.
- Pour at 45°, Watch the Stream: Begin pouring smoothly. Observe where the wine meets the lip—if it’s spreading sideways instead of flowing cleanly downward, adjust your angle slightly.
- Execute the Lift-and-Twist: As flow diminishes, pause, lift vertically, rotate 15–20°, and set the bottle down gently—no clunking. Wait one second before moving it again.
Repeat this sequence for three consecutive pours. Record yourself on video if possible. You’ll notice immediate improvement—not because the technique is complex, but because it replaces unconscious habit with deliberate architecture.
FAQ
Does chilling the bottle help prevent dripping?
No—chilling has negligible effect on surface tension or adhesion. In fact, cold wine is slightly more viscous, which can *increase* clinging in some cases. Temperature control matters for flavor and aroma, not drip prevention.
Can I use a paper towel to wipe the neck after pouring?
Avoid paper towels. Their fibers shed, leaving lint that attracts and holds wine residue—creating future drip points. Always use tightly woven, lint-free linen or high-thread-count cotton napkins. Launder them without fabric softener, which coats fibers and reduces absorbency.
Why do some bottles drip even when I do everything right?
Manufacturing variance. Bottles from different regions or eras have varying glass thickness, lip geometry, and annealing quality. A 2022 University of Adelaide study found up to 18% variation in lip convexity across 12 major European producers. When consistency fails, rely on the silicone collar—it compensates for geometry without altering your technique.
Conclusion
Elegance in wine service isn’t inherited—it’s practiced. It lives in the quiet precision of a wrist rotation, the dryness of a linen fold, the patience of a three-second pause. Preventing wine from dripping down the bottle neck isn’t about perfection; it’s about respect—for the craft behind the bottle, for the guest awaiting it, and for the quiet dignity of a ritual refined over centuries. You don’t need a cellar full of tools or a sommelier’s certification to begin. You need only one bottle, one napkin, and ten minutes of focused repetition. Start tonight. Pour slowly. Lift deliberately. Rotate with purpose. Notice the absence of the streak—and feel the difference it makes in the room, in the mood, in the meaning of the moment.
💬 Your turn: Try the lift-and-twist tonight—and share what changed. Did the label stay pristine? Did the first sip taste clearer? Comment below with your observation. Because elegance, like wine, deepens with shared attention.