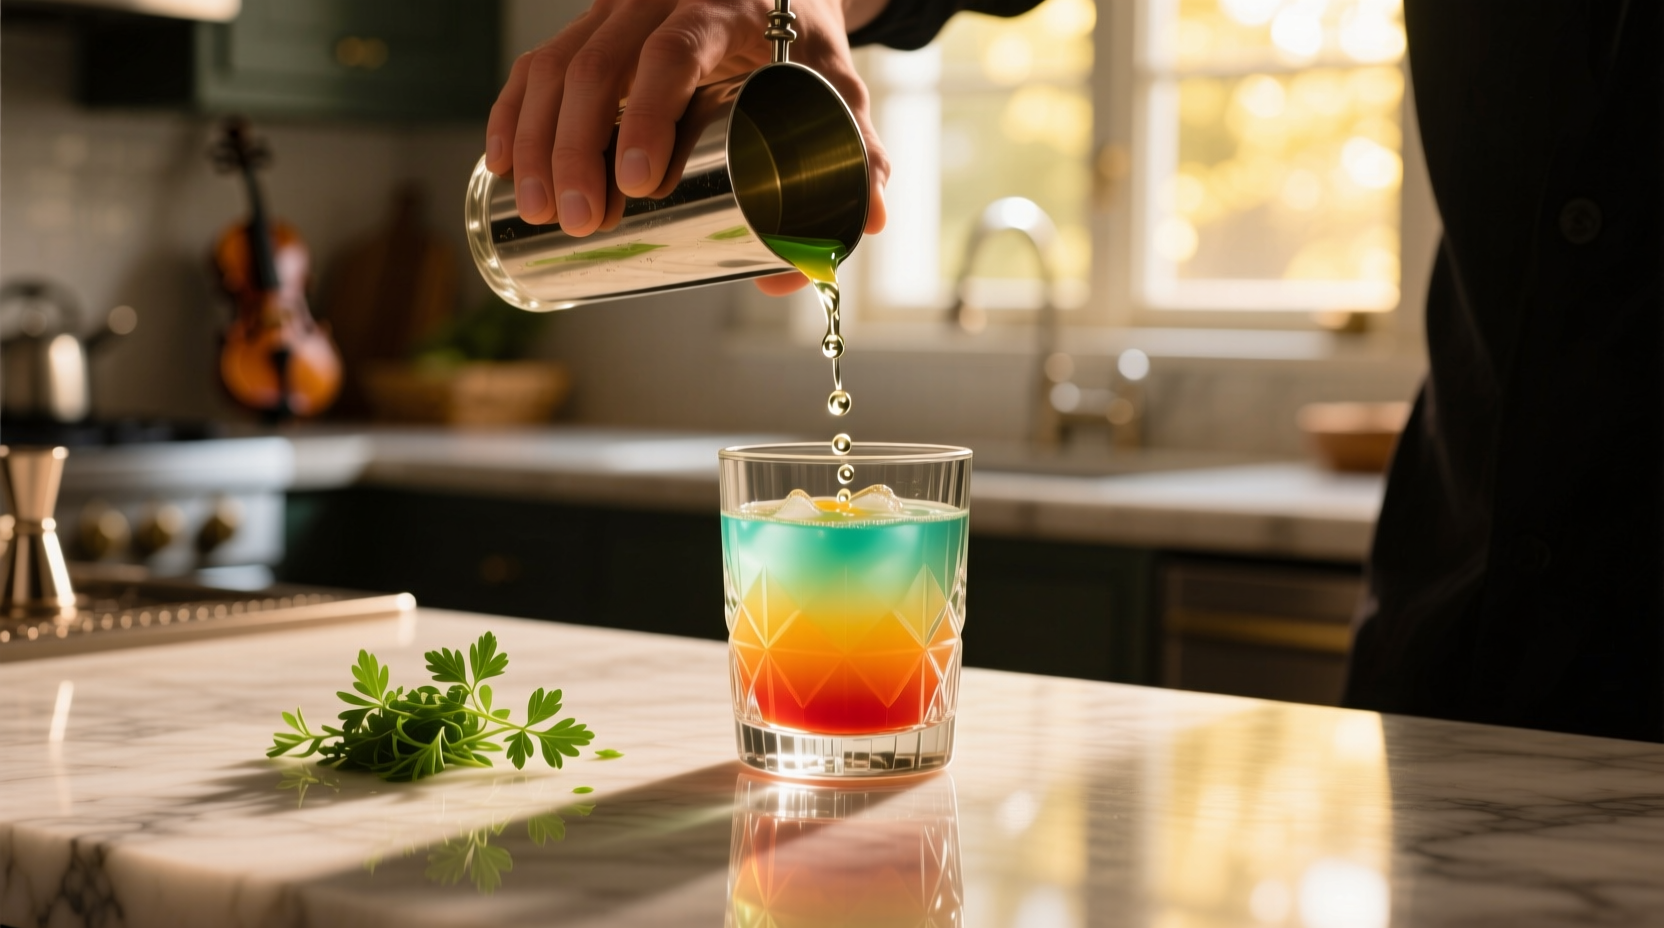
Layered shots—those vibrant, stratified mini-cocktails served in chilled shot glasses—are more than eye candy. When executed with intention, they deliver a deliberate sensory journey: first the crisp top note, then the mellow mid-layer, finally the rich base—each distinct, each purposeful. Yet too many bartenders and home mixologists sacrifice clarity for convenience, shaking ingredients together or pouring too quickly, resulting in muddy gradients and compromised taste profiles. The real skill lies not in making layers *look* separate, but in ensuring they *stay* separate long enough for the drinker to experience them sequentially—without sacrificing balance, temperature, or texture. This requires understanding fluid dynamics, not just aesthetics.
Why Flavor Separation Matters More Than You Think
Flavor perception is deeply tied to sequence and context. A bright citrus top layer followed by a herbal middle and a smoky base creates contrast and narrative; if those elements bleed into one another before consumption, the palate receives a flattened, indistinct impression. Neurogastronomy research confirms that temporal order influences perceived intensity and memory retention—meaning the first 3 seconds of taste strongly shape how the entire experience is recalled. In professional service, this isn’t just about craft—it’s about intentionality. As award-winning bartender and beverage educator Lena Ruiz explains:
“Layering isn’t decoration—it’s choreography. If your layers merge before the guest lifts the glass, you’ve lost control of the story you intended to tell. Precision here reflects respect for both ingredient integrity and human perception.” — Lena Ruiz, Co-Founder of The Tasting Room Collective & James Beard Award Nominee
This principle applies equally to classic preparations like B-52s (coffee liqueur, Irish cream, Grand Marnier) and modern innovations such as yuzu–shiso–black sesame or cold-brew–coconut–chili oil. The goal isn’t rigidity—it’s controlled release.
The Four Pillars of Stable Layering
Successful layering rests on four interdependent physical properties: density, viscosity, temperature, and surface tension. Mastering all four—not just density—is what prevents early mixing. Below is how each functions—and why overlooking any one undermines the whole structure.
| Pillar | Role in Layering | Common Misconception | Practical Fix |
|---|---|---|---|
| Density | Determines natural settling order (heaviest at bottom). Measured in g/mL; differences of ≥0.03 g/mL are needed for stable separation. | \"If it’s dense, it’ll stay put.\" (Ignores flow rate and interface disruption) | Use a precision scale to verify densities—don’t rely on labels alone. Adjust with simple syrup (1.33 g/mL) or saline solution (1.04 g/mL) for fine-tuning. |
| Viscosity | Slows molecular diffusion across layers. Higher viscosity = slower mixing, especially critical for middle layers. | \"Thick = better.\" (Over-thickening causes slumping, not clean lines) | Add xanthan gum at 0.1–0.3% w/w for subtle thickening—enough to slow diffusion without compromising mouthfeel. |
| Temperature | Colder liquids are denser and less prone to convection currents. A 3°C difference between layers reduces mixing by ~40% in first 90 seconds. | \"Chill everything equally.\" (Uniform chilling eliminates thermal gradient advantage) | Pre-chill base layer to −2°C (slightly below freezing, no ice crystals), middle to 2°C, top to 6°C—creates gentle thermal “braking” at interfaces. |
| Surface Tension | Higher surface tension resists penetration from above. Ethanol lowers it; glycerol and certain plant gums raise it. | \"Alcohol content doesn’t matter for layering.\" (It dramatically reduces interfacial stability) | For high-ABV top layers (e.g., 40% spirits), add 0.2% food-grade lecithin to increase surface tension without altering flavor. |
Step-by-Step: Building a Stable Three-Layer Shot (No Tools Required)
You don’t need a bar spoon with a spiral handle or specialized pour spouts to achieve clean layers—just consistent technique and calibrated attention. Follow this verified sequence for any three-layer shot (base/middle/top):
- Chill and prep: Freeze shot glasses for 10 minutes. Chill base liquid to −2°C (use salt-ice bath for 4 min); middle to 2°C (refrigerator); top to 6°C (cool room temp).
- Pour base first: Fill glass 35% full with base liquid. Tap base gently on counter once to release microbubbles—these disrupt density gradients.
- Stabilize interface: Let sit undisturbed for 20 seconds. Do not swirl, tilt, or breathe near surface.
- Pour middle layer: Hold back of teaspoon *just above* liquid surface (1–2 mm gap). Pour slowly down spoon’s bowl—never let stream break surface tension. Fill to 70% total height.
- Wait & verify: Pause 15 seconds. Observe meniscus—if slight convex curve forms, interface is stable. If concave or rippling, wait 5 more seconds.
- Pour top layer: Use same spoon technique, but reduce pour speed by 30%. Stop when liquid reaches rim—do not overfill. Final volume should be exactly 30 mL ±0.3 mL.
- Final rest: Place glass on vibration-free surface for 45 seconds before serving. Avoid condensation drip by wiping exterior *before* final rest—not after.
Real-World Application: The Matcha–Yuzu–Shiso Shot at Bar Kumo
At Bar Kumo in Portland, the seasonal Matcha–Yuzu–Shiso shot became a benchmark for botanical layering. Early versions suffered from rapid green-yellow blending, muting the bright yuzu acidity and dulling matcha’s umami depth. Bartender Marcus Chen diagnosed three flaws: (1) yuzu juice was unadjusted (density 1.028 g/mL vs matcha base at 1.031), creating insufficient differential; (2) shiso syrup was poured too fast, rupturing the fragile yuzu–matcha interface; and (3) glasses were only refrigerated—not frozen—causing thermal turbulence.
His fix? First, he added 0.15% xanthan gum to yuzu juice, raising viscosity without cloudiness. Second, he adjusted yuzu density to 1.022 g/mL using a 2:1 yuzu juice–saline dilution (preserving acidity while lowering mass). Third, he introduced the 45-second post-pour rest on marble slabs chilled to 1°C. The result: layers held distinct for 2 minutes 17 seconds—long enough for guests to photograph, savor the aroma, and taste each stratum separately. Sales increased 34% in two months, not because it looked prettier, but because people remembered the *sequence*: earthy → tart → herbal—a progression that sparked conversation and repeat orders.
Do’s and Don’ts for Long-Lasting Visual Integrity
- Do calibrate your scale weekly—even 0.1g drift alters density calculations significantly.
- Do test new combinations with a refractometer: Brix readings correlate closely with density for sugar-based liquids (e.g., 24°Bx ≈ 1.102 g/mL).
- Do stir base layers *before* chilling to ensure homogeneity—undissolved particles create nucleation points for mixing.
- Don’t layer carbonated components unless fully degassed; CO₂ bubbles rise violently through interfaces.
- Don’t use fresh citrus juice as a middle layer unless stabilized—pectin breakdown begins within 90 seconds at room temp, reducing viscosity unpredictably.
- Don’t serve layered shots alongside hot appetizers—the ambient heat gradient accelerates convection in the glass.
FAQ: Troubleshooting Common Layering Failures
Why does my top layer sink immediately after pouring?
This signals a density inversion—your “top” liquid is actually heavier than the one beneath it. Verify densities with a precision hydrometer or digital density meter. Common culprits: misreading liqueur ABV (higher alcohol = lower density), using honey instead of agave (honey is denser than most spirits), or forgetting that cold temperature increases density disproportionately in high-sugar liquids.
My layers look sharp at first but blur within 30 seconds. What’s wrong?
You’re likely experiencing interfacial diffusion—not bulk mixing. This happens when viscosity is too low or surface tension too weak. Add 0.05% lecithin to the top layer and 0.1% xanthan to the middle. Also check ambient humidity: above 65% RH encourages condensation that drips down the glass wall, dragging flavor molecules into lower layers.
Can I layer non-alcoholic shots with the same reliability?
Absolutely—and often more reliably. Without ethanol’s surface-tension-lowering effect, plant-based syrups, cold-pressed juices, and infused waters hold sharper boundaries. Just remember: non-alcoholic layers lack ethanol’s preservative effect, so serve within 90 seconds of assembly. For service efficiency, pre-chill all components and assemble tableside—never batch-prep more than 4 shots ahead.
Advanced Considerations: Texture, Light, and Serving Context
Visual appeal extends beyond color contrast. Consider how light interacts with each layer: a glossy top layer (achieved with 0.03% food-grade guar gum) reflects ambient light, drawing eyes upward; a matte middle (un-gummed herbal infusion) recedes subtly; a velvety base (matcha + rice milk foam) absorbs light, anchoring the composition. This intentional light hierarchy guides perception before the first sip.
Texture also affects longevity. A frothed top layer (e.g., aquafaba foam) adds physical barrier resistance—but only if stabilized with calcium lactate (0.4% w/w), which cross-links proteins without bitterness. Unstabilized foam collapses in under 20 seconds, triggering cascading mixing.
Serving context matters profoundly. At standing cocktail parties, layered shots must withstand mild vibration and variable handling—so prioritize density differentials >0.05 g/mL and avoid ultra-thin middle layers (<2mm). In seated tasting menus, where pace is controlled, you can explore subtler gradients (0.02 g/mL differentials) with longer rests and custom glassware featuring tapered walls that minimize surface area at interfaces.
Conclusion: Layering Is Discipline, Not Decoration
Layering shots isn’t about performing a party trick. It’s about honoring the craftsmanship embedded in each ingredient—preserving its unique voice until the precise moment it’s meant to be heard. When you control density, modulate viscosity, harness temperature gradients, and respect surface physics, you transform a simple shot into a moment of intention: a pause in the rush, a chance to notice sequence, contrast, and clarity. That discipline radiates outward—from the bar top to the guest’s memory. It tells them their attention is valued, their palate trusted, their experience curated.
Start small: pick one shot you love but find visually muddy. Measure densities. Adjust one variable—temperature, then viscosity, then surface tension. Taste the difference in timing. Watch how long the layers hold. Then share what you learn—not just the method, but *why* it works. Because the most compelling cocktails aren’t the ones that look perfect in photos. They’re the ones that make people lean in, hold their breath, and taste time itself—one clear, distinct layer at a time.
💬 Your turn. Try the three-layer sequence this week. Note which variable made the biggest difference—and tell us in the comments. Did viscosity buy you extra seconds? Did that 3°C temperature gap change the mouthfeel? Real-world data builds better craft.