Fried fish is a timeless comfort food—crispy on the outside, tender and flaky within. Yet achieving that perfect golden crust without overcooking or greasiness can be tricky. Many home cooks struggle with soggy breading, uneven frying, or fish that sticks to the pan. The key lies not just in ingredients, but in technique. This guide breaks down the science and tradition behind a flawless classic fried fish recipe, ensuring restaurant-quality results in your kitchen.
The Foundation: Choosing the Right Fish
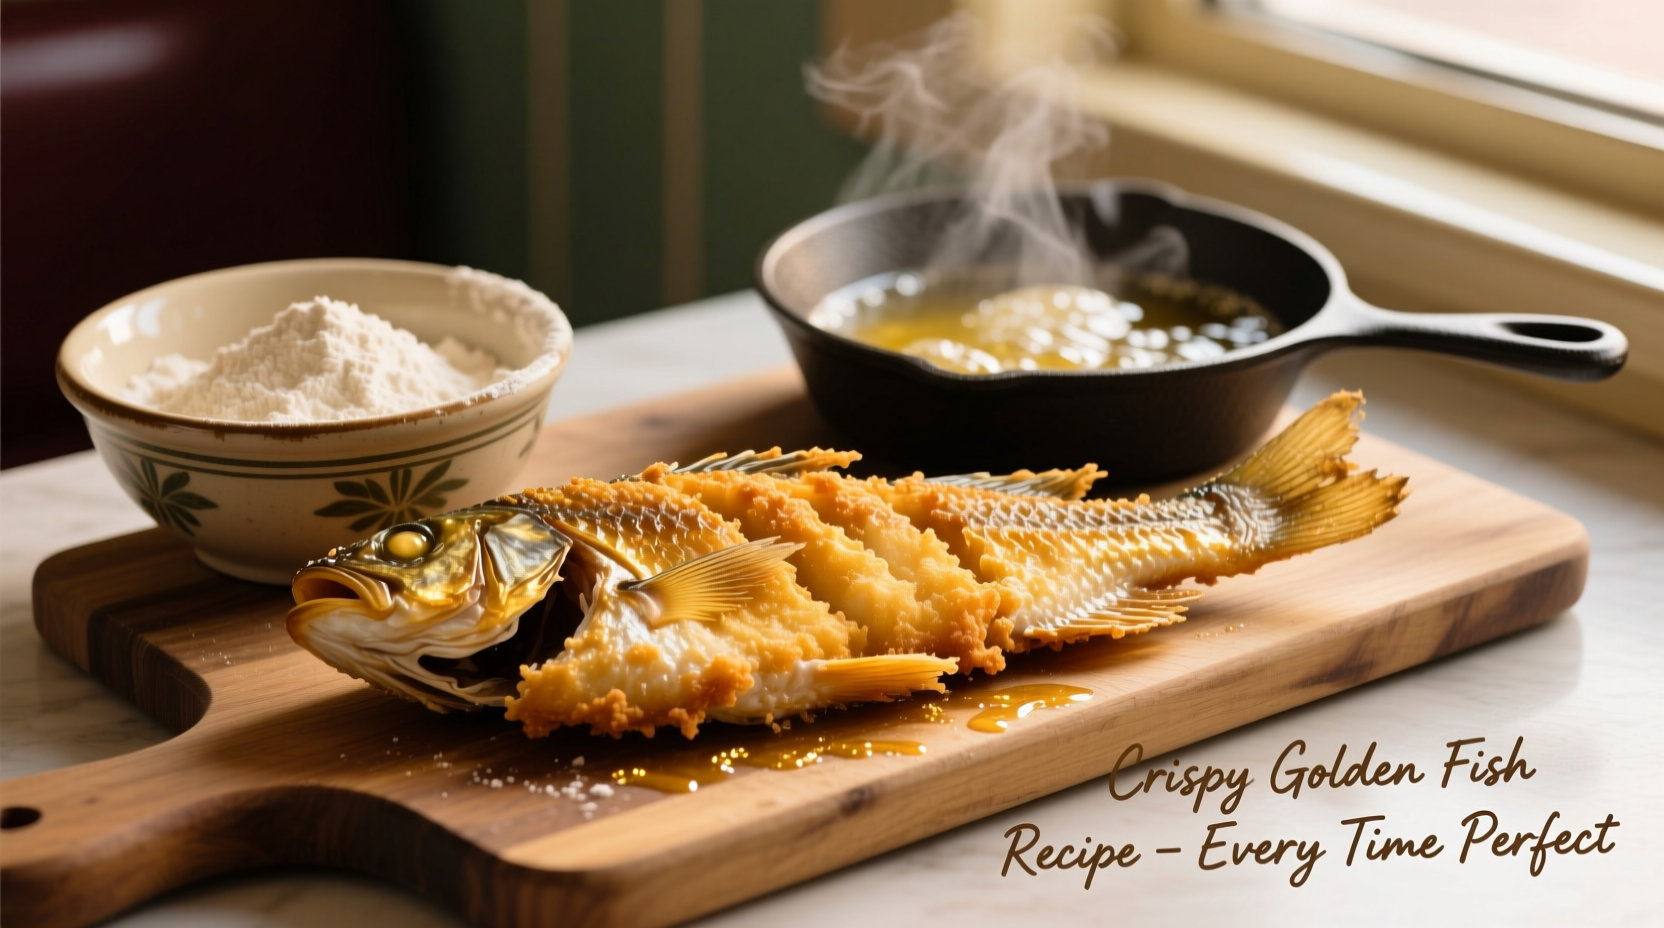
Not all fish are created equal when it comes to frying. Lean, white-fleshed varieties hold up best under high heat and absorb flavors without becoming oily. Ideal candidates include cod, haddock, tilapia, catfish, and pollock. These have a mild flavor that pairs well with seasoned coatings and don’t release excess moisture during frying—a common cause of sogginess.
Freshness matters. Look for firm, translucent flesh with a clean ocean smell. Avoid fish with a strong odor or slimy texture. If using frozen fish, thaw it slowly in the refrigerator overnight to preserve texture. Never fry cold fish straight from the fridge; bring it to room temperature for 15–20 minutes before coating to ensure even cooking.
Tip: Pat the fish fillets dry thoroughly with paper towels before breading. Moisture is the enemy of crispiness.The Perfect Breading System: A Three-Step Approach
The secret to a shatteringly crisp crust lies in a reliable dredging process. This three-stage method ensures maximum adhesion and an even, crunchy finish.
- Dry Seasoning: Lightly season each fillet with salt and pepper. Some chefs add garlic powder, paprika, or cayenne for depth.
- Wet Wash: Dip the fish into a mixture of beaten eggs and a splash of milk or buttermilk. This creates a tacky surface for the flour to cling to.
- Dry Coating: Press the fish into a seasoned flour blend. Use all-purpose flour with added cornstarch (about 3:1 ratio) for extra crunch. Season generously with salt, black pepper, onion powder, and smoked paprika.
For an even thicker crust, double-dip: after the first round of egg and flour, dip back into the egg wash and coat again. This works especially well for thinner fillets like tilapia.
| Breading Method | Best For | Crisp Level | Texture Profile |
|---|---|---|---|
| Single Dredge (flour only) | Thick fillets (cod, halibut) | Moderate | Light, delicate |
| Three-Step (egg + flour) | All-purpose | High | Even, golden |
| Double-Dip | Thin fillets | Very High | Extra crunchy |
| Panko Breadcrumbs | Gourmet presentation | High | Flaky, airy |
The Frying Process: Heat, Oil, and Timing
Oil choice and temperature control are non-negotiables. Use a neutral oil with a high smoke point—peanut, canola, or vegetable oil work best. Fill your skillet no more than halfway to prevent overflow and maintain consistent heat.
Heat the oil to 350°F (175°C). Use a deep-fry thermometer for accuracy. Too cool, and the fish absorbs oil and turns greasy; too hot, and the coating burns before the fish cooks through.
Once the oil is ready, gently place the fillets in the pan without crowding. Fry in batches if necessary. Cook for 3–5 minutes per side, depending on thickness. The fish is done when the crust is deep golden brown and the internal temperature reaches 145°F (63°C). The flesh should flake easily with a fork.
Tip: Let excess coating fall off before placing fish in oil to avoid clumping and uneven frying.“Consistency in oil temperature separates good fried fish from great. A steady 350°F gives you color, crunch, and perfectly cooked flesh.” — Chef Marcus Reed, Southern Seafood Institute
Avoiding Common Pitfalls: Do’s and Don’ts
Even experienced cooks make mistakes when frying fish. Here’s a quick-reference guide to sidestep the most frequent errors.
| Do’s | Don’ts |
|---|---|
| Pat fish dry before breading | Use wet fish—it prevents coating adhesion |
| Season at every stage (fish, egg, flour) | Overcrowd the pan—this drops oil temp |
| Use a wire rack to drain fried fish | Place fried fish on paper towels flat—traps steam |
| Let oil reheat between batches | Re-use oil more than 2–3 times—degrades quality |
| Rest fish slightly before serving | Flip fish too early—wait for natural release |
Real-World Example: The Friday Night Fish Fry
Consider the Johnson family in Milwaukee, who host a weekly fish fry every Friday during Lent. They used to struggle with inconsistent results—sometimes burnt, sometimes soggy. After switching to a cast-iron skillet, using a thermometer, and adopting the double-dip method with buttermilk, their fish became the talk of the neighborhood. The change wasn’t in the recipe, but in the precision. Now, they prep everything ahead, keep the oil at a steady 350°F, and serve the fish on a wire rack over a baking sheet. The result? Crispy, golden perfection every single time.
Step-by-Step Guide to Foolproof Fried Fish
Follow this timeline for guaranteed success:
- Prep (15 min): Thaw fish if frozen. Cut into even portions. Pat dry. Season lightly.
- Set Up Breading Station (10 min): Arrange three shallow bowls—one with flour mix, one with egg wash, one for coated fish.
- Heat Oil (10 min): Pour ½ inch of oil into a heavy skillet. Heat to 350°F.
- Bread Fish (5 min): Dredge each piece in flour, shake off excess, dip in egg, then coat in flour again. Place on a tray.
- Fry (6–10 min): Add 2–3 fillets at a time. Fry 3–5 min per side until golden. Drain on a wire rack.
- Serve Immediately: Best eaten fresh. Pair with lemon wedges, tartar sauce, or coleslaw.
FAQ
Can I bake instead of fry for a healthier version?
You can, but the texture will differ. Baking won’t achieve the same level of crispiness. For a compromise, try air-frying at 400°F for 10–12 minutes, spraying the breaded fish with oil for browning.
Why does my breading fall off during frying?
This usually happens due to moisture on the fish or skipping the resting step after breading. Let the coated fish sit for 5–10 minutes before frying—this helps the coating set.
What’s the best way to reheat leftover fried fish?
Reheating in a toaster oven or conventional oven at 375°F for 8–10 minutes preserves crispiness better than a microwave, which makes it soggy.
Conclusion: Mastery Through Method
Great fried fish isn’t about luck—it’s about preparation, temperature, and attention to detail. From selecting the right fillet to maintaining oil consistency, every step contributes to that irresistible golden crunch. Once you master the rhythm of the breading station and trust your thermometer, you’ll never settle for mediocre fried fish again.
🚀 Ready to transform your next seafood night? Try this recipe this weekend, and taste the difference that technique makes. Share your golden results in the comments!