Creating a Disney princess dress at home combines creativity, craftsmanship, and a touch of magic. Whether it’s for a birthday party, Halloween, or simply for imaginative play, a handmade gown adds personal charm and pride. With the right tools, fabric, and attention to detail, you can craft a stunning dress that captures the elegance of characters like Cinderella, Belle, or Ariel. This guide walks you through every phase—from choosing fabrics to adding final embellishments—with practical advice and expert-backed techniques.
Selecting the Right Princess Style and Design
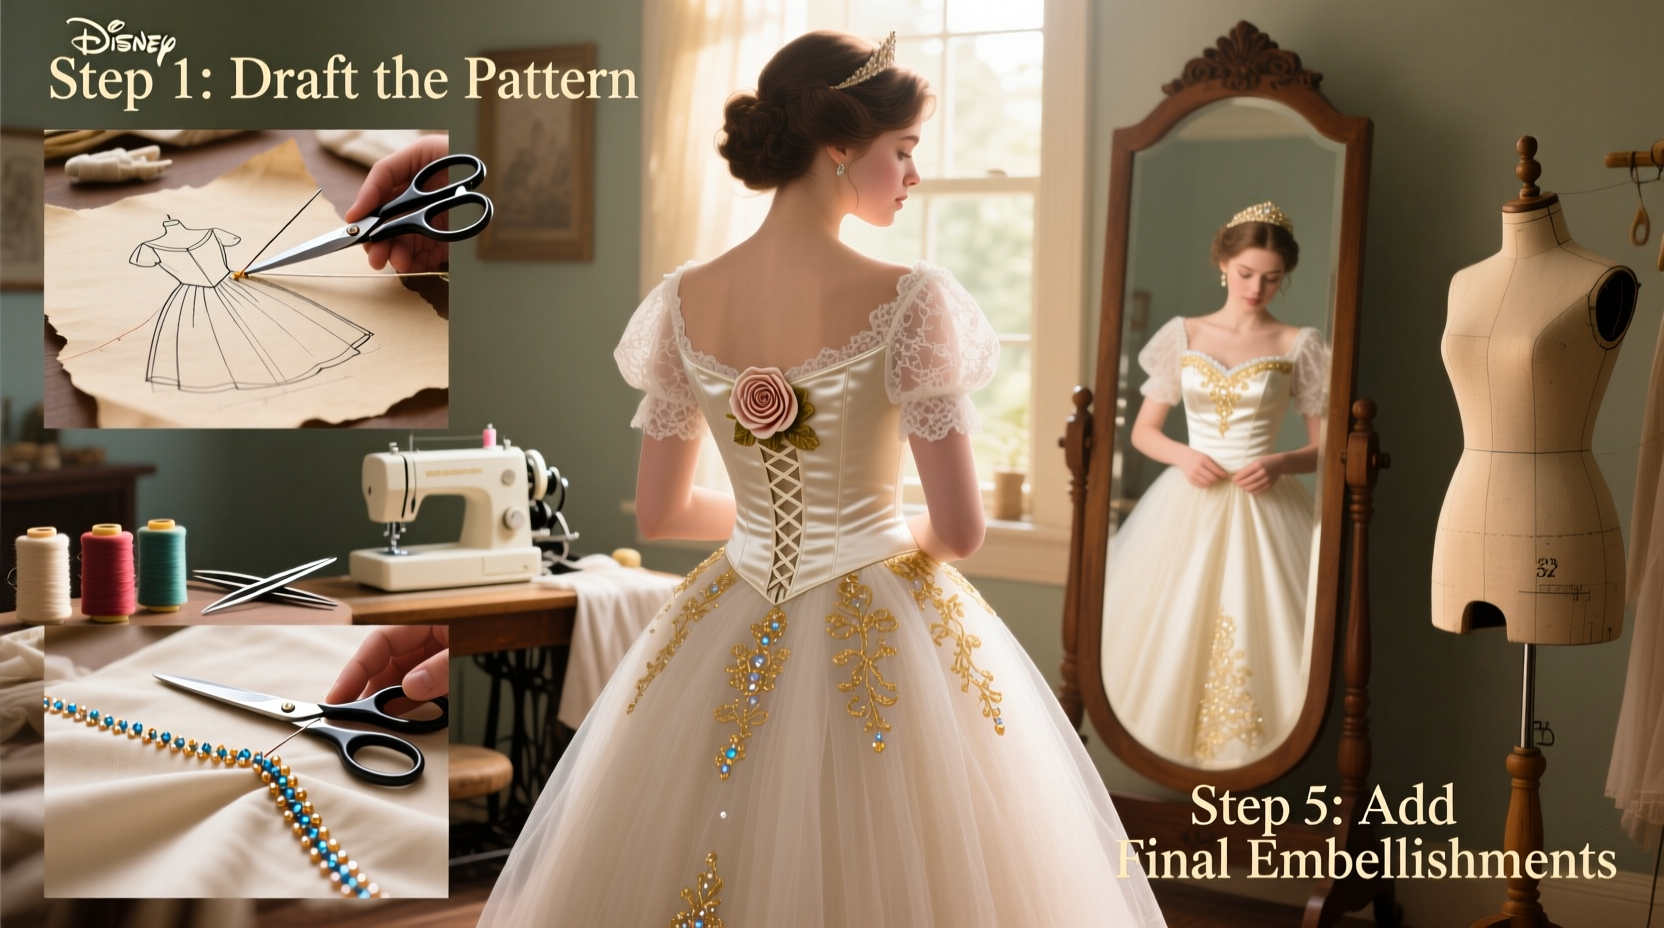
The first step is deciding which princess inspires your design. Each has a signature silhouette: Cinderella’s ballgown features a full skirt and fitted bodice; Belle wears a golden off-the-shoulder gown with a tiered skirt; Ariel’s look includes a seashell top and flowing mermaid tail-inspired layers. Sketch a rough design or print reference images to guide your work.
Consider the wearer’s age and comfort. For younger children, opt for softer fabrics and simpler closures. Older kids or adults may appreciate intricate details like corset lacing or layered tulle. Always measure accurately—bust, waist, hip, shoulder-to-waist, and desired skirt length—to ensure a proper fit.
Tip: Use Pinterest or official Disney character art as visual references when planning colors, neckline styles, and sleeve designs.Gathering Materials and Tools
Before cutting any fabric, assemble all necessary supplies. Quality materials make a significant difference in both appearance and durability.
| Material/Tool | Purpose | Recommended Type |
|---|---|---|
| Fabric (main) | Bodice and skirt | Satin, taffeta, or cotton sateen |
| Fabric (lining) | Inner layer for comfort | Cotton broadcloth or polyester lining |
| Tulle or organza | Skirt volume | 6–8 yards, depending on size |
| Elastic or zipper | Closure | Invisible back zipper or elastic waistband |
| Sewing machine | Construction | With zigzag and straight stitch capability |
| Thread, pins, scissors | General sewing | All matching fabric color |
| Interfacing | Bodice structure | Fusible woven for support |
Optional embellishments include sequins, lace trim, pearls, or rhinestones. For a Cinderella-style gown, consider light blue satin with silver accents. Belle-inspired dresses call for rich gold-yellow fabric with rose detailing.
Step-by-Step Construction Process
- Create a pattern: Use a commercial princess dress pattern from brands like Simplicity or McCalls, or draft your own using an existing well-fitting garment as a base. Trace onto pattern paper and label each piece (bodice front/back, skirt panels, sleeves).
- Cut the fabric: Lay your main fabric and lining flat. Pin the pattern pieces and cut carefully, adding 5/8-inch seam allowances. Cut tulle in circular layers if aiming for a voluminous ballgown effect.
- Sew the bodice: Start with the lining. Sew shoulder and side seams, then repeat with the outer fabric. Insert interfacing into the outer bodice pieces before assembly for structure. Join outer and lining right-sides together, leaving a gap at the bottom to turn. Clip curves, turn right-side out, and press.
- Add closure: Install an invisible zipper along the center back or use elastic in a waistband casing for ease. Test fit frequently during this stage.
- Construct the skirt: Gather tulle or fabric panels using long basting stitches. Attach them to a fabric waistband or directly to the bodice lining. Layer multiple tiers for maximum volume.
- Attach skirt to bodice: Align the skirt and bodice, pin evenly around the waistline, and sew securely. Reinforce with double stitching.
- Finish sleeves (if applicable): Puff sleeves require gathering at the cap; attach to armholes with precision. Line sleeves for polish.
- Embellish: Hand-sew lace along neckline or hem, add sequins in floral patterns, or glue-on rhinestones for sparkle. Avoid overloading delicate fabrics.
Expert Insight: Tailoring for Authenticity
Authentic-looking princess gowns rely not just on materials but on construction finesse. Attention to historical tailoring enhances believability.
“Princess silhouettes often mimic 18th-century court fashion—emphasizing narrow waists and dramatic skirts. Using boning in the bodice or horsehair braid in the hem can replicate that authentic drape.” — Lila Montgomery, Costume Designer & Theater Wardrobe Supervisor
Boning channels can be stitched into the side seams of the bodice for upright structure without stiffness. Horsehair braid, inserted into the skirt hem, helps maintain shape and bounce—especially effective in tulle layers.
Mini Case Study: Emma’s Birthday Gown
Emma, age 7, wanted a homemade Snow White dress for her birthday party. Her mother, with intermediate sewing skills, followed this process: she used black cotton sateen for the bodice, red satin for the overskirt, and layered white tulle underneath. The bodice was lined and interfaced for durability. An invisible zipper ensured clean lines. Lace trim from a thrifted curtain framed the collar, and red ribbon formed puffed sleeves.
The entire project took 12 hours over three weekends. Total cost: under $35. Emma wore it proudly, and photos showed a result nearly indistinguishable from store-bought costumes. The key? Accurate measurements and patience during the embellishment phase.
Common Pitfalls and How to Avoid Them
- Wrong fabric choice: Stretchy knits may sag; lightweight polyester can look cheap. Stick to structured fabrics like taffeta or dupioni silk for authenticity.
- Rushing fitting: Always do a mock-up with inexpensive muslin before cutting your final fabric.
- Ignoring seam finishes: French seams or serging prevent fraying, especially in delicate satins.
- Over-decorating: Too many rhinestones or uneven spacing distracts from the overall design. Plan embellishments in advance.
“Measure twice, cut once. And always test your zipper before sewing it in permanently.” — Carlos Mendez, Fashion Instructor at Brooklyn Sewing Academy
Checklist: Before You Begin Sewing
- ☑ Choose princess inspiration and sketch design
- ☑ Take accurate body measurements
- ☑ Purchase all fabrics, lining, and trims
- ☑ Buy matching thread and needles (use microtex for satin)
- ☑ Print or draft pattern and label all pieces
- ☑ Pre-wash and iron fabrics to prevent shrinkage
- ☑ Prepare workspace with good lighting and cutting surface
FAQ
Can I make a princess dress without a sewing machine?
Yes, though it will take longer. Use strong hand stitches like backstitch for seams and slip stitch for hems. Fabric glue can secure trims, but avoid relying on it for structural seams.
How do I make the skirt extra full?
Add more tulle layers or use a petticoat underneath. A crinoline hoop sewn into the innermost layer creates maximum volume, ideal for ballroom scenes.
What if the bodice doesn’t fit perfectly?
Adjust with darts or elastic insets. For future projects, create a muslin prototype first. Minor gaps can be hidden with decorative ribbons or sashes.
Final Touches and Wearing with Confidence
A beautifully made princess dress isn’t just about appearance—it’s about how it makes the wearer feel. Once assembled, try it on and walk around. Check for mobility, comfort, and balance. Adjust straps if needed. Store the dress on a padded hanger or folded in tissue paper to preserve its shape.
For added storytelling magic, pair the dress with gloves, a tiara, or themed shoes. Encourage the wearer to practice graceful movements or even recite lines from their favorite movie. This transforms a costume into a cherished memory.
💬 Ready to bring fairy tales to life? Grab your fabric, fire up your sewing machine, and start crafting a magical dress today. Share your creation online with #HomemadePrincessDress—we’d love to see your masterpiece!