A well-fitted straight skirt is a cornerstone of a polished wardrobe. It flatters most body types when tailored correctly, offering structure, elegance, and versatility. Whether you're dressing up for the office or attending a formal event, a custom-made straight skirt ensures a perfect fit that off-the-rack garments rarely achieve. This guide walks you through every phase—from taking accurate measurements to finishing seams—with precision and practicality. By the end, you’ll have a professional-quality garment designed specifically for your figure.
1. Take Accurate Body Measurements
The foundation of any successful garment lies in precise measurements. A straight skirt relies heavily on waist, hip, and length proportions. Use a flexible tape measure and wear fitted undergarments while measuring. Stand naturally—don’t suck in your stomach or pull the tape too tight.
- Waist: Measure around the narrowest part of your torso, typically just above the navel.
- Hips: Measure around the fullest part of your hips, usually 7–9 inches below the waist.
- Skirt Length: Measure from your waist down to your desired hemline (e.g., knee, mid-calf).
- Rise: From waist to the chair seat when sitting, to ensure comfort and no pulling.
2. Draft the Skirt Pattern
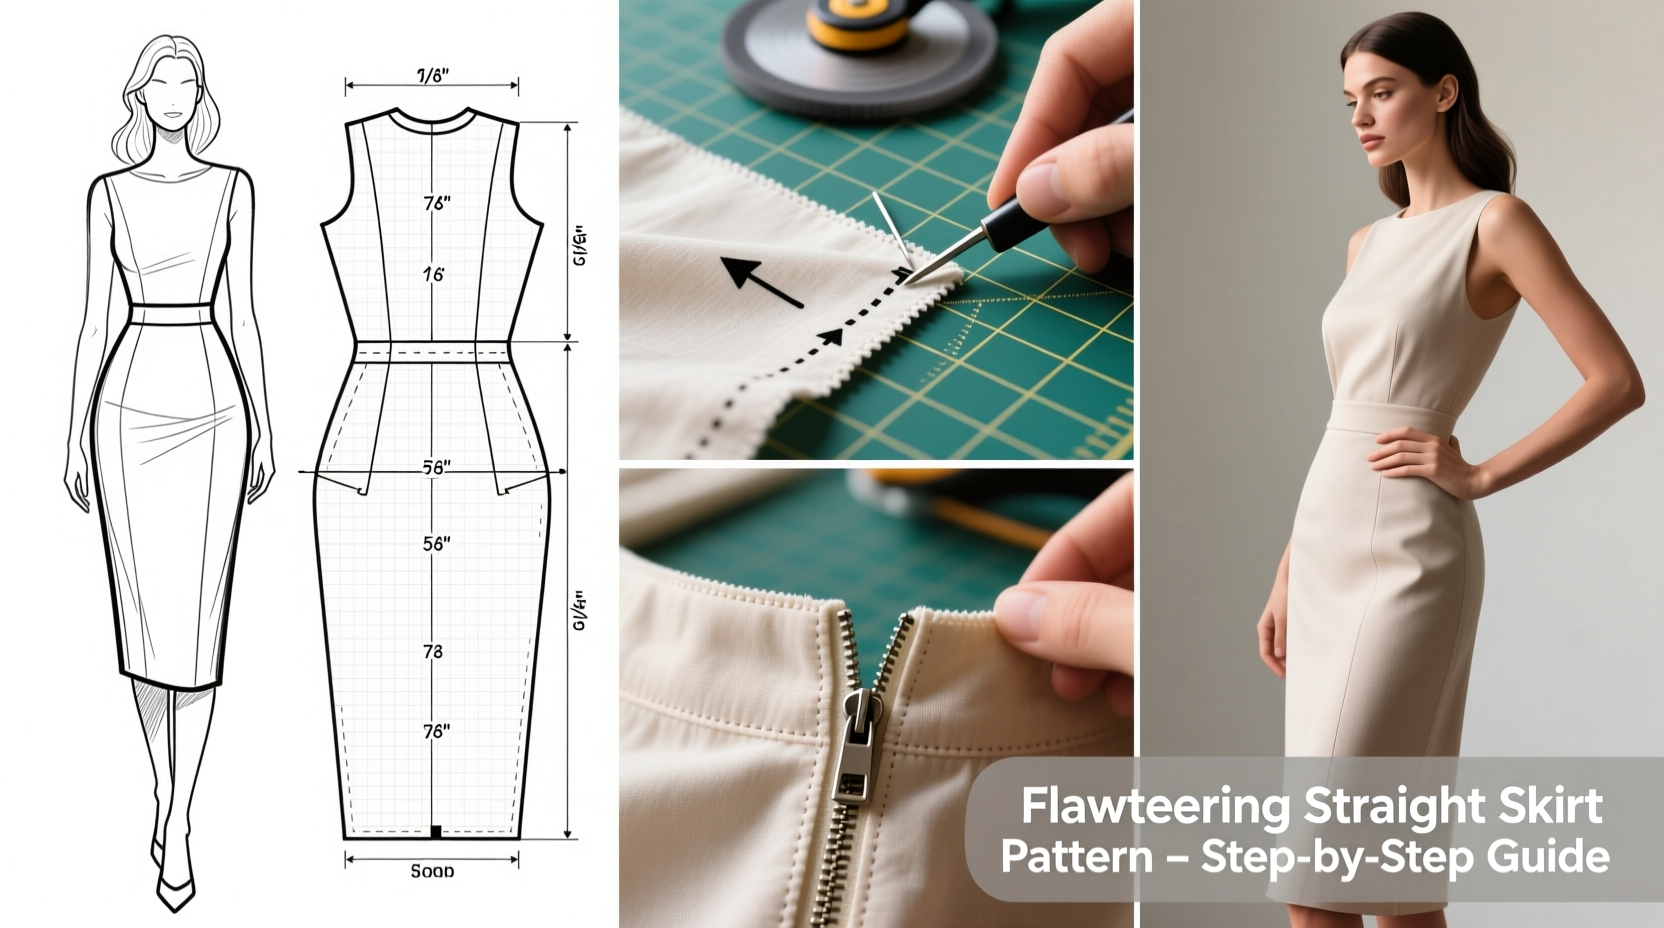
Using your measurements, draft a basic straight skirt pattern on paper (pattern paper or butcher paper works best). The design consists of two main panels: front and back, each divided at the center seam.
Begin by drawing a vertical line equal to your skirt length. At the top, mark the waistline; at the bottom, the hem. Divide the hip measurement into four (two for front, two for back) and plot points outward from the center. Connect waist and hip with gentle curves, then taper down to the hem, which should be slightly narrower than the hip for a clean silhouette.
Incorporate standard seam allowances: 5/8 inch on sides, 1 inch at waist, and 1.5 inches at hem. Add notches at side seams for alignment during sewing.
“Pattern drafting isn’t guesswork—it’s geometry meeting fashion. Accuracy here prevents frustration later.” — Lila Montgomery, Fashion Design Instructor at RISD
Sample Measurement-to-Pattern Conversion
| Measurement | Your Number | Used in Pattern | Notes |
|---|---|---|---|
| Waist | 28\" | 7\"/panel (front & back) | Add 1\" ease for comfort |
| Hips | 38\" | 9.5\"/panel | Measure 8\" below waist |
| Length | 24\" | 24\" + 1.5\" hem | Knee-length standard |
3. Choose Fabric and Prepare for Cutting
Fabric choice dramatically affects drape, structure, and movement. For a classic straight skirt, medium-weight fabrics like wool crepe, cotton twill, or rayon blend work best. Avoid overly stretchy or flimsy materials unless you’re experienced.
- Pre-wash fabric to prevent shrinkage after sewing.
- Lay fabric flat on a large surface, right sides together, matching selvages.
- Pin the pattern pieces in place, aligning grainlines with the fabric’s warp.
- Cut carefully with sharp fabric shears. Mark darts and notches with tailor’s chalk.
4. Sew the Skirt Step-by-Step
Follow this sequence for clean, professional results:
- Sew darts: Fold and pin waist darts (usually two front, two back), sew from wide to narrow end, and press downward.
- Join side seams: With right sides together, stitch from hem to waist, leaving space for the zipper. Press seams open.
- Insert zipper: Use an invisible zipper for a seamless look. Attach it with an invisible zipper foot, ensuring teeth align perfectly with seam lines.
- Finish waistband: Cut a waistband strip 2.5” x waist measurement. Sew to the skirt right sides together, then fold and understitch for a clean interior.
- Hem the skirt: Try on first to check length. Fold hem twice (1.5” total), press, and hand-stitch or machine-stitch with a blind hem technique.
“Sewing slowly pays off in precision. Rushing the zipper or dart leads to puckers and misalignment.” — Carlos Mendez, Master Tailor
Mini Case Study: Sarah’s First Custom Skirt
Sarah, a beginner sewer, wanted a pencil skirt for job interviews. She measured carefully but skipped the muslin (test garment). After cutting her good fabric, she realized the waist was too tight. She unpicked the side seams, added 1/2 inch on each, and re-sewed. Next time, she made a mock-up from cheap cotton, adjusted the fit, and achieved a flawless result. Her second version had smooth lines, sat comfortably, and received compliments at work.
This highlights the value of fitting prototypes—even simple ones—before committing to final fabric.
5. Fit Adjustments and Finishing Touches
No pattern fits perfectly on the first try. Wear the basted (temporarily stitched) skirt to assess fit. Look for:
- Gaping at the waistband
- Tightness across hips or thighs
- Twisting side seams
- Unbalanced hemline
Adjustments are normal. Taper darts deeper if the waist sags. Slash and spread panels if hips are tight. Let out seams incrementally until the garment hugs without constriction.
For finishing, consider:
- Interfacing the waistband to prevent stretching.
- Using silk organza under seams for durability.
- Hand-finishing inner seams with whip stitch if serging isn’t available.
Checklist: Key Steps for Success
- ✔ Take accurate body measurements
- ✔ Draft or modify a pattern with proper ease
- ✔ Select appropriate fabric and pre-wash
- ✔ Cut precisely along grainlines
- ✔ Sew darts and side seams with pressed finishes
- ✔ Install a quality zipper neatly
- ✔ Fit before finalizing hem and waistband
- ✔ Finish edges cleanly for longevity
Common Mistakes and How to Avoid Them
| Mistake | Consequence | Solution |
|---|---|---|
| Incorrect grain alignment | Skirt twists on body | Always match pattern arrows to fabric selvage |
| Skipping darts | Bulges at waist and hips | Darts shape the skirt to your curves—don’t omit them |
| Uneven hem | Lopsided appearance | Mark hemline while wearing the skirt, hanging naturally |
FAQ
Can I make a straight skirt without a pattern?
Yes, but only if you have strong drafting skills. Beginners should start with a commercial or self-drafted pattern based on measurements. Freehand cutting risks asymmetry and poor fit.
How do I know if my skirt fits well?
A well-fitting straight skirt sits smoothly at the waist, follows your hip curve without pulling, allows comfortable walking, and has a level hem. There should be no gaping, twisting, or tightness when seated.
What kind of zipper should I use?
An invisible zipper is ideal for a clean, modern finish. If unavailable, a regular #5 nylon coil zipper works—just ensure it matches the fabric color and is inserted with care to hide stitching.
Final Thoughts
Creating a flattering straight skirt from scratch is both an art and a technical skill. It demands attention to detail, patience, and a willingness to refine as you go. But the reward—a garment that fits your body perfectly and reflects your personal style—is unmatched. Unlike mass-produced clothing, your handmade skirt carries intention, craftsmanship, and confidence.
💬 Start today: measure, draft, and cut your first skirt. Share your progress or ask questions in the comments—let’s build a community of skilled, confident sewers!