Three-dimensional nail art has transformed manicures from simple polish applications into wearable miniature sculptures. What once required a visit to a high-end salon can now be achieved in your own bathroom or kitchen with the right tools, materials, and technique. Whether you're drawn to delicate floral accents, bold geometric shapes, or tiny gemstone clusters, mastering 3D nail art at home is both achievable and deeply satisfying. This guide walks you through every phase—preparation to finishing—with precision, practical advice, and insider tips to ensure your results are not only beautiful but long-lasting.
Essential Tools and Materials
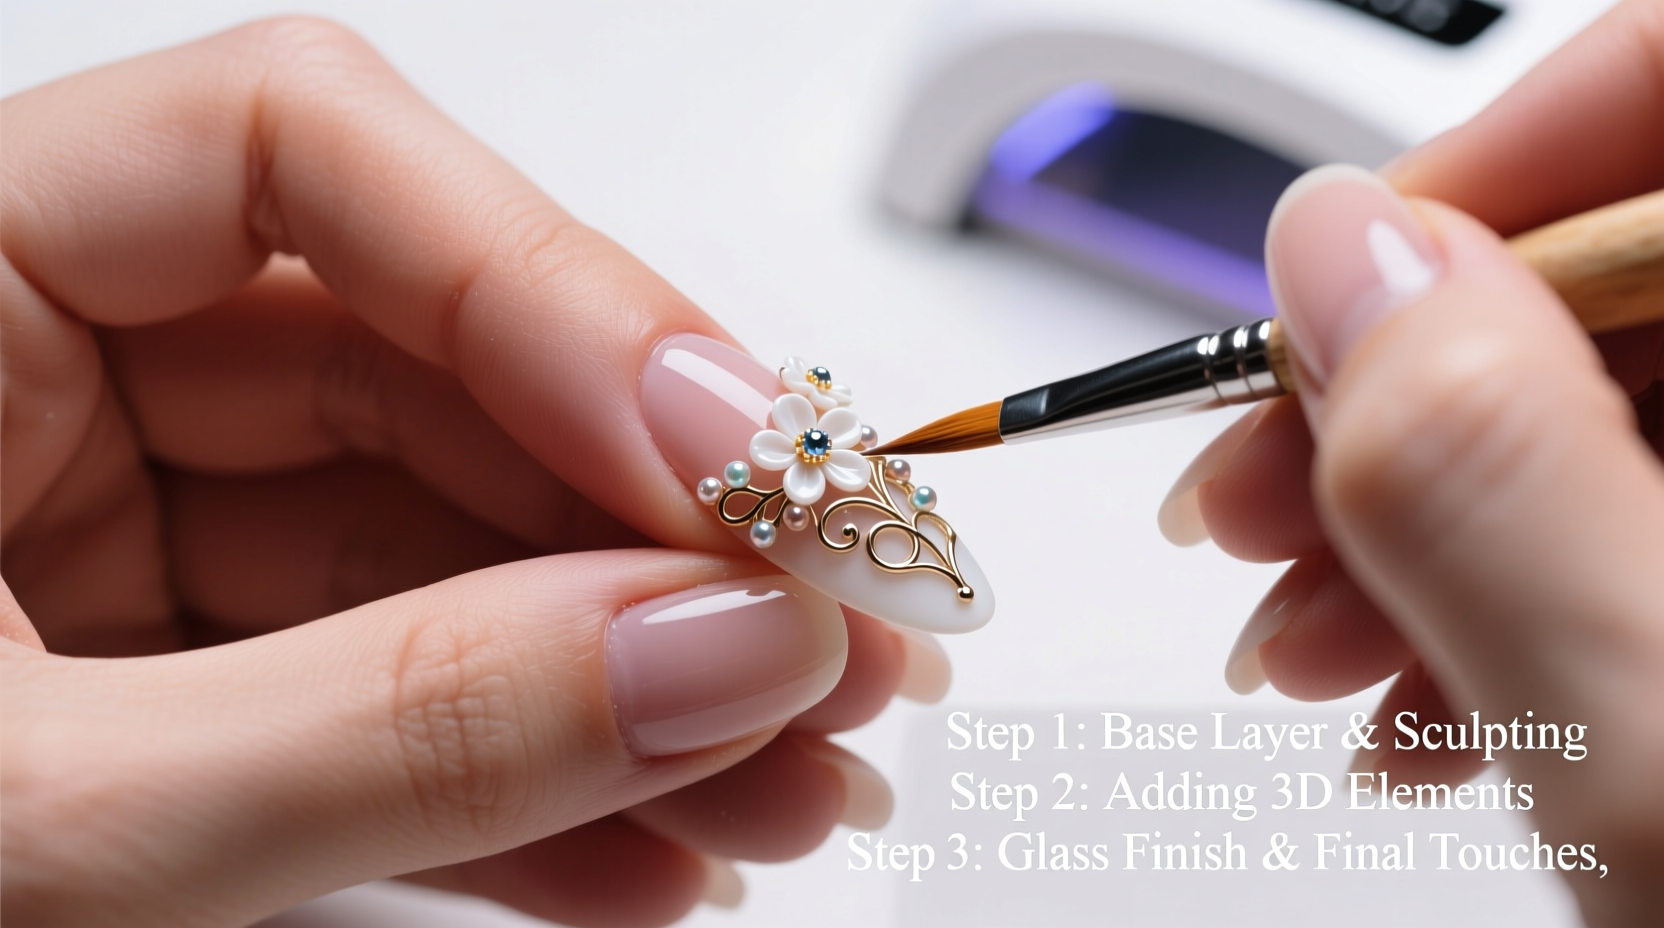
Before diving into design, gather the foundational tools that make 3D nail art possible. Unlike standard manicures, this craft demands specialized supplies for sculpting, adhering, and sealing raised elements. Investing in quality items ensures better control and durability.
- Nail primer and dehydrator – creates a clean, oil-free surface for maximum adhesion
- Base coat and top coat (preferably thick, high-gloss formulas)
- Gel or acrylic nail system (for structure and longevity)
- Dotting tools, fine-tipped brushes, and wax pencils
- UV/LED lamp (if using gel products)
- 3D embellishments: rhinestones, metal studs, clay beads, dried flowers, or silicone molds
- Acrylic powder and monomer liquid (for hand-sculpted details)
- Tweezers and cuticle pusher (for precise placement)
Preparing the Nail Canvas
No amount of artistic flair will compensate for poor nail preparation. A stable base is critical when adding weight and texture through 3D elements. Begin by removing old polish and shaping your nails to your preferred length and edge—square or squoval shapes offer more surface area for intricate work.
- Soak fingertips in warm, soapy water for 3–5 minutes to soften cuticles.
- Gently push back cuticles using a wooden stick or metal pusher.
- Filing should be done in one direction to prevent splitting, especially on natural nails.
- Cleanse each nail with an alcohol wipe or nail dehydrator to remove oils.
- Apply a bonding primer if using acrylic or gel enhancements.
- Seal with a thin layer of base coat and cure under a UV/LED lamp if needed.
This process ensures that any added dimension stays securely anchored. Skipping prep increases the risk of lifting, chipping, or uneven texture that undermines even the most elaborate designs.
Step-by-Step Guide to Building 3D Nail Art
The magic of 3D nail art lies in layering. Unlike flat designs, these creations have depth, volume, and tactile presence. Follow this timeline to build complexity without compromising integrity.
- Design Planning: Sketch your idea on paper or use a digital mood board. Choose which nails will feature focal points (e.g., ring finger).
- Base Color Application: Apply two thin coats of colored polish or gel, curing between layers. Opt for matte or glossy depending on desired contrast.
- Position Key Elements: Lay out your main 3D components (flowers, charms) with tweezers before adhering to test spacing.
- Adhere Embellishments: Use a small brush to apply a drop of nail glue or uncured gel directly beneath each piece. Press gently and hold for 10 seconds.
- Sculpt Freehand Details: For custom shapes (petals, waves, spikes), mix acrylic powder with monomer to form a moldable bead. Shape with a brush or wax pencil while wet.
- Layer Strategically: Build upward gradually. Allow lower layers to set before adding new ones to avoid collapse.
- Final Seal: Once all elements are secure, apply a thick, domed top coat. For gel, cure in intervals to prevent shifting. Repeat for full coverage.
Common Techniques and Creative Applications
Different effects require different approaches. Understanding core methods allows you to adapt based on available materials and skill level.
| Technique | Best For | Key Tips |
|---|---|---|
| Rhinestone Clustering | Sparkle accents, French tip upgrades | Use clear gel as adhesive; seal edges thoroughly to prevent snagging |
| Clay Sculpting | Flowers, bows, animals | Bake polymer clay pieces separately before gluing to nails |
| Freehand Acrylic Painting | Textured swirls, dots, petals | Keep brush damp with monomer for smoother flow |
| Mold Transfer | Uniform shapes (hearts, stars) | Use silicone molds with gel; cure fully before removal |
One popular trend involves combining multiple techniques—such as sculpting a rose petal base with acrylic, then topping it with a micro-rhinestone dewdrop effect using a dotting tool and clear gel. The interplay of textures elevates the realism and visual interest.
Mini Case Study: From Concept to Wearable Art
Jessica, a hobbyist from Portland, wanted to recreate cherry blossoms for spring. She began with a pale pink gel base. Using a fine brush and white acrylic paint, she painted faint branch lines. Then, she mixed soft pink acrylic powder with monomer to create tiny pliable beads. Each bead was flattened slightly and layered into five-petal blossoms directly on the nail. After curing, she added a translucent pink wash over the petals for depth and topped each center with a golden micro-bead. The result lasted two weeks without lifting—a personal best.
Expert Insight on Durability and Design
“Three-dimensional art places stress on the nail plate. Always balance creativity with structural sense—avoid placing heavy elements near the tip where leverage increases breakage.” — Lena Torres, Professional Nail Artist & Educator
Torres emphasizes that while innovation is encouraged, functionality matters. Overloading a nail with unbalanced weight leads to premature wear or discomfort. She recommends starting with lightweight options like dried mini-flowers or flat-backed gems until confidence grows.
Frequently Asked Questions
How long do 3D nail designs typically last?
With proper sealing and care, most 3D designs last 10–14 days. Avoid prolonged exposure to water, harsh chemicals, and manual labor. Reapply a fresh top coat every 3–4 days to reinforce protection.
Can I create 3D nail art on short or natural nails?
Absolutely. Short nails benefit from subtle 3D accents like single rhinestones, stamped metallic foils, or tiny hand-painted spirals. Focus on precision rather than scale—the impact comes from detail, not size.
What’s the best way to remove 3D nail art safely?
Soak cotton pads in acetone, wrap each nail in foil, and wait 15–20 minutes. Gently wipe away softened product. Do not peel or scrape, as this damages the natural nail. Remove embellishments carefully with nippers if they resist dissolving.
Checklist: Your 3D Nail Art Success Plan
- ✅ Clean, shape, and prep all nails thoroughly
- ✅ Choose a cohesive color and theme
- ✅ Test layout before gluing
- ✅ Use appropriate adhesive (gel, nail glue, or acrylic)
- ✅ Work in a well-lit, steady environment
- ✅ Seal every element with a strong top coat
- ✅ Maintain with weekly top coat refreshes
Conclusion
Creating stunning three-dimensional nail art at home is no longer reserved for professionals. With patience, the right materials, and attention to structural balance, anyone can transform their fingertips into expressive works of art. The key is progression—start small, learn what works for your hands and lifestyle, and build complexity over time. Each design teaches something new, whether it's how gel behaves under heat or how weight distribution affects wear.
💬 Ready to try your first 3D masterpiece? Share your creation online with #Home3DNails—we’d love to see what you craft!