Cable knitting transforms simple stitches into intricate, textured patterns that evoke tradition, warmth, and craftsmanship. Once reserved for fishermen’s sweaters in the Aran Islands, cable stitches now grace everything from scarves to modern cardigans. While they may look complex, mastering the cable stitch is well within reach—even for intermediate knitters. With the right tools, understanding of technique, and a bit of patience, you can create striking garments that showcase depth and dimension.
The secret behind cable knitting lies not in advanced skills but in structure: crossing stitches over each other to form braided or twisted designs. This guide walks you through every aspect of cable knitting—from essential tools to troubleshooting common issues—so you can confidently incorporate cables into your next project.
Understanding Cable Stitches: The Basics
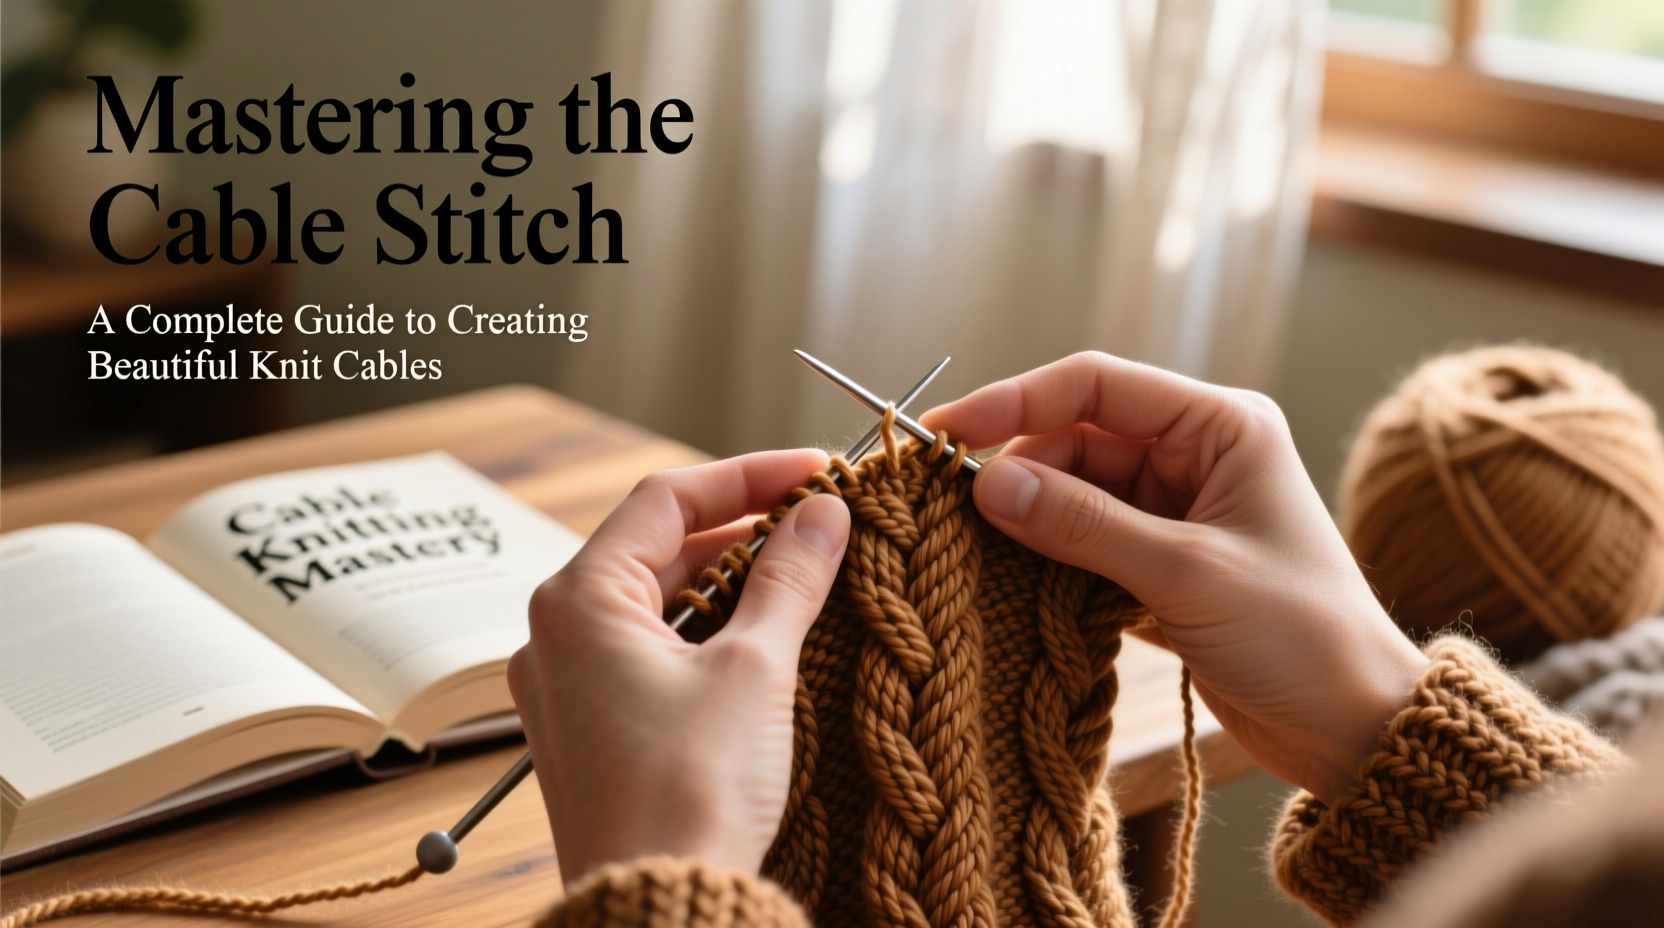
A cable stitch is created by temporarily holding a set of stitches on a cable needle while working adjacent stitches first. When you return to the held stitches, their order has shifted, creating a twist or crossover effect. These crossovers mimic ropes, braids, or even Celtic knotwork depending on the pattern.
Cables are typically labeled by width and direction. For example, “C6F” means a 6-stitch cable front (crossing to the left), while “C6B” crosses to the back (right). The number indicates how many stitches are involved in the crossover.
Despite appearances, cables use only basic knit and purl stitches—the magic happens in the sequence and placement. Most cable patterns repeat across rows, making them predictable once you recognize the rhythm.
Tip: Always knit a swatch before starting a cabled garment. Cables pull fabric tighter than stockinette, so gauge changes significantly.Essential Tools and Materials
While no special yarn is required for cables, some materials enhance definition and texture:
- Yarn: Medium-weight (worsted) wool or wool blends work best. They hold structure and show off stitch definition clearly.
- Needles: Use smooth, tapered needles to make slipping stitches easier. Bamboo offers grip; metal provides speed.
- Cable Needle: Short double-pointed needle used to hold stitches during crossings. Can be straight, U-shaped, or even improvised with a spare DPN.
- Stitch Markers: Essential for marking pattern repeats and keeping track of complex sequences.
- Tapestry Needle: For weaving in ends without distorting the cable’s shape.
| Tool | Recommended Type | Why It Matters |
|---|---|---|
| Yarn | Worsted weight wool blend | Holds structure and shows texture clearly |
| Needles | US 7–9 (4.5–5.5 mm) | Balances tension and drape |
| Cable Needle | U-shaped or short DPN | Securely holds stitches without slipping |
| Gauge Swatch Size | 6” x 6” (15 x 15 cm) | Accurate measurement despite cable shrinkage |
Step-by-Step Guide to Knitting Your First Cable
Follow this timeline to execute a classic 6-stitch front-cross cable (C6F):
- Set Up the Base Row: Work in your chosen pattern until you reach the six stitches designated for the cable.
- Slip Stitches: Slip the first three stitches onto the cable needle and hold it to the front of your work.
- Knit Next Three: Knit the next three stitches from the left-hand needle.
- Complete the Cross: Knit the three stitches from the cable needle.
- Continue Pattern: Finish the row according to your chart or written instructions.
- Rest Between Cables: Most cables are worked every 4th or 6th row. In between, maintain the established stitch pattern (e.g., knit one row, purl one row).
This creates a left-twisting cable. To reverse direction (right twist), hold the cable needle to the back and knit the three unstalled stitches first.
“Cables aren’t about complexity—they’re about timing. Once you internalize when to cross and how many rows apart, the rest flows naturally.” — Lydia Chen, Master Knitwear Designer
Common Mistakes and How to Fix Them
Even experienced knitters encounter hiccups with cables. Recognizing these early prevents frustration later:
- Twisted Stitches on Cable Needle: Ensure stitches don’t twist when slipping them. A twisted stitch will tighten awkwardly when worked.
- Inconsistent Tension: Cables often tighten the fabric. Practice even tension by not pulling too tightly when returning to held stitches.
- Losing Count: Miscounting rows between cable crosses leads to asymmetry. Use a row counter or app to track progress.
- Dropped Stitches Mid-Cable: If a stitch slips off, stop immediately. Use a crochet hook to ladder back up and rehang the loop properly.
Mini Case Study: Sarah’s First Cabled Sweater
Sarah, an intermediate knitter, decided to tackle her first Aran-style sweater using multiple cable patterns. She began without swatching, assuming worsted wool on size 8 needles would match the pattern’s gauge. After two inches, she noticed the fabric was stiff and narrower than expected.
She unraveled, washed, and blocked a 6-inch swatch—including a full repeat of the main cable panel. The blocked sample revealed a 20% reduction in width due to cable contraction. Adjusting her needle size to US 9 restored proper gauge. By marking cable rows on her phone calendar and using locking stitch markers at pattern transitions, she completed the sweater evenly and proudly wore it to a winter festival—earning compliments for its professional finish.
Design Tips for Beautiful Cable Projects
Cables shine when thoughtfully integrated into a design. Consider these principles:
- Balance Texture with Simplicity: Pair bold cables with plain stockinette or ribbed borders to avoid visual clutter.
- Use Cables as Accents: A single vertical cable down a sleeve or along a button band adds elegance without overwhelming.
- Combine with Color: Subtle tonal shifts (like heathered yarns) highlight cable ridges without competing patterns.
- Respect Drape Needs: Garments meant to flow (e.g., shawls) benefit from looser cable spacing; structured pieces (vests, hats) handle denser textures.
Checklist: Preparing for a Cable Project
- ☑ Choose a worsted or aran-weight yarn with good stitch definition
- ☑ Select needles one size larger than usual to compensate for tightness
- ☑ Knit and block a gauge swatch including a full cable repeat
- ☑ Gather cable needle, row counter, and stitch markers
- ☑ Highlight cable rows in your pattern or set phone reminders
- ☑ Keep a notebook to log any modifications or observations
Frequently Asked Questions
Can I knit cables without a cable needle?
Yes. Advanced knitters often \"cable without a cable needle\" by manipulating stitches directly on the left needle. However, beginners should use a cable needle for control and consistency.
Why does my cable fabric feel stiff?
Cables naturally contract the fabric. If stiffness persists, try going up a needle size or choosing a softer, more elastic yarn like merino wool.
How do I read a cable knitting chart?
Each square represents a stitch. Diagonal lines indicate where stitches cross. A line leaning left means “hold front,” right means “hold back.” Charts are read bottom-to-top and right-to-left on right-side rows.
Bringing Your Craft to Life
Mastering the cable stitch opens a world of expressive knitting. Whether you're crafting a family heirloom sweater or adding subtle flair to a beanie, cables bring depth, history, and artistry to your work. What begins as a technical challenge soon becomes intuitive—a rhythmic dance of stitches that builds confidence with every row.
Now that you understand the fundamentals, pick a simple pattern, gather your tools, and cast on. There’s no substitute for hands-on experience. As you grow more comfortable, experiment with combining cables, altering frequencies, or designing your own motifs. The only limit is imagination.
💬 Ready to start your first cable project? Share your pattern choice or ask questions in the comments—we’d love to support your journey into textured knitting!