Shoelaces are more than just a functional necessity—they’re a subtle expression of personal style. While most people learn one basic knot as children, few realize the variety of ways to tie, lace, and maintain their laces for both security and aesthetic appeal. Whether you're dealing with constantly loose laces, seeking a sleek look for dress shoes, or want to stand out with bold sneaker lacing, mastering advanced shoelace techniques can elevate your footwear game. This guide explores practical, stylish, and durable methods to tie and care for your shoelaces with confidence and creativity.
The Problem with the Standard Bow Knot
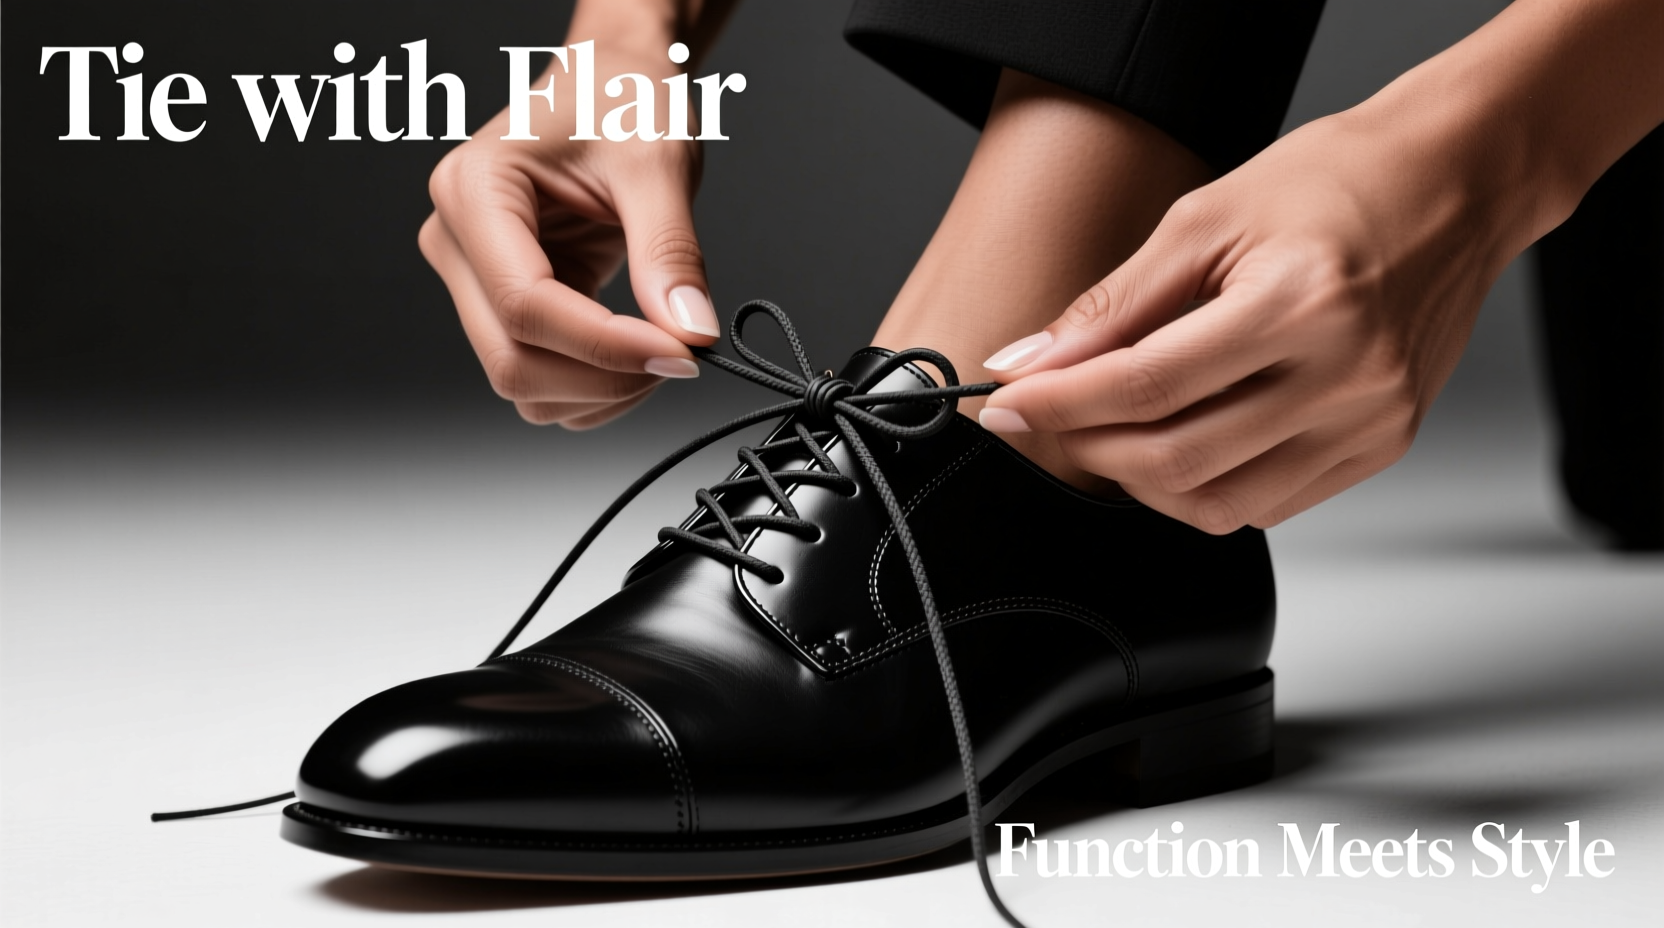
The traditional \"bunny ears\" or loop-and-pull method is taught early and widely used—but it’s also notoriously unreliable. Studies show that during walking, repeated impact and motion cause the knot to loosen gradually, often leading to untied laces within minutes. Dr. Oliver O’Reilly, a mechanical engineering professor at UC Berkeley who studied shoelace dynamics, explains:
“Shoelaces fail not from pulling, but from a combination of inertial forces and impact-induced loosening. The standard bow knot is structurally vulnerable under dynamic conditions.” — Dr. Oliver O’Reilly, Mechanical Engineer
This insight underscores why upgrading your tying technique isn’t just about appearance—it’s about performance and safety. A securely tied shoe prevents tripping hazards and enhances comfort during extended wear.
Tip: If your laces come undone frequently, try switching from a granny knot (asymmetric pull) to a reef knot base (balanced tension).Step-by-Step: The Surgeon’s Shoelace Knot
For a stronger, more reliable alternative to the standard bow, adopt the surgeon’s knot. It adds an extra twist during the first step, increasing friction and stability without sacrificing ease of untying.
- Cross the two lace ends over each other and pass one under the other, forming a basic knot (same as step one of the standard method).
- Before making the loops (\"bunny ears\"), wrap one lace around the other twice instead of once.
- Form two loops and pull one through the double-wrapped base.
- Tighten evenly. The result is a symmetrical bow that resists slipping.
This method doubles the initial friction, significantly reducing the chance of accidental loosening. Runners, hikers, and parents of active kids report fewer re-tying stops after switching to this version.
Creative Lacing Styles for Different Shoe Types
Beyond how you tie, how you thread the laces through the eyelets makes a dramatic visual difference. Here are three popular styles tailored to common footwear:
Ladder Lacing (Best for Dress Shoes)
Ideal for oxfords and formal footwear, ladder lacing creates clean horizontal lines across the shoe. It eliminates crisscross clutter and gives a minimalist, polished appearance.
- Start with even lace ends.
- Thread both ends upward from the bottom eyelets.
- Take one end straight across; feed the other end up vertically on its side, then horizontally across underneath.
- Repeat, creating parallel rungs like a ladder.
Straight Bar Lacing (Ideal for Sneakers)
This method produces neat, parallel bars across the shoe. It reduces pressure points and offers a sleek, modern look—especially effective on low-top sneakers.
- Begin by threading one end from the inside of the bottom left eyelet.
- Pull it straight across and insert into the right-side bottom eyelet from outside to inside.
- Move up the left side, feeding the lace vertically into the next eyelet.
- Cross straight across again, repeating the pattern.
Zig-Zag Lacing (Functional & Fast)
A hybrid between traditional and bar lacing, this style balances speed, tension control, and moderate visual interest. Great for athletic shoes where quick adjustments matter.
| Lacing Style | Best For | Pros | Cons |
|---|---|---|---|
| Ladder | Dress shoes | Clean look, no visible crosses | Time-consuming; less flexibility in fit |
| Straight Bar | Sneakers, casual shoes | Even pressure, stylish | May require longer laces |
| Zig-Zag | Athletic shoes | Quick, balanced tension | Less unique visually |
Maintenance Tips for Long-Lasting Laces
No matter how expertly you tie or lace, worn-out or frayed laces undermine both form and function. Extend the life of your laces with these simple practices:
Tip: Replace laces before they fray—split ends weaken the entire knot structure.- Rotate pairs: Just like shoes, rotating multiple sets of laces reduces continuous stress and sweat exposure.
- Wash regularly: Remove laces and hand-wash with mild detergent every few weeks, especially if worn daily.
- Trim frays: Use a lighter to carefully seal synthetic lace ends and prevent unraveling.
- Choose quality materials: Waxed cotton or braided polyester laces resist fraying and hold knots better than cheap flat ribbons.
Mini Case Study: Alex’s Work Commute Transformation
Alex, a software developer in Seattle, walks 45 minutes daily to work, often in damp weather. He used to stop weekly to re-tie his sneakers, which wore out quickly due to moisture and constant use. After learning about waxed laces and the surgeon’s knot, he switched to 48-inch waxed polyester laces and adopted straight bar lacing. Not only did his shoes stay tied all day, but the cleaner look earned compliments from colleagues. Within two months, he started experimenting with color-matching laces to his outfits—a small change with noticeable impact.
FAQ: Common Shoelace Questions Answered
Why do my shoelaces always come untied?
Most likely, you’re using a granny knot, which is asymmetrical and prone to unraveling. Try switching to a reef knot foundation by changing which lace goes over in the first step. Also consider upgrading to round or waxed laces, which hold knots better than flat ones.
Can I use different length laces for different styles?
Absolutely. Lacing styles affect lace length needs. Straight bar and ladder lacing often require longer laces than standard crisscross. As a general rule:
- 4–6 eyelet pairs: 36–40 inch laces
- 6–8 eyelet pairs: 48–54 inch laces
- 8+ eyelet pairs: 60+ inches
Are there waterproof shoelaces?
While no laces are fully waterproof, many synthetic options (like nylon or polyester) resist water absorption and dry quickly. Some brands offer silicone-coated or paraffin-treated laces ideal for wet climates or outdoor use.
Checklist: Master Your Shoelace Game
Follow this checklist to upgrade your shoelace skills in one week:
- Inspect current laces for fraying or wear.
- Buy two new pairs: one neutral, one bold color.
- Practice the surgeon’s knot until it becomes automatic.
- Re-lace one pair using straight bar or ladder style.
- Wash and condition leather shoes while laces are removed.
- Test new setup on a long walk—adjust tension as needed.
- Share your favorite style with a friend or on social media.
Conclusion: Tie More Than Just Your Shoes—Tie Your Identity
Shoelaces may seem trivial, but they reflect attention to detail, personal care, and quiet confidence. By mastering secure knots, exploring elegant lacing patterns, and maintaining your gear, you turn a routine act into an expression of craftsmanship. These techniques aren’t just for fashionistas or athletes—they’re for anyone who values both function and flair in daily life.
💬 Ready to step up your shoe game? Try one new lacing style this week and notice the difference. Share your results or tag a friend who still ties bunny ears!