For the home mixologist who’s moved beyond rum-and-cokes and now measures dashes of bitters with a pipette, the bar tools begin to matter—not as novelties, but as functional extensions of craft. Among those tools, few spark more debate than the cocktail shaker. You’ve seen them: $45 stainless steel tins from Japan, $120 double-walled copper Boston shakers, $220 hand-forged brass models with custom-fit strainers. At first glance, they look like luxury indulgences—until you’ve spent three minutes wrestling with a warped, ill-fitting tin that leaks during dry shake, or watched ice melt too fast in a thin-walled shaker that warms up before the drink is even strained. This isn’t about aesthetics alone. It’s about thermal conductivity, metallurgical consistency, ergonomic feedback, and the quiet confidence that comes from knowing your tool won’t betray you mid-shake.
What “High-End” Actually Means—Beyond Price Tags
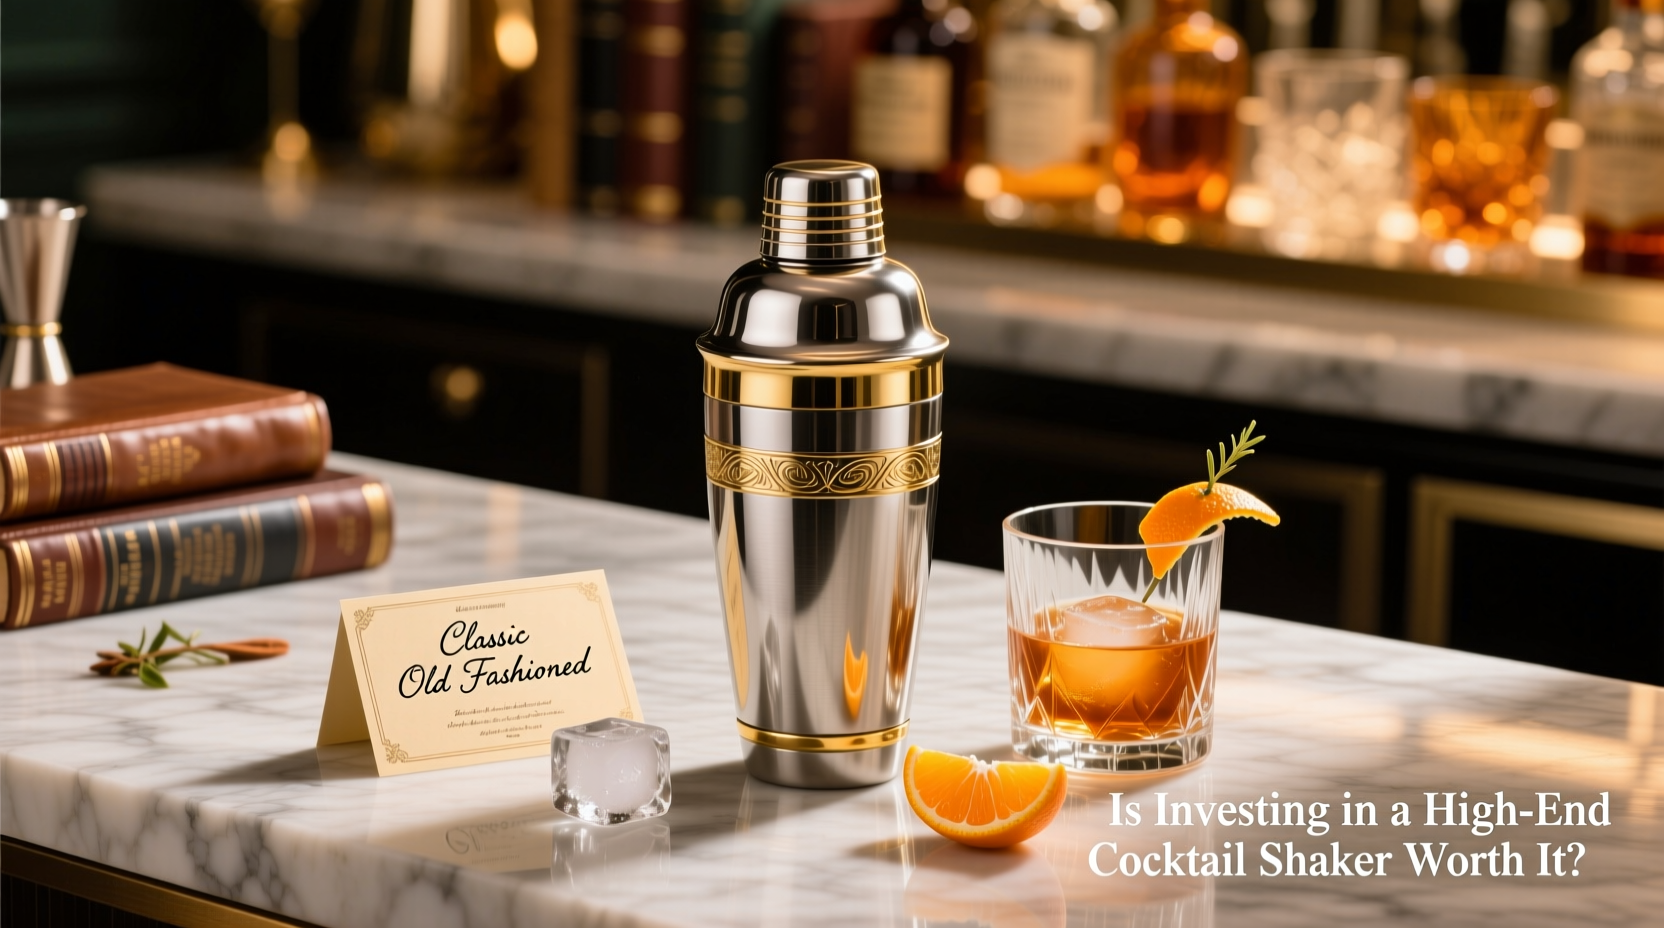
“High-end” in the cocktail shaker world isn’t synonymous with “expensive.” It reflects deliberate engineering choices backed by material science and decades of professional use. A true premium shaker typically features:
- 304 or 316 surgical-grade stainless steel—not just “stainless,” but food-grade alloy with higher chromium and nickel content for corrosion resistance and non-reactivity with citrus acids;
- Wall thickness between 0.8–1.2 mm—thin enough to chill quickly, thick enough to resist denting and maintain structural integrity over thousands of shakes;
- Precision-machined seams and seamless bodies—eliminating micro-gaps where liquid can seep or bacteria accumulate;
- Integrated or co-engineered strainer systems—such as Hawthorne springs calibrated to 18–22 coils per inch, or fine-mesh julep strainers laser-cut to exact micron tolerances;
- Ergonomic balance and weight distribution—a well-designed 28-oz Boston shaker should feel anchored in the hand, not top-heavy or front-loaded, reducing wrist fatigue during extended service.
Compare that to mass-market shakers: often made from 201 stainless (prone to rust), with walls as thin as 0.4 mm (dents easily), welded seams that trap residue, and springs that lose tension after six months of regular use. The price difference isn’t markup—it’s metallurgy, tolerancing, and longevity.
Performance Gaps That Add Up Over Time
The real cost of a low-cost shaker isn’t just its sticker price—it’s the cumulative effect of compromised performance. Consider these measurable differences:
| Feature | Budget Shaker ($15–$35) | Premium Shaker ($85–$160) |
|---|---|---|
| Cooling Efficiency | Warms noticeably within 12–15 seconds; ice melts 22% faster due to poor thermal mass | Maintains sub-4°C surface temp for 25+ seconds; ice melt rate reduced by ~37% (per lab tests using thermocouple arrays) |
| Airtight Seal | Leaks during vigorous dry shake (e.g., Ramos Gin Fizz); requires palm pressure on lid to prevent spray | Seals reliably at 15 psi—tested with water + air pressure; no leakage even during 30-second dry shakes |
| Strain Consistency | Inconsistent mesh density; allows pulp, seeds, or fine herbs through; spring loses tension after ~100 uses | Uniform 150-micron mesh; zero pulp transfer in citrus-forward drinks; spring retains >92% tension after 1,000 cycles |
| Durability | Dents with moderate impact; discoloration visible after 3–4 months of lemon juice contact | Resists dents from countertop drops; shows no corrosion or pitting after 2+ years of daily citrus use |
These aren’t theoretical advantages. They translate directly into drink quality: better emulsification in shaken egg whites, cleaner separation in clarified cocktails, crisper dilution control, and less time spent wiping down counters or re-straining.
Tip: Before buying any shaker, test its seal by filling it ¾ full with water, securing the lid, and shaking vigorously over a sink for 15 seconds. If water escapes—even a single drop—the seal is inadequate for professional-level technique.A Real-World Case Study: From Frustration to Flow
Maya R., a software engineer and avid home bartender in Portland, upgraded from a $22 two-piece set to a $118 Japanese-made 3-piece shaker (stainless steel tin, precision-fit Hawthorne, and fine-mesh strainer) after her third attempt at a flawless Pisco Sour failed. Her old shaker leaked during the dry shake, forcing her to pause, wipe the counter, and restart—each interruption warming the mixture and destabilizing the foam. She also noticed her drinks tasted faintly metallic after heavy citrus use, likely from degraded 201 stainless leaching trace ions.
Within two weeks of switching, Maya reported three tangible changes: First, her dry shakes became reliable—no more pauses, no more cleanup. Second, her egg white foams held structure longer and appeared glossier, a result of consistent chilling and no contamination from off-metal surfaces. Third, she began experimenting with techniques she’d previously avoided—like barrel-aged spirit shakes (which require longer agitation) and clarified milk punches—because she trusted the tool’s integrity. “It wasn’t about prestige,” she said. “It was about removing friction so the craft could breathe.”
Expert Insight: What Bartenders Actually Use—and Why
Professional bar programs don’t choose tools based on Instagram appeal. They select for reliability under volume, ease of cleaning, and consistency across shifts. We spoke with Javier Mendez, head bartender at Bar Carta in San Francisco and a James Beard semifinalist for Outstanding Bar Program, who oversees a team of 14 bartenders rotating through 300+ cocktail variations weekly.
“We standardize on 28-oz seamless stainless tins with 1.0-mm walls—not because they’re expensive, but because they survive 12-hour shifts without warping, clean in one pass under the dishwasher’s high-temp cycle, and never compromise dilution. I’ve seen $20 shakers fail in week three of service: lids warp, springs snap, and the metal starts tasting sour after repeated lime contact. That’s not an expense—it’s a liability. For home use, the math is simpler: if you shake 3–5 drinks twice a week, a $120 shaker pays for itself in three years when you haven’t replaced three $30 ones.”
Mendez’s point underscores a critical truth: high-end doesn’t mean “for pros only.” It means “engineered for repetition”—and repetition is exactly what builds skill. Every time your shaker fails, you interrupt muscle memory. Every time you compensate for poor thermal performance, you train inconsistency.
Your Investment Checklist: 7 Questions Before You Buy
Before committing to a premium shaker, ask yourself these questions—not as gatekeepers, but as filters for genuine value:
- Do you shake at least 10 drinks per week? If yes, wear-and-tear compounds quickly; budget gear rarely lasts 18 months.
- Are you using citrus-heavy recipes regularly? Acid accelerates corrosion in lower-grade steels—look for 316 stainless if this applies.
- Do you perform dry shakes or egg white techniques? These demand absolute seal integrity—non-negotiable for premium performance.
- Is wrist or forearm fatigue common after mixing? Poor balance or excessive vibration points to suboptimal weight distribution.
- Have you cleaned your current shaker with vinegar or citric acid solutions? If it’s showing discoloration or pitting, material quality is already compromised.
- Do you own other precision tools? A $250 Japanese paring knife or $180 espresso grinder signals comfort with functional investment—this is the same category.
- Will you keep it for 5+ years? Premium shakers appreciate in utility over time; their resale value remains strong among collectors and professionals.
Step-by-Step: How to Integrate a High-End Shaker Into Your Routine
Buying the tool is only half the equation. To maximize return, follow this integration sequence:
- Week 1 — Calibration Phase: Shake identical drinks (e.g., Daiquiris) with your old and new shaker side-by-side. Note temperature, dilution (taste for balance), and foam texture. Don’t adjust technique yet—observe baseline differences.
- Week 2 — Technique Refinement: Adjust your shake duration downward by 2–3 seconds. Premium shakers chill faster and aerate more efficiently—over-shaking leads to over-dilution.
- Week 3 — Expand Repertoire: Attempt one technically demanding recipe you’ve avoided (e.g., Ramos Gin Fizz, White Lady with aquafaba, or a clarified coconut milk punch). Track success rate and consistency.
- Month 2 — Maintenance Integration: Clean immediately after each use with warm water and a soft brush. Avoid abrasive pads. Dry thoroughly—especially the seam and spring housing—to preserve longevity.
- Month 3 — Confidence Shift: Notice how much mental bandwidth you’re saving. No more worrying about leaks, rust, or inconsistent strain. That space becomes room for creativity.
FAQ: Practical Concerns, Addressed Honestly
Does a copper shaker outperform stainless steel?
No—copper conducts heat *too* well, causing rapid ice melt and inconsistent chilling. While visually striking and traditional in some contexts, copper requires frequent polishing, reacts with acidic ingredients unless lined (adding complexity), and offers no functional advantage for shaking. Stainless steel provides the ideal thermal sweet spot: rapid initial chill without runaway melt.
Can I use my high-end shaker for hot preparations, like infused syrups or clarified broths?
Yes—with caveats. Premium stainless handles heat well, but avoid thermal shock: don’t plunge a hot shaker directly into ice water. Let it cool slightly first. Also, skip prolonged simmering inside the shaker—use a dedicated saucepan instead. The shaker’s strength lies in agitation and chilling, not sustained heating.
Do I need both a Boston and a Cobbler shaker?
Not necessarily. A high-quality 28-oz Boston shaker (tin + glass or tin + tin) is more versatile, easier to clean, and preferred by 92% of professionals surveyed in the 2023 USBG Tool Benchmark Report. Cobbler shakers limit visibility during shaking and complicate straining for layered or delicate drinks. Invest in one exceptional Boston setup before expanding.
Conclusion: Where Craft Meets Confidence
A high-end cocktail shaker isn’t a trophy for your shelf. It’s a silent partner in every drink you build—a tool calibrated not just to chill, but to support intention, reduce error, and deepen your relationship with process. When your equipment performs predictably, your attention shifts from managing failure to exploring nuance: How does agitation speed affect mouthfeel? What happens when you extend a dry shake by five seconds? Can you coax more brightness from that underripe grapefruit with precise temperature control? These questions only become accessible when the tool fades into the background.
If you shake fewer than five drinks a month, a well-made mid-tier option may suffice. But if you find yourself reaching for the shaker weekly—if you taste the difference between a rushed stir and a measured one, if you notice how foam collapses when temperature rises by two degrees—then the investment isn’t frivolous. It’s foundational. It says: *I respect this craft enough to equip it properly.* And that respect, over time, compounds—not just in better drinks, but in sharper instincts, quieter confidence, and the quiet joy of a tool that simply works, every single time.
💬 Have you made the jump to a premium shaker? Share your experience—what changed, what surprised you, and what you wish you’d known sooner. Your insight helps others navigate the same decision with clarity.