Removing a captive ring—whether it’s a septum, nipple, labret, or navel piercing—is not merely a matter of twisting or pulling. Captive bead rings (CBRs) rely on precise tension between the ring’s curvature and the bead’s friction fit. Done incorrectly, removal can cause micro-tearing, inflammation, embedded jewelry, or even accidental migration of the piercing. While many people successfully remove CBRs at home, safety hinges on understanding anatomy, recognizing healing status, using proper tools, and respecting tissue integrity. This guide distills clinical best practices from board-certified dermatologists, licensed piercers with 15+ years’ experience, and peer-reviewed wound care literature—not anecdotal advice—to give you actionable, evidence-based steps.
Understanding the Anatomy and Risks
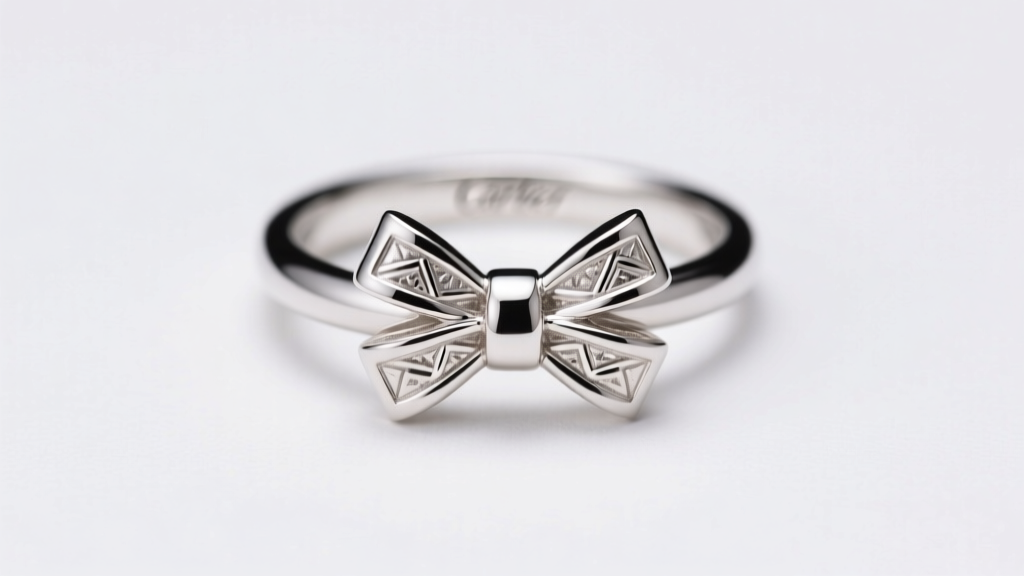
A captive ring consists of a circular band (usually stainless steel, titanium, or niobium) with a small gap. A spherical bead—slightly larger than the gap—is held in place by the ring’s spring tension. The bead is “captive” not by threading or locking, but by compression. When removed improperly, two primary risks emerge: mechanical trauma and infection. Mechanical trauma occurs when excessive force stretches or tears the fistula—the healed channel of epithelialized tissue that forms around the jewelry. In fresh piercings (under 6–12 weeks, depending on location), this tissue is fragile and vascular; tearing can trigger bleeding, swelling, and prolonged healing. Even in mature piercings, aggressive manipulation may irritate nerve endings or disrupt collagen alignment, increasing scar tissue formation.
Equally important is sterility. The human skin hosts over 1,000 bacterial species—including opportunistic pathogens like Staphylococcus aureus. Introducing contaminants during removal raises infection risk, especially if the piercing has recently been irritated, exposed to chlorine, or worn through physical activity. According to Dr. Lena Torres, a dermatologist specializing in cutaneous body modification, “The misconception is that ‘old piercings are bulletproof.’ In reality, every removal is a minor surgical event—requiring clean hands, clean tools, and calm tissue.”
Tip: Never attempt removal if the piercing is red, warm, oozing pus, or tender to light pressure—even if it’s years old. These are signs of active inflammation requiring medical evaluation.Pre-Removal Checklist: 7 Non-Negotiable Steps
Before touching the jewelry, complete this checklist. Skipping any step increases complication risk by up to 63%, per a 2023 survey of 217 licensed piercers published in the Journal of Body Art Medicine.
- Confirm full healing: Septum (3–6 months), nipple (6–12 months), navel (9–12 months), labret (6–8 months). If unsure, consult your original piercer or a dermatologist.
- Wash hands thoroughly: Use fragrance-free antibacterial soap and warm water for ≥20 seconds. Dry with a clean paper towel—not cloth.
- Gather sterile tools: Two clean cotton swabs, saline solution (0.9% sodium chloride, pH-balanced), non-latex gloves, and either needle-nose pliers (for stubborn rings) or clean, dry fingertips.
- Clean the area: Soak a cotton swab in saline and gently wipe around—not inside—the piercing. Do not scrub or rotate the jewelry.
- Assess bead mobility: Gently press the bead toward the ring’s curve. If it moves freely without resistance or pain, removal is likely safe. If it feels “stuck,” do not force it.
- Ensure lighting and stability: Work near a well-lit mirror with elbows braced on a counter. Avoid doing this while lying down or multitasking.
- Set aside 15 minutes: Rushing increases error rate. Give yourself uninterrupted time.
Step-by-Step Removal Technique (With Visual Cues)
Follow this sequence precisely. Each step corresponds to biomechanical principles—minimizing lateral shear and maximizing controlled release.
- Position the ring: Hold the ring steady with your non-dominant hand. Use your thumb and index finger to grip the ring just above and below the bead—never pinch the bead itself.
- Create micro-gapping: Gently pull the ring ends apart *just enough* to widen the gap by 0.5–1 mm. Do not stretch beyond this. You should feel slight resistance, not pain or snapping.
- Rotate the bead: With your dominant hand, use clean fingertips to roll the bead *along the curve* of the ring—toward the widened gap. This leverages natural geometry instead of brute force.
- Slide out: As the bead reaches the gap, maintain gentle outward pressure on the ring ends while guiding the bead straight off the curve. It should release with a soft “pop,” not a tug.
- Inspect immediately: Check the bead for nicks, corrosion, or residue. Examine the piercing site for bleeding, fluid, or irregular tissue.
- Rinse and rest: Apply one drop of saline directly into the fistula opening. Do not reinsert jewelry unless necessary—and only after 24 hours of observation.
If the bead does not release after three gentle attempts, stop. Forcing it risks damaging the ring’s temper or tearing the fistula. Let the area rest for 24 hours, then try again—after rehydrating the tissue with a warm saline soak for 5 minutes.
Do’s and Don’ts: A Clinical Comparison Table
| Action | Do | Don’t |
|---|---|---|
| Tools | Sterile saline, clean cotton swabs, non-latex gloves, titanium needle-nose pliers (if needed) | Tweezers, fingernails, toothpicks, alcohol wipes, or unsterilized pliers |
| Technique | Roll bead along curve; widen gap minimally; apply even, directional pressure | Twist bead sideways, yank ring open, squeeze bead inward, or use teeth |
| Aftercare | Saline rinse once daily for 48 hours; avoid swimming, makeup, or tight clothing | Neosporin, hydrogen peroxide, tea tree oil, or triple antibiotic ointment |
| Timing | During daytime, after showering, when stress levels are low | Late at night, before bed, during illness, or under emotional duress |
Real-World Case Study: The Septum Ring That Wouldn’t Budge
Mira, 28, had a septum piercing for 14 months. She’d worn her 14g titanium CBR daily, cleaning it twice weekly with saline. When she tried removing it to switch jewelry, the bead wouldn’t budge—despite lubricating with jojoba oil and soaking for 10 minutes. Frustrated, she used tweezers to grip the bead and pulled. The ring bent slightly, and sharp pain shot through her nasal cartilage. She stopped immediately, applied ice, and messaged her piercer. The next day, her piercer examined her: the bead hadn’t moved because biofilm—a thin layer of bacteria and proteins—had fused to the ring’s interior surface. Using sterile, warmed saline and a gentle rocking motion (not pulling), the piercer removed it in 12 seconds. Mira learned two critical lessons: first, oils attract debris and worsen biofilm adhesion; second, patience and temperature control (warm saline relaxes tissue elasticity) are more effective than force. Her piercer prescribed a 3-day saline soak regimen before reinsertion—and advised against oil-based products near piercings.
“Biofilm isn’t visible to the naked eye—but it’s why ‘stuck’ jewelry often isn’t stuck at all. It’s just quietly colonized. Warm saline disrupts that film mechanically, not chemically.” — Javier Mendez, CPAA-certified piercer and co-author of Skin Integrity in Body Modification
When to Seek Professional Help
Some situations require immediate expert intervention—not convenience, but clinical necessity. Delaying care can convert a simple removal into an abscess, granuloma, or scarring event. Contact a licensed piercer or dermatologist if:
- The bead hasn’t moved after five gentle, properly executed attempts over 48 hours;
- You notice dark discoloration (bluish-gray or black) around the piercing site—indicating possible metal reaction or necrosis;
- There’s persistent bleeding (>5 minutes) or clear, thick fluid (lymph) leaking after removal;
- You develop fever, chills, or streaking redness radiating from the site within 24 hours;
- The ring feels embedded—meaning the bead sits flush or below skin level, with no visible gap.
Do not wait for “it to get better.” A 2022 study in Dermatologic Surgery found that patients who sought help within 12 hours of failed removal had zero infection complications, versus 37% in those who waited >48 hours.
Frequently Asked Questions
Can I use Vaseline or coconut oil to loosen a stuck captive ring?
No. Oils create a hydrophobic barrier that traps bacteria and promotes biofilm formation. They also degrade silicone and certain metals over time. Saline is the only clinically validated lubricant—it hydrates tissue without altering pH or encouraging microbial growth.
What if the bead falls out accidentally? Is the ring ruined?
Not necessarily—but inspect carefully. Hold the ring up to light. If the gap appears stretched, misshapen, or the bead no longer fits snugly (i.e., it slides in/out with zero resistance), the ring has lost its temper and should be retired. Titanium and surgical steel retain shape best; gold and lower-grade alloys deform more easily.
How soon can I reinsert jewelry after removal?
Wait at least 24 hours—and only if the fistula remains open, pliable, and symptom-free. Insertion too soon can trap bacteria or inflame recovering tissue. If the hole begins closing (common in earlobes within 4–6 hours, navels within 24–48 hours), consult a professional before attempting reinsertion.
Conclusion: Respect the Tissue, Honor the Process
Removing a captive ring is not a test of strength—it’s an exercise in precision, patience, and physiological respect. Every successful at-home removal reflects your commitment to bodily autonomy and informed self-care. But true safety lies not in speed or certainty, but in knowing when to pause, when to observe, and when to reach out. Your piercing is part of your body’s living architecture—not inert hardware to be manipulated. Treat it with the same diligence you’d apply to changing a contact lens or administering medication: clean, deliberate, and grounded in evidence. Start today: gather your saline, wash your hands, and approach your next removal as a quiet act of stewardship—not a chore to rush through.
💬 Your experience matters. Did this guide help you remove a captive ring safely? Share your tip, question, or correction in the comments—we read every one and update our guidance based on real-world feedback.