Vintage enamel pins are more than just accessories—they’re tiny works of art that carry history, personality, and sentiment. Whether collected over decades or inherited from a loved one, these colorful keepsakes deserve careful handling. Over time, dirt, oils, and tarnish can dull their appearance, tempting owners to clean them aggressively. But improper cleaning methods can irreversibly damage the enamel, causing cracking, chipping, or color fading. Preserving the vibrancy of vintage enamel requires knowledge, patience, and the right tools. This guide provides a comprehensive approach to cleaning your pins safely while maintaining their integrity for years to come.
Understanding Enamel Pins: Structure and Vulnerability
Enamel pins are typically made from a metal base—often brass, copper, or iron—overlaid with colored glass powder that’s fused through high heat. The result is a glossy, durable surface. However, vintage pins may have undergone decades of exposure to air, moisture, skin oils, and pollutants. Their age makes them more fragile than modern counterparts.
The enamel layer, while hard, is not impervious. It can develop microfractures, especially in older pieces. Harsh chemicals, abrasive materials, or sudden temperature changes can cause the enamel to craze (develop fine cracks), lift, or lose its luster. The pigments used in vintage enamels were sometimes less stable than those in today’s manufacturing processes, making color preservation even more critical.
Additionally, the metal backing and pin clasp can corrode or tarnish, which indirectly affects the enamel if cleaning solutions seep underneath. Recognizing that each pin is unique—some may have hand-painted details or delicate metallic accents—means no single cleaning method fits all.
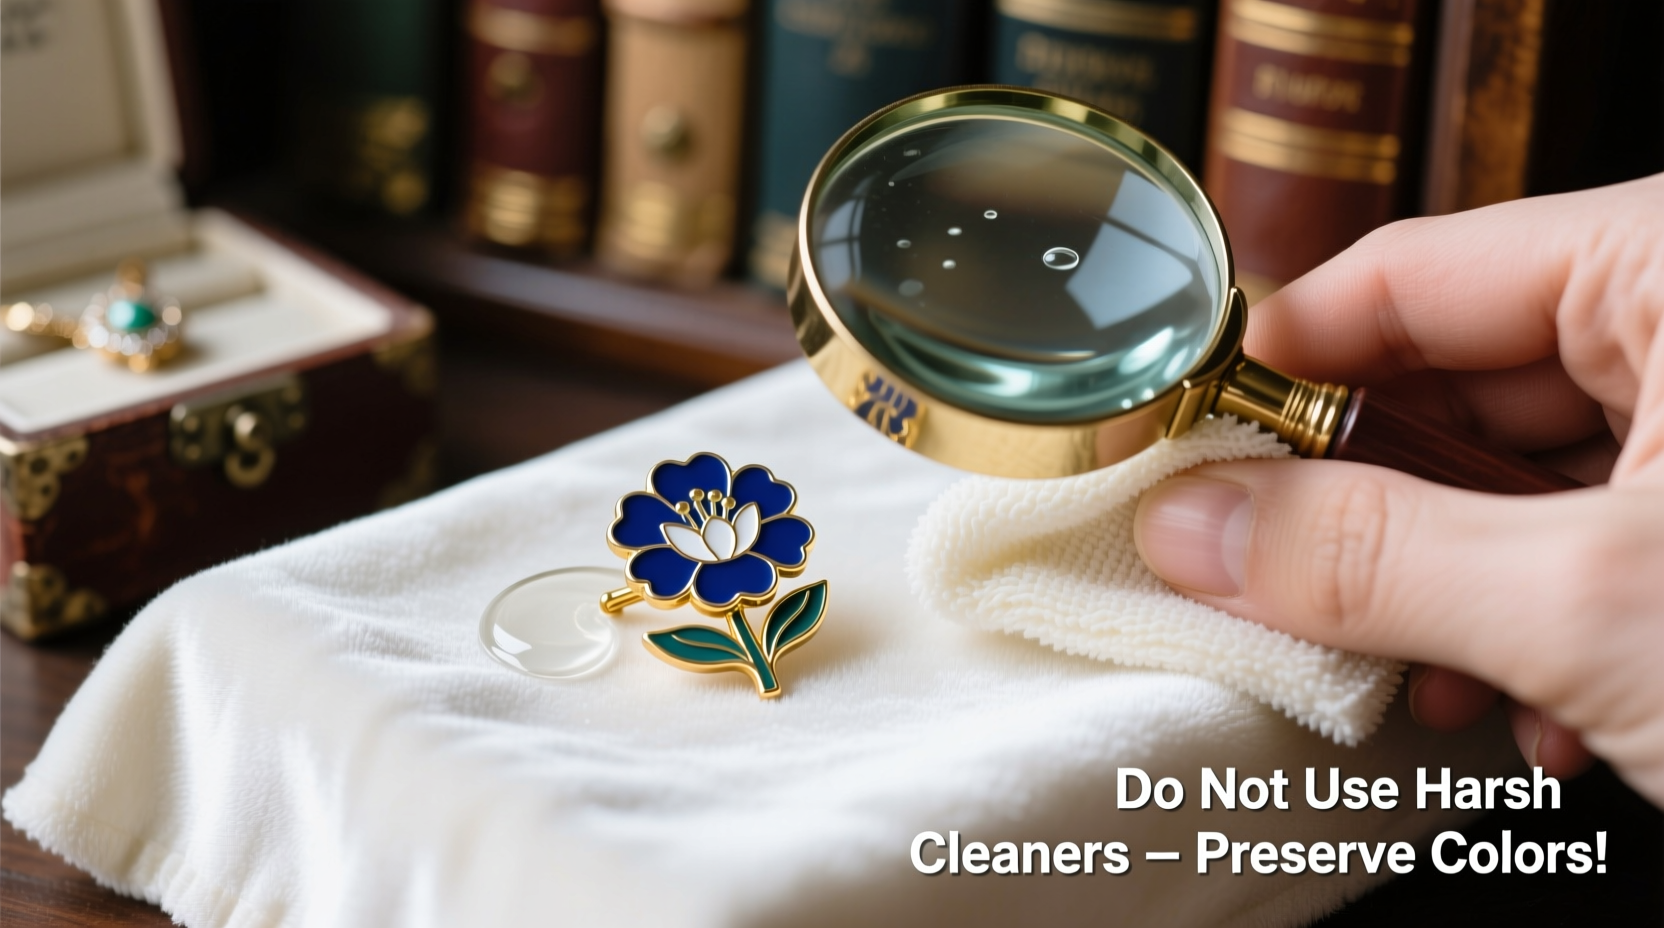
Tip: Always examine your pin under magnification before cleaning. Look for hairline cracks, lifting enamel, or flaking paint that could worsen with moisture.Essential Supplies for Safe Cleaning
Cleaning vintage enamel pins doesn’t require specialty products, but it does demand precision. Using the wrong tools—even something as common as a paper towel—can scratch surfaces. Below is a list of recommended supplies:
- Cotton swabs (Q-tips) – Use high-quality, tightly wrapped swabs to avoid fiber shedding.
- Soft-bristled brush – A clean makeup brush or artist’s paintbrush works well for dust removal.
- Distilled water – Prevents mineral deposits left by tap water.
- Mild dish soap – Choose fragrance-free, dye-free formulas like Dawn Free & Gentle.
- Microfiber cloth – Non-abrasive and lint-free for drying.
- Isopropyl alcohol (70%) – Only for spot testing or removing adhesive residue, never applied broadly.
- Paper towels or lint-free cloths – For blotting, not rubbing.
- Plastic container or tray – To hold cleaning solution and prevent loss.
Avoid steel wool, baking soda, vinegar, bleach, ultrasonic cleaners, and commercial jewelry dips. These are too aggressive and can strip enamel or corrode metal bases beneath.
Step-by-Step Guide to Cleaning Vintage Enamel Pins
Cleaning should be approached cautiously and incrementally. Follow this timeline to minimize risk while achieving visible results.
- Inspect the Pin: Use a magnifying glass or smartphone macro lens to check for cracks, loose edges, or discoloration. If the enamel appears compromised, skip wet cleaning entirely.
- Dry Dusting: Gently brush away surface dust with a soft makeup brush. Work in one direction to avoid pushing debris into crevices.
- Prepare Cleaning Solution: Mix one drop of mild dish soap into two ounces of distilled water. Do not create suds.
- Spot Test: Dip a cotton swab in the solution and gently touch an inconspicuous area—like the back edge of the metal rim. Wait five minutes. Check for any color transfer or cloudiness.
- Wet Cleaning (If Passed Spot Test): Dampen a corner of a microfiber cloth or use a lightly moistened cotton swab. Gently wipe the enamel surface using minimal pressure. Never soak the pin.
- Focus on Metal Areas: Use a separate swab for the metal portions. Tarnish can be carefully reduced with a jewelry polishing cloth (non-abrasive), but avoid contact with enamel.
- Rinse (Optional): If soapy residue remains, dab with a cloth dampened only with distilled water. Do not rinse under running water.
- Dry Immediately: Blot with a dry microfiber cloth. Lay flat on a clean towel in a warm, ventilated area—never in direct sunlight. Allow 30–60 minutes to fully dry.
- Final Inspection: Once dry, re-examine under light. If grime persists, repeat once. Multiple cleanings increase risk.
Do’s and Don’ts: Best Practices Summary
| Do’s | Don’ts |
|---|---|
| Use distilled water and mild soap | Never use vinegar or lemon juice |
| Clean in short, gentle motions | Avoid scrubbing or circular rubbing |
| Dry thoroughly before storage | Don’t store damp or in plastic bags |
| Store pins individually in soft pouches | Never stack pins loosely in a box |
| Handle by the metal rim, not the enamel | Avoid touching the surface with fingers |
| Test any method on one pin first | Don’t assume all pins react the same |
Real Example: Restoring a 1970s Union Pin
Jeanette, a collector from Portland, inherited a set of labor union pins from her grandfather. One featured red, white, and blue enamel with gold lettering, but years in a cedar chest had left it coated in sticky residue and tarnished metal. Eager to restore it, she nearly used a jewelry dip until researching risks online.
Instead, she followed the gentle method outlined here. After inspection revealed no cracks, she dry-dusted the pin, then used a cotton swab with diluted dish soap to clean the enamel in light strokes. The red pigment remained vibrant, and the white showed no clouding. She polished the metal rim with a jewelry cloth and allowed 45 minutes to dry. The result was a clean, bright pin that looked close to its original state—without any fading or damage.
“I was terrified I’d ruin it,” Jeanette said. “But going slow and skipping harsh chemicals made all the difference.”
“With vintage enamel, less is more. Aggressive cleaning removes not just dirt, but history. Patience preserves both value and appearance.” — Dr. Lila Nguyen, Textile and Artifact Conservator at the National Museum of American History
When Not to Clean: Signs Your Pin Needs Professional Care
Some vintage pins are better left untouched. If you notice any of the following, professional conservation is advisable:
- Visible cracks or “crazing” in the enamel
- Flaking or bubbling on the surface
- Loose components or missing backing
- Heavy corrosion on the metal base that extends under the enamel
- Presence of glued elements (e.g., rhinestones or fabric inserts)
In such cases, consult a museum conservator or specialized restoration service. While costly, professional care can stabilize fragile pieces and prevent further deterioration. Attempting DIY fixes on unstable enamel often leads to irreversible harm.
Safe Storage Tips to Prevent Future Damage
Cleaning is only half the battle. Proper storage ensures your pins stay clean and protected long-term.
Store each pin in an individual acid-free tissue-wrapped pouch or a padded compartment box. Avoid vinyl or PVC-based containers, which emit gases that degrade metals and plastics over time. Keep pins in a cool, dry place away from sunlight and humidity—bathrooms and attics are poor choices.
If displaying, use shadow boxes with UV-protective glass. Rotate displayed pins every few months to limit light exposure. Never hang pins on fabric boards with magnetic backings, as repeated attachment can chip enamel edges.
Tip: Label storage compartments with pin details (year, origin, material) to track condition over time.Frequently Asked Questions
Can I use baby wipes to clean my enamel pins?
No. Most baby wipes contain alcohol, fragrances, and preservatives that can degrade enamel and leave a hazy film. Even “gentle” wipes are too chemically active for vintage finishes.
What should I do if my pin has sticky residue?
For adhesive buildup (such as from old tape or sticker backing), lightly dampen a cotton swab with 70% isopropyl alcohol and test on the metal rim. Gently dab the affected area without spreading to enamel. Wipe immediately with a distilled water-dampened swab and dry thoroughly.
Will tarnish on the metal hurt the enamel?
Tarnish itself won’t damage enamel, but if left unchecked, corrosion can spread and compromise the pin’s structure. Clean metal areas separately using a polishing cloth designed for antique metals, taking care not to rub against the enamel edges.
Conclusion: Preserve the Past, One Pin at a Time
Caring for vintage enamel pins is an act of respect—for craftsmanship, memory, and personal expression. Each pin tells a story, and proper cleaning ensures that story continues to be seen clearly. By avoiding shortcuts and embracing gentle, informed practices, collectors and inheritors alike can maintain the brilliance of these miniature artworks without risking their legacy.
Start with one pin. Inspect, test, clean mindfully, and store wisely. As you build confidence, your entire collection can shine—authentically and safely—without losing a single hue.
💬 Have a vintage pin you’ve successfully cleaned? Share your experience or ask questions in the comments below—your insights could help preserve someone else’s treasure.