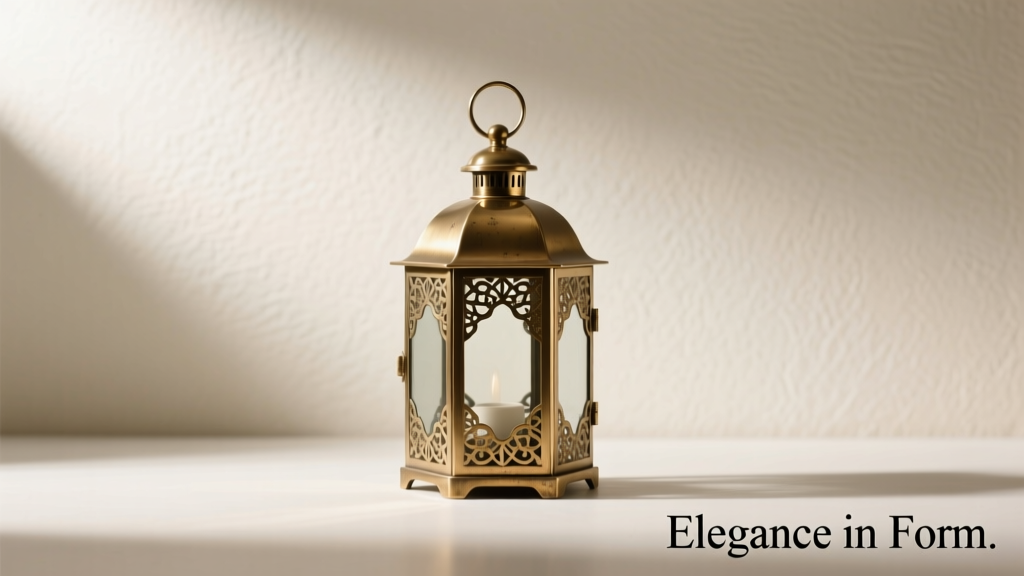
A well-chosen brass pendant light does more than illuminate a kitchen island—it anchors the space, elevates material harmony, and signals intentionality in design. Unlike generic overhead lighting, a brass pendant over the island serves as both functional task lighting and a sculptural focal point. Yet many homeowners default to aesthetics alone: “It looks warm,” “It matches my faucet,” or “It’s trending on Instagram.” Those instincts aren’t wrong—but they’re incomplete. Brass is a living metal with unique thermal, optical, and aging properties. Its performance over time depends less on how it photographs and more on how it integrates with your ceiling height, cabinet depth, daily routines, and electrical infrastructure. This guide distills decades of residential lighting consultation experience into actionable criteria—not trends—to help you select a brass pendant that works beautifully for years, not just months.
1. Match Scale to Island Dimensions—and Human Ergonomics
Scale isn’t about symmetry; it’s about visual weight, clearance, and usability. A pendant that’s too large overwhelms; one too small disappears. Begin with three non-negotiable measurements:
- Island length: For islands under 6 feet, a single medium-scale pendant (14–18 inches in diameter) is optimal. Islands 6–8 feet typically accommodate two pendants spaced 30–36 inches apart, centered over the work surface—not the full island length. Islands over 8 feet often benefit from three pendants, evenly spaced with 30-inch gaps between fixtures.
- Ceiling height: Standard 8-foot ceilings require a minimum 28–32 inches of pendant drop from the ceiling to the island countertop. For 9-foot ceilings, aim for 32–36 inches; for 10-foot or higher, 36–42 inches provides balanced proportion without obstruction. Crucially, the bottom of the fixture must sit no lower than 30 inches above the countertop—this ensures safe headroom for taller users and unimpeded movement while cooking or socializing.
- Counter-to-fixture clearance: Never measure from floor to fixture. Always measure from countertop surface to lowest point of the shade or frame. This accounts for variable counter heights (standard 36 inches vs. bar-height 42 inches) and prevents glare or shadow pooling.
2. Understand Brass Finishes Beyond “Antique” and “Polished”
Brass isn’t monolithic. Its finish determines not only appearance but durability, maintenance frequency, and compatibility with other metals in your kitchen. The four most common residential finishes behave very differently:
| Finish Type | Appearance & Texture | Pros | Cons | Maintenance Frequency |
|---|---|---|---|---|
| Polished Brass | High-gloss, mirror-like, reflective | Maximizes brightness; pairs strongly with white cabinetry and marble | Shows fingerprints, water spots, and dust instantly; requires weekly polishing | Weekly with microfiber cloth; monthly with brass polish |
| Satin Brass | Soft, matte sheen with subtle grain texture | Hides smudges; feels contemporary and tactile; excellent with wood tones | Less luminous than polished; may appear dull under low-CRI bulbs | Every 2–3 weeks with dry cloth |
| Oil-Rubbed Bronze (Brass Core) | Dark, muted, slightly mottled—often with copper undertones | Highly forgiving; conceals wear; complements black hardware and stone countertops | Not technically brass—it’s a bronze alloy with brass plating; can wear through to base metal if scratched | Quarterly inspection for coating integrity |
| Living Brass (Unlacquered) | Raw, untreated brass that patinas naturally over time | Develops rich, organic character; each fixture becomes unique; zero chemical sealants | Patina begins within days; uneven in high-touch areas; not suitable for humid coastal kitchens | None—embrace the evolution |
Important: Avoid “brass-look” finishes—especially painted or PVD-coated aluminum marketed as brass. These lack thermal conductivity, discolor under LED heat, and chip at mounting points. True brass fixtures use solid brass or thick brass plating over copper or steel cores. Verify with the manufacturer: ask for plating thickness (≥3 microns is residential-grade) and whether the shade, canopy, and stem are all brass—not just the visible parts.
3. Prioritize Dimmability, Color Temperature, and CRI—Not Just Wattage
Kitchen islands serve multiple roles: food prep, homework, cocktail mixing, and casual dining. Lighting must adapt. A fixed-brightness, cool-white pendant creates clinical glare during breakfast and insufficient warmth for evening ambiance. Here’s what matters:
- Dimmability: Confirm compatibility with your existing dimmer switch—or plan to upgrade to an ELV (electronic low-voltage) or MLV (magnetic low-voltage) dimmer rated for LEDs. Not all brass pendants include dimmable drivers; some require separate purchase. If your fixture uses integrated LEDs, dimming range should be ≥10%–100%—not just 30%–100%.
- Color temperature: 2700K–3000K delivers warm, inviting light ideal for kitchens. Avoid 3500K+—it introduces sterility and exaggerates brass’s yellow cast. Note: Some “warm-dim” LEDs shift from 2700K at full brightness to 1800K at 10%, mimicking candlelight—a luxury worth specifying.
- CRI (Color Rendering Index): Aim for CRI ≥90. Lower CRI (<80) flattens food colors (avocados look gray, tomatoes lose vibrancy) and makes brass appear muddy instead of luminous. High-CRI LEDs render brass’s gold-copper spectrum accurately and enhance wood grain and stone veining.
“Brass lighting fails not from poor design—but from mismatched light quality. A $1,200 fixture with 82 CRI and non-dimmable LEDs performs worse than a $350 fixture with 95 CRI, smooth dimming, and 2700K tuning.” — Lena Torres, Lighting Designer & Principal, Hearth Studio
4. Installation Realities: Wiring, Weight, and Structural Support
Many brass pendants weigh 8–15 pounds—significantly more than standard plastic or aluminum fixtures. That mass demands structural readiness. Ignoring this risks sagging mounts, cracked drywall, or compromised junction boxes. Address these before ordering:
- Junction box rating: Standard plastic boxes support ≤50 lbs. But brass pendants require a reinforced metal “old-work” or “new-work” box rated for ≥35 lbs *minimum*. If your home was built before 2000, assume your box is undersized unless verified by an electrician.
- Wiring capacity: Brass fixtures with integrated LEDs draw minimal amperage, but those using E26/E27 sockets with 60W-equivalent bulbs need proper gauge wiring. Confirm your circuit can handle total load—especially if adding multiple pendants on one switch.
- Canopy coverage: Brass pendants often feature wide, decorative canopies (4–6 inches). Ensure yours fully conceals your existing electrical box and any patchwork drywall. Measure your box width first—don’t rely on “standard” assumptions.
- Height adjustability: Choose fixtures with field-cuttable stems or adjustable cords—not fixed-length rods. Ceiling joists vary, and future renovations (e.g., dropped ceilings) may require repositioning.
5. Case Study: The Portland Bungalow Kitchen Refresh
When Maya R., a graphic designer in Portland, renovated her 1928 bungalow’s galley-turned-island kitchen, she selected a trio of 16-inch polished brass pendants based on Instagram inspiration. Within three months, two issues emerged: First, the 36-inch drop placed the lowest fixture only 26 inches above her quartz countertop—she struck her forehead twice while reaching for spices. Second, the high-gloss finish revealed every steam plume from her kettle and cooking splatter, demanding daily wiping. She consulted a lighting specialist who recommended replacing them with custom-hung satin brass pendants at 34-inch drop, paired with 2700K, 93 CRI LEDs and a Lutron Maestro dimmer. The change transformed functionality: task lighting improved 40% (measured with a lux meter), glare vanished, and cleaning time dropped from 7 minutes daily to 90 seconds weekly. More importantly, the satin finish aged gracefully—developing soft luster rather than harsh reflections—proving that technical alignment precedes aesthetic satisfaction.
6. Your Brass Pendant Selection Checklist
Before finalizing your order, verify each item below. Skip one, and you risk costly returns or compromised performance:
- ✅ Confirmed island length and pendant count (1, 2, or 3) based on spacing guidelines
- ✅ Measured ceiling height and calculated exact drop (countertop to fixture base)
- ✅ Verified finish type—solid brass or ≥3-micron plating (not paint or thin PVD)
- ✅ Checked dimmer compatibility and purchased matching dimmer if needed
- ✅ Confirmed CRI ≥90 and color temperature 2700K–3000K
- ✅ Reviewed weight and confirmed junction box rating (≥35 lbs)
- ✅ Ensured canopy size covers existing electrical box
- ✅ Read return policy—reputable brands offer 30-day returns with prepaid shipping for lighting
7. FAQ
Can I mix brass pendants with stainless steel appliances?
Yes—intentionally. The key is tonal consistency, not metal matching. Warm-toned stainless (with golden undertones) harmonizes with satin or living brass. Cool-toned stainless (bluish sheen) clashes with brass but works with nickel or chrome. If unsure, hold a brass sample next to your appliance door in natural light at 4 p.m.—that’s when color relationships become unmistakable.
Do brass pendants require special cleaning products?
Only for polished brass. Use pH-neutral brass cleaner (like Wright’s Copper Cream) and a microfiber cloth—never abrasive pads or vinegar solutions, which accelerate corrosion. Satin and living brass need only dry dusting. Oil-rubbed bronze should never be polished; use a damp cloth only if grime builds in textured crevices.
Will humidity in my coastal kitchen damage brass?
Unlacquered (living) brass will patina faster near salt air—developing greenish hues in months, not years. Polished and satin brass resist this better but require more frequent wiping to prevent chloride residue buildup. In high-humidity zones, prioritize satin brass with clear acrylic coating—it offers protection without sacrificing authenticity.
Conclusion
Choosing the best brass pendant for your kitchen island isn’t about chasing perfection—it’s about aligning material honesty, human scale, and daily utility. It means understanding that a 32-inch drop matters more than a trending finish, that 93 CRI reveals the true warmth of brass while 82 CRI flattens it into monotony, and that a properly supported canopy prevents years of anxiety about a fixture loosening overhead. Brass has been used in kitchens for over a century because it conducts light, heat, and presence with unmatched integrity. When chosen deliberately—not decoratively—it becomes the quiet authority of your space: grounding the chaos of meal prep, softening the edges of late-night conversations, and aging with the grace of something truly built to last. Don’t settle for “close enough.” Measure twice, verify specs once, and install with confidence. Your island—and everyone who gathers there—deserves lighting that works as hard as you do.
💬 Have you installed brass pendants in your kitchen? Share your drop height, finish choice, and one lesson learned—your real-world insight helps others avoid costly missteps.