Applying false eyelashes can elevate your makeup look from simple to stunning. Yet for many, the process is fraught with frustration—especially when it ends in a poke, a blink at the wrong moment, or worse, an accidental jab to the eye. The fear of injury or discomfort often deters people from using falsies regularly, even though they’re one of the most effective ways to enhance your eyes.
The truth is, applying false lashes doesn’t have to be painful or risky. With the right technique, tools, and mindset, you can achieve a seamless application that feels safe, looks professional, and takes just minutes. This guide breaks down exactly how to avoid eye pokes while mastering falsie placement—so you can wear them confidently, whether for a night out or your daily routine.
Understanding Why Eye Pokes Happen
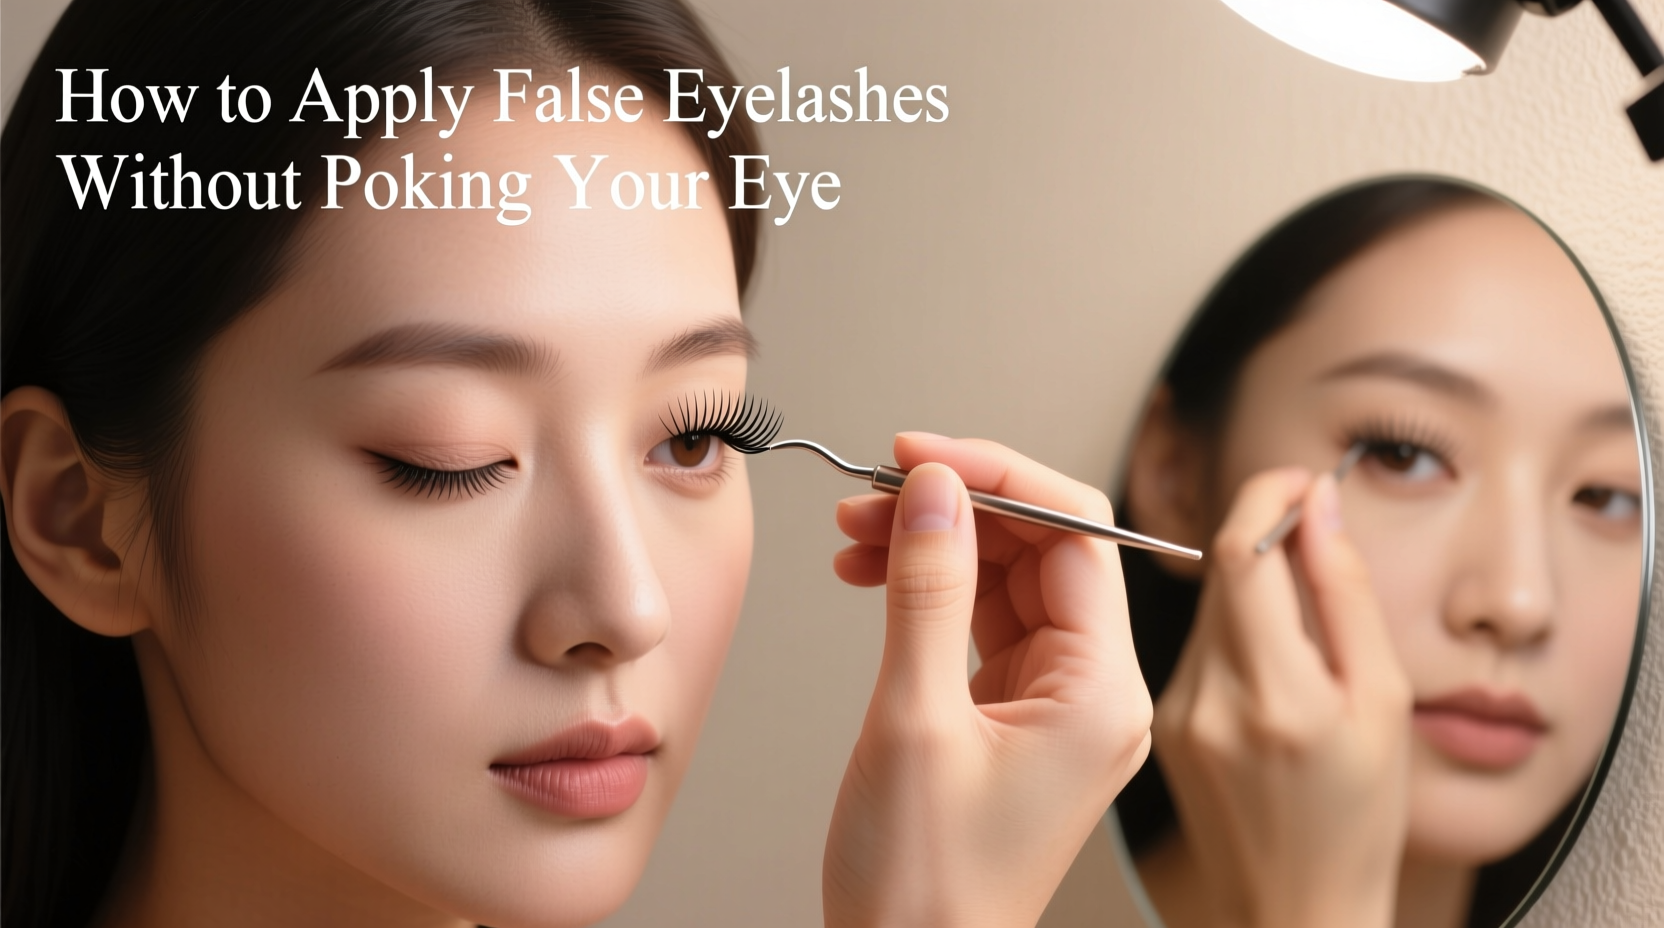
Before fixing the problem, it helps to understand what causes it. Most eye pokes during lash application stem from a combination of poor grip, incorrect angle, rushed movements, or mismatched lash styles. When you're leaning in too close, holding the tweezers or applicator awkwardly, or trying to place the lash too far back on the lid, the risk increases significantly.
Additionally, beginners often focus solely on speed rather than precision. But rushing leads to shaky hands and misjudged distances. The cornea is extremely sensitive, and even a light brush against it can feel like a major injury. That’s why control—not speed—is the key to safe application.
“Most lash-related eye irritations come from improper tools and lack of stabilization. It’s not about how fast you apply, but how steadily.” — Dr. Lena Torres, Ophthalmic Aesthetic Consultant
Essential Tools and Prep Work
Using the right tools makes all the difference. You wouldn’t paint a detailed mural with a broom, and similarly, you shouldn’t apply delicate lashes with bulky or inappropriate instruments. Here’s what you need:
- High-quality false lashes: Choose lightweight styles with flexible bands. Heavy or stiff lashes are harder to control and more likely to catch on the eye.
- Tweezers or lash applicator: Precision curved-tip tweezers offer better control than straight ones. Some prefer magnetic applicators for added stability.
- Lash adhesive: Use a latex-free, ophthalmologist-tested glue. Clear or dark adhesives work; pick based on your liner preference.
- Mirror: A well-lit magnifying mirror (ideally LED-lit) allows you to see every millimeter of your lash line.
- Seating position: Sit upright with your head stable. Rest your elbow on a flat surface to minimize hand tremors.
Step-by-Step Guide to Safe Lash Application
Follow this proven sequence to eliminate pokes and achieve perfect alignment every time:
- Trim if necessary: Hold the lash strip against your natural lash line to check length. Trim from the outer end if it extends past your eye’s outer corner. This prevents excess material from catching during placement.
- Prep the band: Apply a thin layer of glue along the lash band and wait 30 seconds. This activates the adhesive and reduces slipperiness, giving you better control.
- Look down into a mirror: Position yourself so you’re looking slightly downward into a well-lit mirror placed on a counter. This gives you a direct view of your lash line without straining your neck or squinting.
- Use your non-dominant hand to hold eyelid taut: Gently stretch the skin above your lash line upward and outward. This stabilizes the area and exposes the root of your lashes, making placement easier.
- Pick up the lash with precision: Using curved tweezers, grasp the lash near the center of the band. Avoid gripping the tips, which can cause uneven pressure and sudden slips.
- Aim for the lash line, not the eyeball: Focus on placing the band directly on top of your natural lashes, as close to the roots as possible. Never aim toward the wet line or inner eye where contact is most dangerous.
- Place the center first: Set the middle of the lash band down first—this acts as an anchor. Then gently press the inner and outer corners into place.
- Adjust with a clean spoolie or cotton swab: If needed, nudge the edges with a soft tool instead of tweezers to avoid poking.
- Blink slowly and check symmetry: Close your eyes gently, then open them. Check both sides in the mirror. Make micro-adjustments only if absolutely necessary.
Do’s and Don’ts: Lash Safety Checklist
| Do’s | Don’ts |
|---|---|
| ✔ Do use a magnifying mirror with bright lighting | ✖ Don’t lean in too close to the mirror |
| ✔ Do wait 20–30 seconds after applying glue | ✖ Don’t apply lashes immediately after gluing |
| ✔ Do stabilize your hand on your cheek or desk | ✖ Don’t hover your hand unsteadily over your eye |
| ✔ Do start with shorter, wispy lashes for practice | ✖ Don’t begin with dramatic, heavy-volume styles |
| ✔ Do store lashes properly for reuse | ✖ Don’t reuse damaged or warped bands |
Real-World Example: From Frustration to Confidence
Sophia, a 28-year-old marketing executive, avoided false lashes for years because she kept poking her eye during application. “I’d get halfway through and flinch, then the lash would stick crooked or I’d rub my eye and ruin my makeup,” she said. After switching to a curved tweezer and adopting the “look down” method with a counter mirror, everything changed.
She started with lightweight individual clusters instead of full strips, building confidence gradually. Within two weeks, she was applying full falsies in under five minutes—without a single poke. “It wasn’t about getting faster,” she explained. “It was about slowing down enough to be precise.”
Her breakthrough came when she realized she’d been holding her breath and tensing her shoulders—a habit that made her hand jitter. Once she relaxed her body and focused on steady breathing, her accuracy improved dramatically.
Expert Tips for Long-Term Comfort and Safety
Even experienced users can benefit from refining their technique. Consider these advanced strategies:
- Switch to magnetic lashes: These eliminate the need for glue and reduce handling time. Since they attach via a liner with embedded magnets, there’s less direct contact near the eye.
- Use a lash shield: Some artists use a small silicone shield placed under the lower lashes to protect the eyeball during application. While more common in salons, home versions are now available.
- Train muscle memory: Practice placing lashes on a mannequin head or even a flat surface to build coordination without pressure.
- Limit application sessions: If you wear falsies daily, consider rotating between strip lashes, individuals, and enhanced mascara to give your eyes breaks.
“Eye safety starts before you even pick up the tweezers. Clean hands, sanitized tools, and a calm environment reduce stress-induced errors.” — Jamal Reed, Master Makeup Artist & Educator
Frequently Asked Questions
Can false lashes damage your eyes permanently?
When applied carefully, false lashes are safe for occasional use. However, repeated poking, using expired glue, or sleeping in lashes can lead to corneal abrasions, infections, or lash loss. Always remove them gently and never force placement.
I keep blinking during application—how do I stop?
Blinking is a reflex triggered by perceived threats. Instead of fighting it, work with it. Close your eye completely while positioning the lash, then open it only to check placement. You can also try applying lashes after skincare but before foundation, when your face isn’t fully prepped and you’re more relaxed.
Are some lash styles safer than others?
Yes. Shorter, tapered styles with thin, flexible bands are easier to control and less likely to extend beyond your eye’s edge. Avoid overly long or rigid lashes until you’ve mastered basic application. Individual or corner lashes are also safer starting points than full strips.
Final Thoughts: Make Safety a Habit
Applying false eyelashes should enhance your beauty routine, not turn it into a nerve-wracking ordeal. The goal isn’t perfection on the first try—it’s consistent improvement through mindful practice. Every time you prioritize control over speed, preparation over improvisation, and comfort over convenience, you’re building a safer, more enjoyable experience.
Start small. Use the checklist. Adjust your setup. And remember: even the most glamorous makeup artists once struggled with the same fears. What separates them now is not talent, but technique.
💬 Ready to master your lash game? Try the step-by-step method tonight—then share your progress or questions in the comments. Let’s normalize safe, stress-free falsie application for everyone.