Vintage brooches are more than just accessories—they are heirlooms, artifacts of personal style, and sometimes even family legacies. Whether passed down through generations or discovered in a quiet antique shop, these pieces carry both beauty and history. But with age comes tarnish, dust, and residue that can dull their brilliance. Cleaning a vintage brooch requires care, precision, and the right approach. Unlike modern jewelry, vintage pieces often feature fragile materials, hand-set stones, and intricate metalwork that demand a gentle touch. Improper cleaning can lead to irreversible damage—fading enamel, loosened gemstones, or corroded metal. This guide offers practical, expert-backed methods to restore your brooch’s luster while preserving its integrity.
Understanding Your Brooch: Materials Matter
Before any cleaning begins, it’s essential to identify what your brooch is made of. Vintage brooches span decades and styles, from Victorian-era jet to Art Deco platinum and mid-century rhinestones. Each material reacts differently to moisture, chemicals, and friction. Common components include:
- Precious metals: Gold (especially 14k or 18k), silver, platinum
- Semiprecious or imitation stones: Rhinestones, paste gems, coral, amber, or glass cabochons
- Base metals: Brass, copper, or pot metal, often plated
- Organic elements: Pearls, tortoiseshell, ivory (now rare due to regulations)
- Enamel work: Cloisonné, champlevé, or painted surfaces
Misidentifying the material can lead to disaster. For example, soaking a brooch with glued-in rhinestones in water may loosen the adhesive. Similarly, using abrasive polish on soft enamel can scratch its surface. When in doubt, consult a professional jeweler or appraiser before proceeding.
Tip: Use a 10x jeweler’s loupe to examine hallmarks, stone settings, and construction clues that reveal the era and materials.Step-by-Step Guide: Safe Cleaning Process
Cleaning a vintage brooch isn’t about speed—it’s about patience and attention to detail. Follow this sequence to minimize risk and maximize results.
- Inspect thoroughly: Examine the brooch under good lighting. Look for loose stones, cracks in enamel, corrosion, or signs of previous repairs.
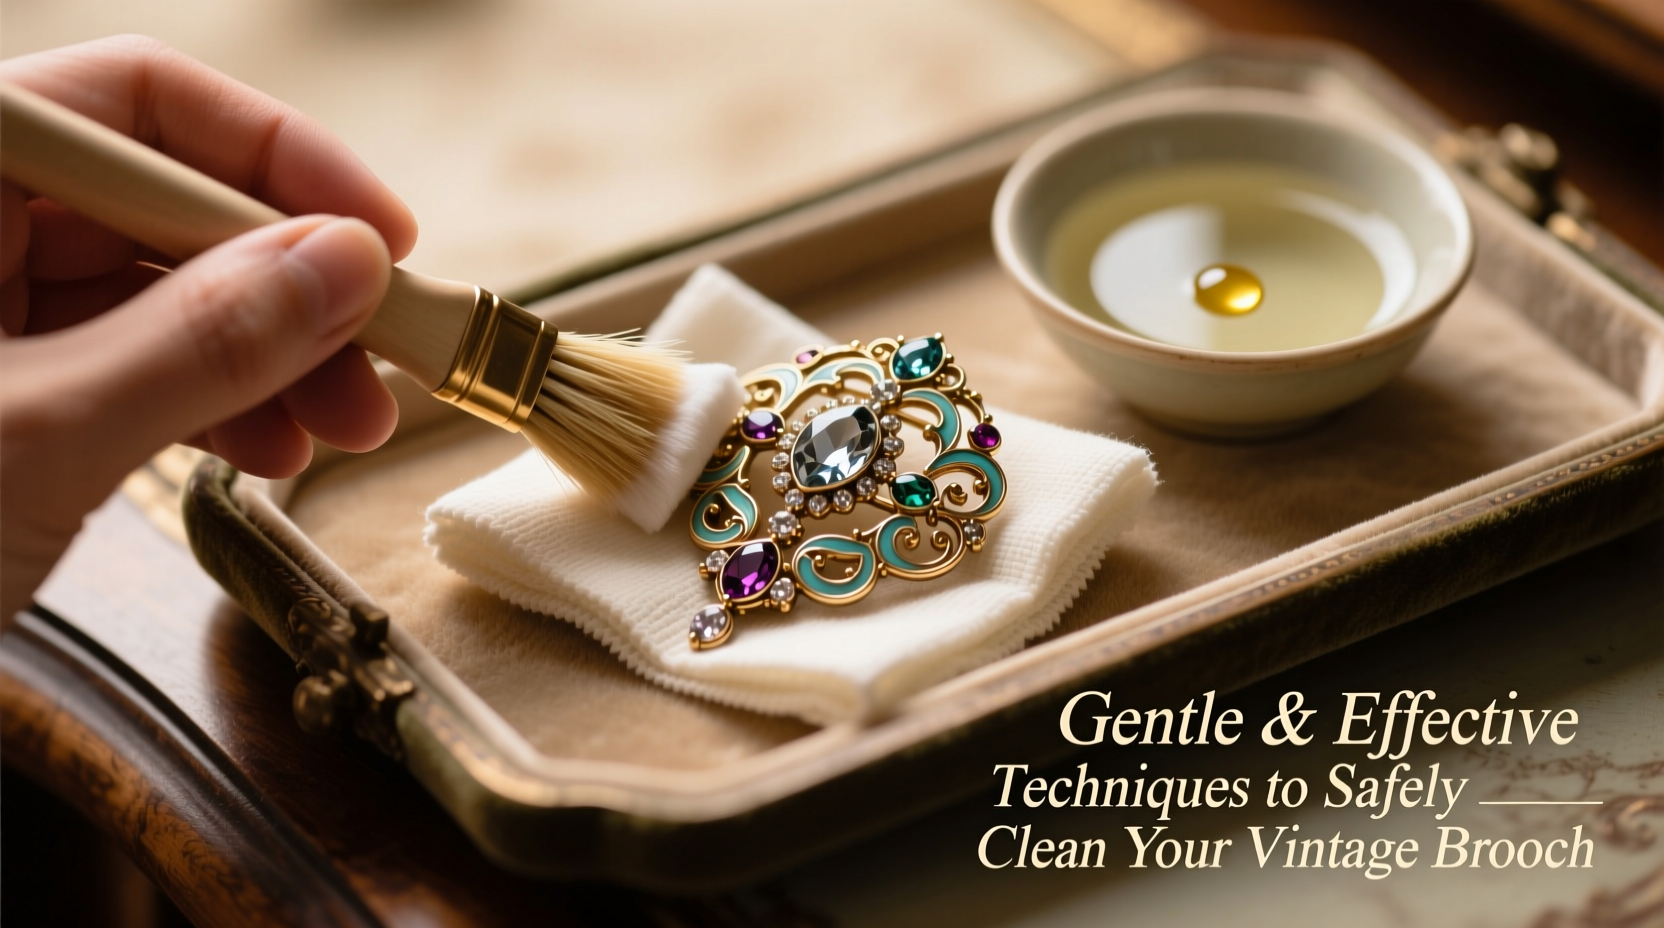
- Dust removal: Use a soft, dry microfiber cloth or a clean sable brush (like a makeup brush) to remove surface dust. Avoid cotton swabs, which can leave fibers behind.
- Damp cleaning (if safe): Mix a few drops of mild dish soap (phosphate-free) into lukewarm distilled water. Dip a soft-bristled toothbrush (new and unused) into the solution and gently brush around settings and crevices. Do not submerge if the brooch contains pearls, glue, or porous materials.
- Rinse carefully: Wipe with a damp cloth moistened only with distilled water. Never run under tap water, which may contain chlorine or minerals.
- Dry completely: Lay flat on a lint-free towel. Allow to air-dry fully—never use heat or direct sunlight.
- Polish lightly: For metal-only areas, use a polishing cloth designed for jewelry. Avoid rubbing over stones or enamel.
This method works well for most solid metal brooches with securely set stones. However, exceptions exist—and knowing when to stop is as important as knowing how to begin.
Do’s and Don’ts: A Quick Reference Table
| Action | Do | Don't |
|---|---|---|
| Cleaning Solution | Mild dish soap + distilled water | Household cleaners, bleach, ammonia |
| Brush Type | Soft-bristled toothbrush or sable brush | Wire brushes, stiff bristles |
| Soaking | Only for solid metal with no glued parts | For brooches with pearls, glue, or enamel |
| Drying | Air-dry at room temperature | Use a hairdryer or heater |
| Storage | In a soft pouch or lined box, separate from other jewelry | In plastic bags or stacked loosely |
When to Seek Professional Help
Not every brooch can be cleaned at home. Some conditions require specialized tools and expertise. Consider professional conservation if your piece shows:
- Heavy tarnish on silver with engraved details
- Filigree or openwork that traps grime deep within
- Loose, missing, or cracked stones
- Visible corrosion or pitting on metal
- Any sign of structural weakness in the pin mechanism
“Vintage jewelry is like a time capsule. Over-cleaning erases history. A conservator doesn’t just clean—they preserve context.” — Dr. Lydia Chen, Museum Jewelry Conservator, Metropolitan Antique Preservation Society
Professionals use non-abrasive ultrasonic baths (only when appropriate), laser cleaning for oxidation, and microscopic inspection to ensure safety. They also document the condition before and after treatment—a valuable record for insurance or resale.
Real Example: Restoring a 1940s Rhinestone Brooch
Martha inherited a sunburst-style rhinestone brooch from her grandmother, dated circa 1943. The gold-plated metal had dulled, and the stones appeared cloudy. At first, she considered using a commercial jewelry dip, but paused after reading about potential damage to foil-backed rhinestones.
Instead, she followed the gentle method outlined here: dry brushing, careful spot-cleaning with a barely damp cloth, and air-drying. She avoided soaking entirely. After two rounds of light cleaning, the metal regained subtle warmth, and the stones sparkled again—without compromising the original foil backing. A local vintage jeweler later confirmed the setting was intact and advised storing it in a fabric-lined box away from humidity.
The result? A cherished piece restored with respect, ready to be worn on special occasions without fear of damage.
Tip: Test any cleaning method on a small, inconspicuous area first—like the back of the brooch stem.Essential Checklist Before You Begin
Use this checklist to ensure you’re prepared and minimizing risk:
- ✅ Identify the materials (metal, stones, backing)
- ✅ Check for loose parts or damage
- ✅ Gather supplies: microfiber cloth, soft brush, mild soap, distilled water
- ✅ Work in a clean, well-lit space over a soft surface
- ✅ Avoid water if the brooch has glued elements or organic materials
- ✅ Never use ultrasonic cleaners unless advised by a professional
- ✅ Store properly after cleaning
Frequently Asked Questions
Can I use vinegar or baking soda to clean my vintage brooch?
No. While natural, vinegar is acidic and can etch soft metals and damage patina. Baking soda is mildly abrasive and may scratch delicate surfaces. Stick to pH-neutral dish soap and distilled water for safest results.
My brooch has turned black—is it ruined?
Not necessarily. Darkening is often tarnish (especially on silver) or accumulated grime. If the metal is intact and stones are secure, gentle cleaning may restore it. However, if the blackness is flaky or accompanied by a powdery residue, it could be active corrosion—consult a conservator immediately.
How often should I clean a vintage brooch?
Only when visibly dirty or dull. Over-cleaning wears down finishes. Light dusting after wear is sufficient. A full cleaning every few years is usually enough, depending on exposure to skin oils, perfume, and environment.
Preserve the Past, One Brooch at a Time
Cleaning a vintage brooch is an act of stewardship. These pieces survived decades of fashion shifts, personal stories, and changing hands. With thoughtful care, they can continue to shine for generations. The goal isn’t perfection—it’s preservation. By choosing gentle methods, respecting materials, and knowing when to call in an expert, you honor both the craftsmanship and the memories embedded in each piece.
💬 Have a vintage brooch story or cleaning tip? Share your experience in the comments and help others care for their treasured heirlooms with confidence.