Gel manicures have become a staple in modern nail care, offering long-lasting color, high-gloss shine, and resistance to chipping. As demand grows, so do the options: professional salon services or DIY at-home kits. While both promise salon-quality results, the differences in cost, application quality, durability, and safety are significant. Understanding these distinctions helps consumers make smarter, more sustainable choices—whether they're occasional users or weekly devotees to polished nails.
Understanding the Basics of Gel Manicures
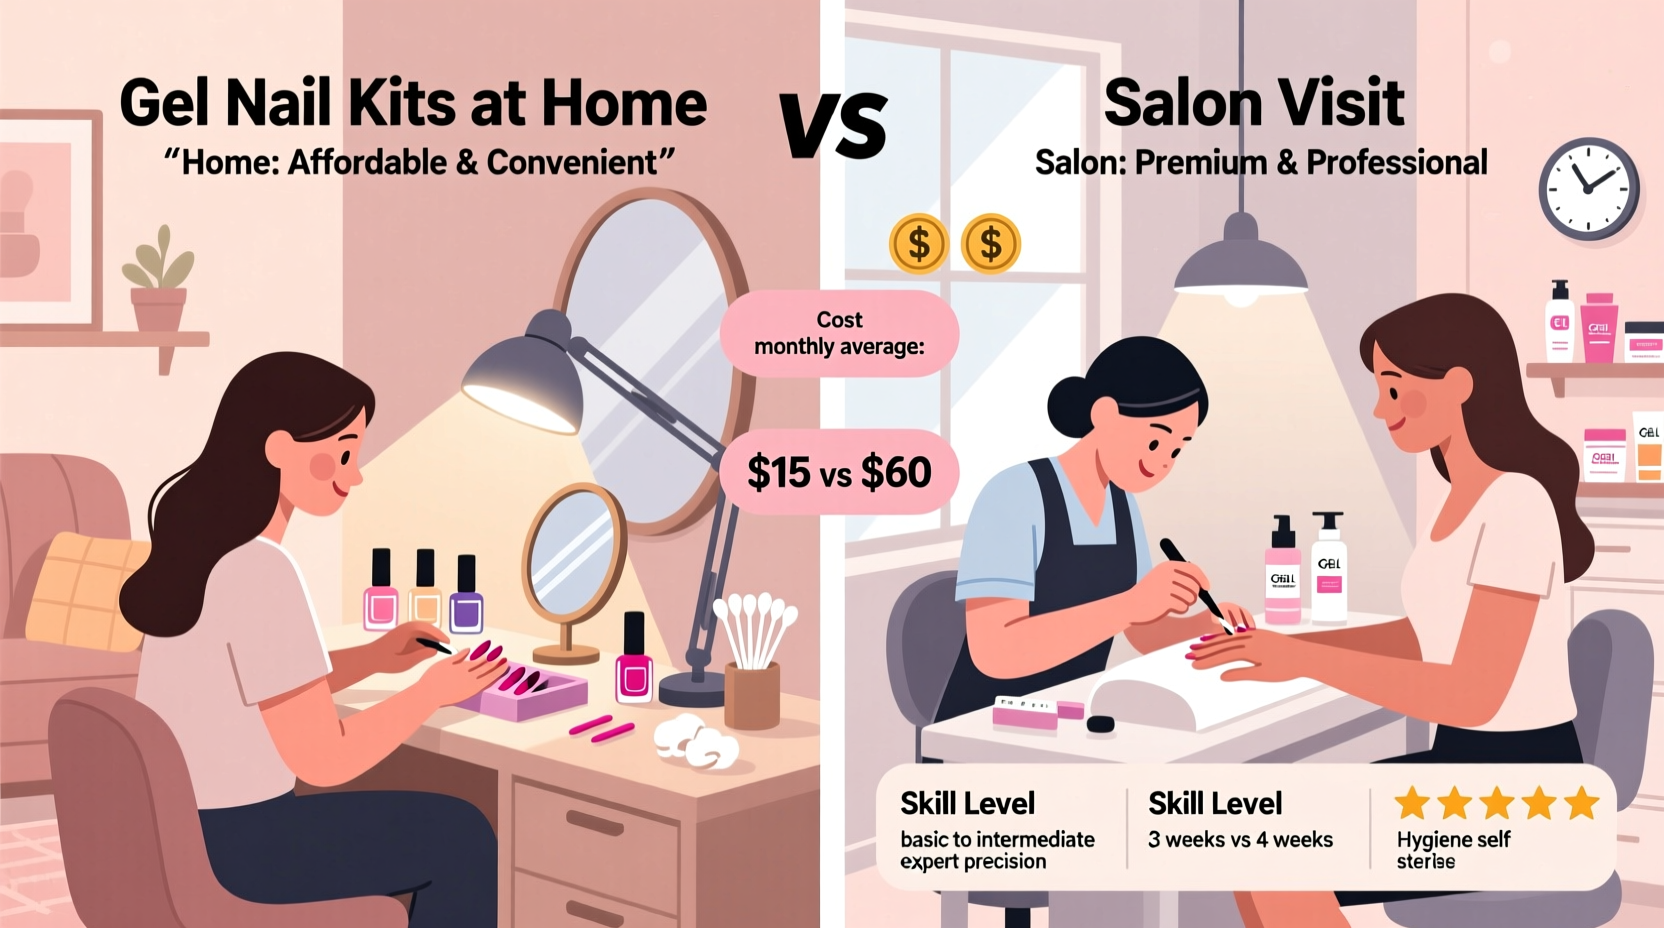
A gel manicure involves applying a special type of polish that hardens under UV or LED light. Unlike regular nail polish, which dries through evaporation, gel polish cures, forming a durable shell over the nail. This process typically includes base coat, color layers, and a top coat, each cured between applications. The result is a manicure that lasts 2–3 weeks with minimal wear.
The core difference between at-home and salon gel systems lies not in the chemistry of the product but in execution, tools, and expertise. Salons use commercial-grade equipment and experienced technicians, while at-home kits rely on consumer-grade tools and user skill.
Tip: Always apply sunscreen to your hands before curing to protect skin from UV exposure during gel application.Cost Comparison: Upfront and Long-Term Expenses
One of the most compelling reasons to consider at-home gel kits is cost savings. However, it’s essential to evaluate both initial investment and recurring expenses over time.
| Expense Type | At-Home Kit (Initial) | Recurring Cost (Per Use) | Salon Visit (Average) |
|---|---|---|---|
| Starter Kit (lamp, base/top, remover, files) | $50–$120 | N/A | Included in service |
| Replacement Polish (per bottle) | N/A | $8–$15 | N/A |
| Nail Prep & Removal Supplies | N/A | $2–$5 per session | Included |
| Single Salon Gel Manicure | N/A | N/A | $45–$75 |
| Total Cost Over 6 Months (Biweekly) | $120–$200 | $540–$900 |
The numbers speak clearly: even with premium at-home kits, users save hundreds of dollars annually. After the first 3–4 uses, the kit pays for itself. But cost isn’t everything—quality and consistency matter just as much.
Quality and Application: Skill vs. Expertise
Salon manicures benefit from trained technicians who understand nail anatomy, proper prep, and precise application techniques. A professional will:
- Sanitize tools and workspace to prevent infection
- Filing nails to optimal shape without weakening them
- Push back cuticles gently and safely
- Apply thin, even layers to avoid bubbling or lifting
- Cure each layer for the correct duration
- Seal tips properly to extend wear time
In contrast, at-home users face a learning curve. First attempts often result in smudging, uneven coverage, or incomplete curing. Over-curing can cause brittleness; under-curing leads to peeling. Without proper technique, DIY gel can damage natural nails over time.
“Improper removal or aggressive filing at home is one of the leading causes of nail thinning we see in dermatology clinics.” — Dr. Lena Patel, Board-Certified Dermatologist
That said, experienced DIYers who follow best practices can achieve results nearly indistinguishable from salon work. The key is patience, practice, and using high-quality products.
Step-by-Step Guide to a Flawless At-Home Gel Manicure
Follow this timeline to maximize success with your at-home kit:
- Prep (10 min): Wash hands, remove old polish, push back cuticles gently with a wooden stick, and dehydrate nails with alcohol wipe.
- Shape (5 min): File nails to desired shape using a 180-grit file. Avoid sawing motions.
- Base Coat (2 min + cure): Apply thin layer of base coat, cap the free edge, and cure under LED lamp for 30 seconds.
- Color Coats (6 min + cure): Apply first color layer thinly, cure 30 seconds. Repeat for second layer.
- Top Coat (2 min + cure): Seal with top coat, cap the tip, and cure for 60 seconds.
- Cleanup (5 min): Wipe sticky residue with alcohol pad. Apply cuticle oil.
- Removal (15 min, every 2–3 weeks): Soak cotton in acetone, wrap in foil, wait 10–15 minutes, then gently push off polish. Never scrape.
Durability and Nail Health: Who Wins?
Durability depends less on where you get the manicure and more on how well it was applied and maintained. A poorly done salon job may chip within days, while a meticulous DIY can last three weeks.
However, nail health is where salons often have an edge. Professionals are trained to avoid over-filing and excessive cuticle manipulation. They also use higher-wattage lamps that cure polish more evenly and quickly, reducing the risk of uncured gel causing sensitivity or allergies.
At-home users sometimes compromise nail integrity by:
- Peeling off gel instead of soaking (causes thinning)
- Using dull files that snag and split nails
- Leaving gel on too long, leading to overgrowth and breakage
- Skipping moisturizing, resulting in dry cuticles and hangnails
On the flip side, salons aren’t immune to risks. Shared tools, if not sterilized properly, can transmit fungi or bacteria. Some salons still use harsh primers or over-buff nails to “roughen” the surface—a damaging practice banned in many countries.
Checklist for Safe and Effective Gel Nail Care
- ✔️ Sanitize tools before each use
- ✔️ Use a high-quality LED lamp (36W or higher recommended)
- ✔️ Apply thin, even coats of polish
- ✔️ Cap the free edge of each nail to prevent chipping
- ✔️ Moisturize cuticles daily with vitamin E or jojoba oil
- ✔️ Remove gel gently with acetone wraps, not scraping
- ✔️ Take breaks between manicures (let nails breathe for 5–7 days)
- ✔️ Stop use if you notice pain, rash, or separation
Real-Life Example: Sarah’s Transition from Salon to DIY
Sarah, a 32-year-old marketing manager, visited her local salon every two weeks for gel manicures, spending around $65 per visit. Over a year, that totaled nearly $1,700. After developing sensitivity to the salon’s base coat, she decided to try an at-home kit.
Her first attempt took over two hours and resulted in one smudged nail. But after watching tutorials and investing in a better lamp, her second try was flawless. Now, six months later, she completes a manicure in 45 minutes, spends about $3 per session on polish, and has saved over $1,000. More importantly, her nails are healthier—she avoids the aggressive prep the salon used and applies cuticle oil daily.
“I didn’t think I’d get consistent results at home,” Sarah says. “But once I learned the rhythm, it became therapeutic. And my wallet thanks me every month.”
When to Choose a Salon vs. At-Home Kit
Neither option is universally superior. The best choice depends on lifestyle, budget, and goals.
Choose At-Home Kits If You:
- Want to save money over time
- Have time to learn and refine technique
- Prefer control over hygiene and products
- Enjoy self-care rituals and beauty hobbies
- Need flexibility (no appointments required)
Choose Salon Visits If You:
- Value convenience and speed
- Lack confidence in your application skills
- Want intricate designs or nail extensions
- Have sensitive skin or previous nail trauma
- Don’t want to invest in equipment or storage space
“DIY is fantastic for basic gels, but when you want sculpted acrylics or hand-painted art, nothing replaces a skilled technician.” — Marcus Lee, Master Nail Technician & Educator
Frequently Asked Questions
Can at-home gel kits damage my nails?
Yes—if used improperly. Peeling off gel, over-filing, or leaving it on too long can weaken nails. However, when applied and removed correctly, gel polish is no more harmful than other types. The key is gentle handling and giving your nails recovery time between applications.
Do salon gels last longer than at-home kits?
Not inherently. Longevity depends on application quality, nail prep, and daily habits. A well-done at-home manicure can last just as long as a salon one. However, salons often use stronger formulations and faster, more powerful lamps, which may improve adhesion and durability slightly.
How often should I replace my at-home gel lamp?
LED lamps typically last 20,000–50,000 hours. But if you notice longer curing times, tacky polish after curing, or inconsistent results, the bulb may be failing. Replace it every 1–2 years with heavy use, or sooner if performance declines.
Final Verdict: Balancing Cost, Quality, and Convenience
The decision between at-home gel kits and salon visits isn’t about which is objectively better—it’s about what aligns with your priorities. For budget-conscious individuals willing to invest time upfront, DIY offers remarkable value and growing satisfaction. For those seeking luxury, precision, and time efficiency, the salon remains worth the price.
The smartest approach? A hybrid model. Use at-home kits for routine maintenance and simple colors, then book salon appointments for special occasions, complex designs, or seasonal changes. This balances cost savings with expert craftsmanship.
Regardless of your choice, prioritize nail health. Hydrate, avoid trauma, and listen to your body. Beautiful nails shouldn’t come at the expense of strong, resilient ones.
🚀 Ready to take control of your nail care routine? Start by calculating your annual salon spend—then explore a trusted at-home kit. Share your experience, tips, or favorite brands in the comments below and help others make confident choices.