Open style rings—those without a closed band—are prized for their flexibility, comfort, and elegant design. Unlike solid bands, they can be gently adjusted to fit different finger sizes, making them ideal for stacking or gifting. However, improper handling can lead to misshaping, metal fatigue, or even breakage. With the right tools and techniques, you can safely resize and reshape your open style ring at home. This guide provides expert-backed methods to help you adjust your ring with precision and care.
Understanding Open Style Rings
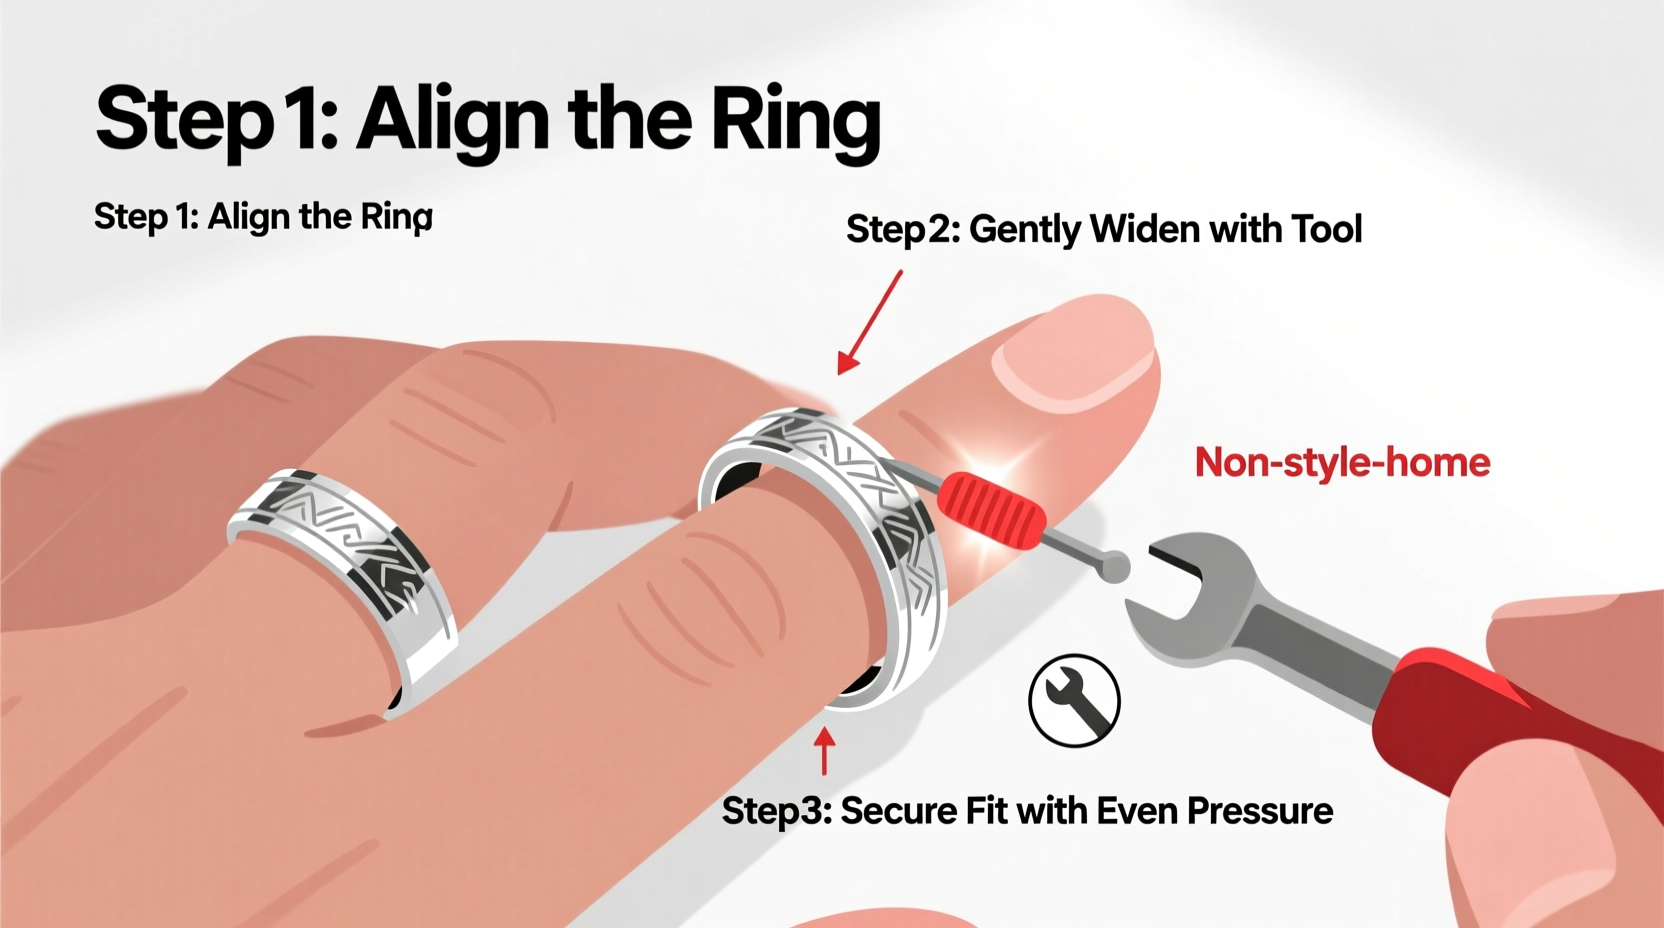
Open style rings feature a gap between the two ends of the band, allowing them to expand and contract slightly. Common in vintage designs, statement pieces, and adjustable fashion jewelry, these rings are typically made from metals like sterling silver, gold-filled, brass, or titanium. Their malleability makes them suitable for at-home adjustments, but only if done correctly.
The key to successful adjustment lies in understanding the ring’s material, thickness, and structural integrity. Thinner bands (under 1.5mm) are more flexible but prone to bending out of shape. Thicker bands offer stability but require more controlled force to adjust.
“Open rings are designed for adaptability, but that doesn’t mean they’re indestructible. Gentle, incremental changes preserve both fit and form.” — Lena Reyes, Master Jeweler & Educator at The Crafted Gem Institute
Essential Tools for Home Adjustment
You don’t need a full jeweler’s bench to make small adjustments. Most effective home resizing can be done with basic household or craft tools. Here’s what you’ll need:
- Soft-jaw pliers (or nylon-tipped pliers)
- Ruler or caliper for measuring inner diameter
- Felt-lined vise (optional, for stability)
- Ring mandrel or tapered dowel (wood or plastic)
- Cotton gloves (to prevent fingerprints and slippage)
- Microfiber cloth
Step-by-Step Guide to Adjusting Your Ring
Follow this five-step process to resize your open style ring safely and effectively.
- Measure Current Fit: Use a ring sizer or measure the inner diameter with a ruler. Note the size before any adjustment. Compare it to your target size using a standard ring size chart.
- Wear Gloves and Prepare Workspace: Clean your hands and put on cotton gloves. Work on a clean, flat surface covered with a microfiber cloth to protect the ring.
- Position the Ring on a Mandrel (Optional): Slide the ring onto a tapered mandrel or smooth dowel to maintain consistent shape during adjustment. This is especially helpful when increasing size.
- Apply Gradual Pressure: Hold the ring firmly with one hand. Using soft-jaw pliers on each end, gently pull outward to increase size or press inward to reduce it. Make tiny adjustments—no more than 1/16 inch at a time.
- Check Fit and Symmetry: After each adjustment, place the ring on your finger or measure it again. Ensure the gap remains centered and both arms of the ring are symmetrical.
Patience is crucial. Rushing can lead to over-stretching or kinking. If the metal resists, stop and let it rest—repeated stress weakens the structure.
Do’s and Don’ts of At-Home Ring Adjustment
| Do’s | Don’ts |
|---|---|
| Work slowly in small increments | Force the ring beyond its natural flex |
| Use protective tools like soft-jaw pliers | Adjust rings with stones near the gap (risk of loosening) |
| Check symmetry after each change | Expose heated metal to cold water abruptly |
| Store the ring properly post-adjustment | Adjust plated or hollow rings aggressively |
| Test fit frequently | Use excessive leverage with tools |
Real-Life Example: Resizing a Gifted Silver Ring
Sophie received a beautiful open-style sterling silver ring from her sister, but it was slightly too tight for her middle finger. Instead of returning it, she decided to adjust it at home. She measured the inner diameter (17mm), compared it to her ideal size (18.5mm), and gathered soft-jaw pliers and a wooden dowel.
Over the course of 10 minutes, she made three small outward pulls on each arm of the ring, rotating it on the dowel to maintain shape. After each adjustment, she tried it on. By the third attempt, the ring slid on smoothly without squeezing. She polished it with a microfiber cloth and now wears it daily. No damage, no loss of shape—just a perfect fit.
When Heating Can Help (And When It Can’t)
In some cases, gently heating the metal can make it more pliable, especially with thicker or springy alloys. Use a hairdryer or heat gun on low setting for 10–15 seconds to warm the band. Do not use an open flame.
Heating works best for metals like brass or copper. Avoid heating gold-plated or silver-plated rings—the heat can cause peeling or discoloration. Always allow the ring to cool naturally; quenching in water creates thermal shock and may crack the metal.
Tip: If the ring feels stiff, warming it slightly can reduce resistance—but never exceed 120°F (50°C).Caring for Your Adjusted Ring
Once resized, proper maintenance ensures longevity. Store the ring separately in a soft pouch to avoid scratches. Avoid wearing it during strenuous activities like gardening or weightlifting, where impact could warp the shape.
If the ring has a textured or hammered finish, avoid polishing aggressively—it can smooth out intentional details. For tarnish-prone metals like silver, wipe with a treated cloth monthly.
Adjustment Longevity Checklist
- ✅ Check fit weekly for the first month
- ✅ Avoid exposing to chemicals (chlorine, perfume, lotion)
- ✅ Rotate wear with other rings to reduce stress
- ✅ Inspect for cracks or widening gaps monthly
- ✅ Re-adjust only when necessary—don’t stretch and compress repeatedly
Frequently Asked Questions
Can I adjust an open ring with gemstones?
Proceed with caution. If the stones are set near the gap or on tension settings, resizing may loosen them. It’s safer to consult a jeweler. For stones set on the band away from the opening, minor adjustments are usually fine.
How many times can I resize my open ring?
Most open style rings can be adjusted 2–3 times safely. Each bend stresses the metal. After multiple adjustments, the band may lose spring or develop a permanent kink. If the ring feels brittle or doesn’t return to shape, retire it from further resizing.
What if my ring becomes oval-shaped after adjustment?
This is common if pressure wasn’t evenly applied. Place the ring on a tapered mandrel and gently rotate while applying light inward or outward pressure to restore a circular shape. Avoid forcing it—if the distortion persists, seek professional reshaping.
Final Thoughts: Confidence Through Care
Adjusting an open style ring at home is a practical skill that saves time and preserves sentimental value. With the right tools, patience, and attention to detail, you can achieve a custom fit that feels as if the ring was made just for you. Remember: small movements, consistent checks, and respect for the material are the foundations of success.
Whether you're tailoring a gift, reviving an old favorite, or experimenting with stackable styles, mastering this technique empowers you to take control of your jewelry’s fit and function. Done right, your adjustments will go unnoticed—except by how perfectly the ring now feels on your finger.
💬 Have a ring that needs resizing? Try these steps and share your results! Your experience could help others gain confidence in caring for their jewelry at home.