Coloring your hair at home has become more popular than ever, offering convenience, cost savings, and the ability to refresh your look on your own schedule. But without professional guidance, mistakes can happen—uneven application, brassy tones, or even scalp irritation. The key to a successful at-home color job isn’t just following instructions; it’s understanding your hair type, choosing the right products, and applying them with precision and care.
With the right approach, you can achieve vibrant, long-lasting color that looks professionally done. Whether you're covering grays, going bolder, or simply refreshing your current shade, these expert-backed strategies will help you color safely and beautifully from the comfort of your bathroom.
Choose the Right Color for Your Base and Goals
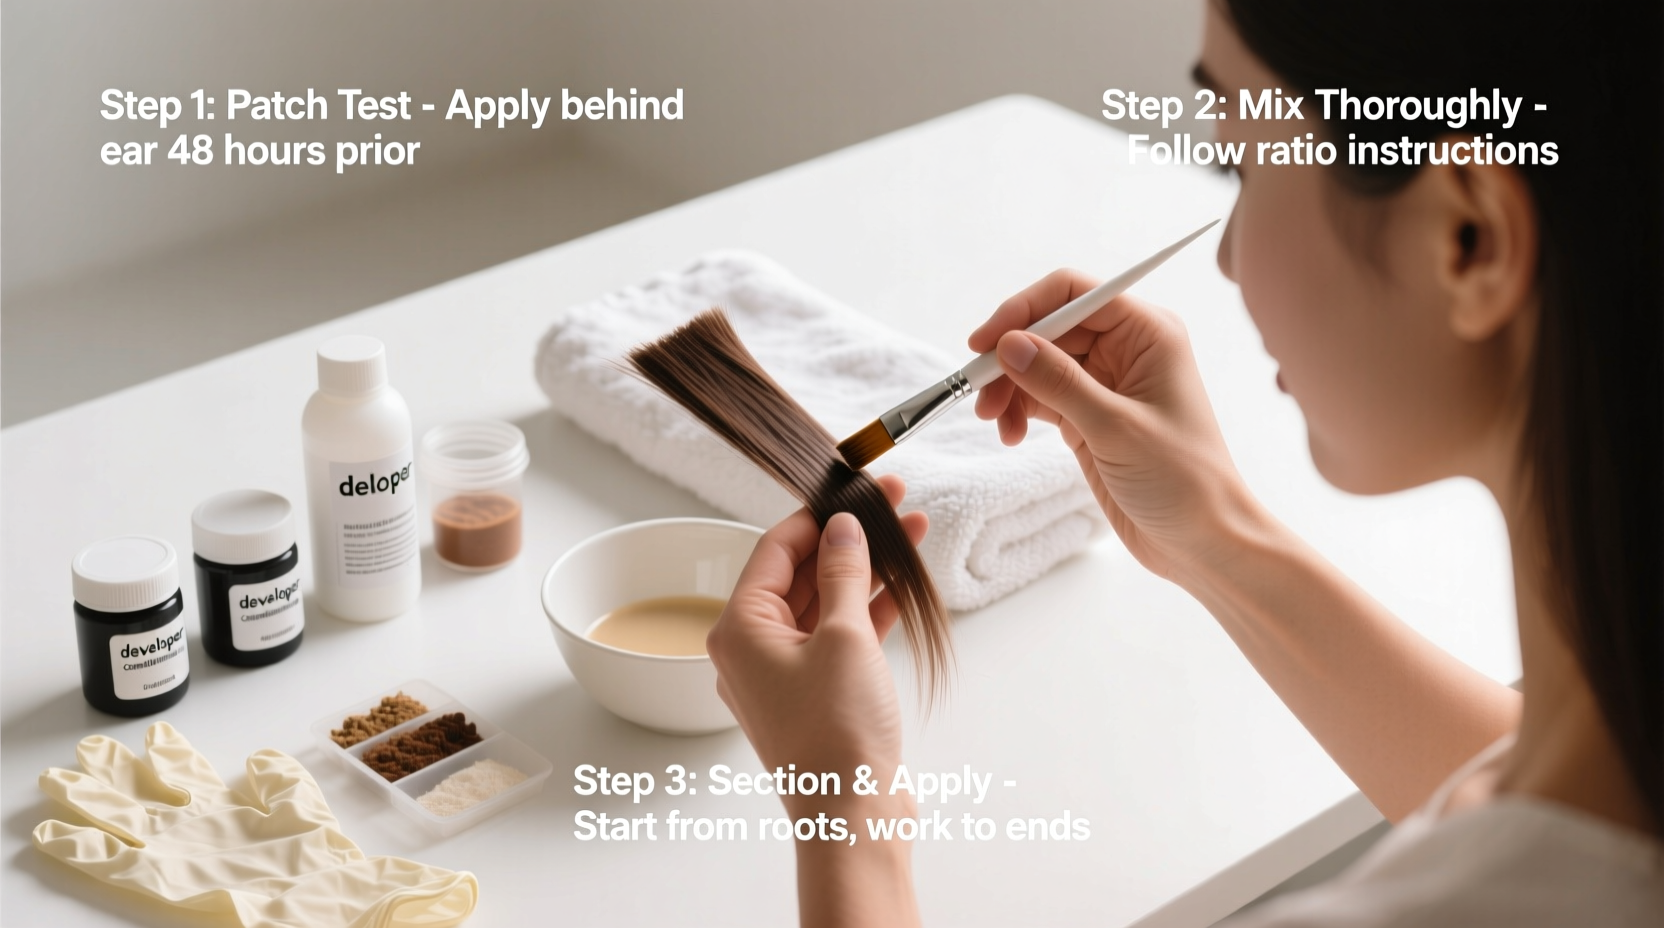
Selecting the correct hair color is the foundation of a flawless result. Many people assume that matching the box to their current hair color is enough, but undertones, previous dye jobs, and sun exposure all influence how a new color will appear.
Warm undertones (golden, red, or orange) tend to show best in natural sunlight. If your skin looks better with gold jewelry, you likely have warm undertones. Cool undertones (ashy, blue, or violet) pair well with silver jewelry and often benefit from ash or neutral-based dyes. Neutral undertones can handle a broader range of shades.
Tip: Do a strand test 48 hours before full application. Apply the dye to a small section at the back of your head to check both color outcome and for allergic reactions.If you're lightening your hair, understand that boxed dyes are limited in lifting power. Going more than two shades lighter usually requires bleach, which increases the risk of damage when done at home. For dramatic changes, consult a professional first.
Prepare Your Hair and Tools Like a Pro
Proper preparation prevents uneven absorption and patchy results. Start by avoiding shampoo for 24–48 hours before coloring. Natural oils protect your scalp from harsh chemicals and help the dye distribute evenly.
Gather all necessary tools ahead of time:
- Plastic gloves (included in most kits)
- A tint brush or applicator bottle
- Sectioning clips
- Petroleum jelly or barrier cream (to protect ears, forehead, and neck)
- An old towel (color stains fabric permanently)
- A timer
Comb your hair thoroughly to remove tangles. Then, part it into four equal sections using clips—this ensures systematic coverage and reduces missed spots. Apply petroleum jelly along your hairline and behind your ears to prevent staining.
“Prepping your hair properly is half the battle. Skipping this step leads to poor adhesion and uneven processing.” — Lena Ruiz, Master Colorist and Educator
Follow a Step-by-Step Application Process
Consistency in application determines whether your color looks natural or streaky. Follow this timeline for best results:
- 0 minutes: Mix the dye according to package instructions. Don’t exceed recommended developer volume unless advised.
- 5 minutes: Apply dye to roots first—these areas are thicker and require more processing time.
- 15 minutes: Work down the mid-lengths and ends. These areas absorb color faster and can over-process if saturated too early.
- 30–45 minutes: Let the color process. Set a timer. Never leave dye on longer than instructed, even if you think it’s not dark enough—it won’t get significantly darker and may cause breakage.
- End time: Rinse thoroughly with lukewarm water until water runs clear. Use the conditioner provided in the kit or a sulfate-free formula.
For touch-ups, focus only on the roots. Applying dye to already-colored hair leads to over-processing and dryness.
Do’s and Don’ts When Coloring at Home
| Do’s | Don’ts |
|---|---|
| Perform a patch test 48 hours in advance | Use metal bowls or utensils (can react with chemicals) |
| Apply to unwashed hair for scalp protection | Shampoo immediately after coloring (wait 48 hours) |
| Wear gloves to avoid stained fingers | Mix different brands or formulas together |
| Use a wide-tooth comb to detangle during rinse | Scrub your scalp aggressively while washing out dye |
| Invest in quality, ammonia-free dyes for frequent use | Color over excessive buildup or silicone residue |
Avoid Common Pitfalls: A Real-Life Example
Sarah, a 38-year-old teacher, decided to cover her grays with an at-home box dye. She bought a shade she liked online, applied it immediately after washing her hair, and left it on for “a little extra time” because she didn’t see an instant change. The result? Orange-tinged roots, dry ends, and a visible line where the color stopped.
What went wrong? Sarah skipped pre-color prep, used the wrong shade for her undertone, and over-processed. After consulting a stylist, she learned to wait 2 days between wash and color, use a neutral beige tone instead of golden, and strictly follow timing guidelines. Her next attempt resulted in smooth, natural-looking coverage.
This scenario is common. Even experienced DIYers overlook small details that make a big difference.
Care for Colored Hair to Extend Vibrancy
Your work doesn’t end when the dye rinses out. Maintaining color vibrancy and hair health requires ongoing care. Sulfate shampoos strip artificial pigment quickly, so switch to a color-safe formula. Wash less frequently—every 3–4 days—to preserve moisture and hue.
Use cool water when rinsing, as hot water opens the cuticle and releases color molecules. Weekly deep conditioning treatments restore proteins lost during chemical processing. Consider a purple shampoo once a week if you have blonde or gray hair to neutralize brassiness.
Limit heat styling and always apply a heat protectant. UV exposure also fades color, so wear hats or use leave-in products with SPF when outdoors.
Frequently Asked Questions
Can I mix two box colors to get a custom shade?
You can—but only if they’re from the same brand and developer level. Mixing different systems can lead to unpredictable results or chemical instability. Test the blend on a strand first.
How often should I touch up my roots?
Every 4 to 6 weeks, depending on growth rate. Touch-ups should only target new growth to avoid overlapping and over-processing previously colored hair.
Is semi-permanent dye safer for frequent use?
Yes. Semi-permanent dyes coat the hair shaft rather than penetrating it, causing less damage. They fade gradually over 6–8 washes and are ideal for experimenting or toning between permanent applications.
Final Thoughts and Next Steps
Coloring your hair at home doesn’t have to be risky. With careful planning, the right tools, and attention to detail, you can achieve beautiful, healthy-looking results that rival salon visits. The secret lies in preparation, patience, and post-color maintenance.
Start small if you’re new—try a root touch-up or a demi-permanent gloss. Learn how your hair reacts before attempting major changes. And remember, when in doubt, consult a professional. Some transformations are worth the investment.
💬 Have a successful at-home coloring story or a lesson learned the hard way? Share your experience in the comments—your insight could help someone avoid a costly mistake!