Finding the perfect pair of shoes often comes down to fit—and even when style and color align with your taste, discomfort from tightness can ruin the experience. Whether they’re new leather boots, stiff sneakers, or formal dress shoes, many footwear styles require a break-in period. Wearing ill-fitting shoes isn’t just unpleasant; it can lead to blisters, calluses, and long-term foot issues. The good news is that you don’t have to suffer through weeks of discomfort. With the right techniques, you can safely relax and soften tight shoes at home, restoring comfort without damaging the material or structure.
Understanding Why Shoes Feel Tight
Shoes feel tight for several reasons: materials like full-grain leather or synthetic uppers are naturally rigid when new, especially in structured styles such as oxfords, ankle boots, or hiking footwear. Additionally, temperature and humidity affect how materials respond to pressure—cold leather contracts, while warm, moist environments encourage expansion. Foot swelling throughout the day also plays a role, making shoes that fit perfectly in the morning feel constricting by evening.
It’s important to distinguish between temporary tightness and poor sizing. If your toes are consistently jammed against the front or you feel pinching on the sides, the shoe may simply be too small. However, if the shoe fits well in length but feels snug across the instep or heel, targeted softening techniques can help mold the shoe to your foot.
“Most quality shoes are designed to conform to the wearer’s foot over time. The key is encouraging that process safely.” — Daniel Ruiz, Shoemaking Artisan & Footwear Consultant
Step-by-Step Guide to Soften Shoes at Home
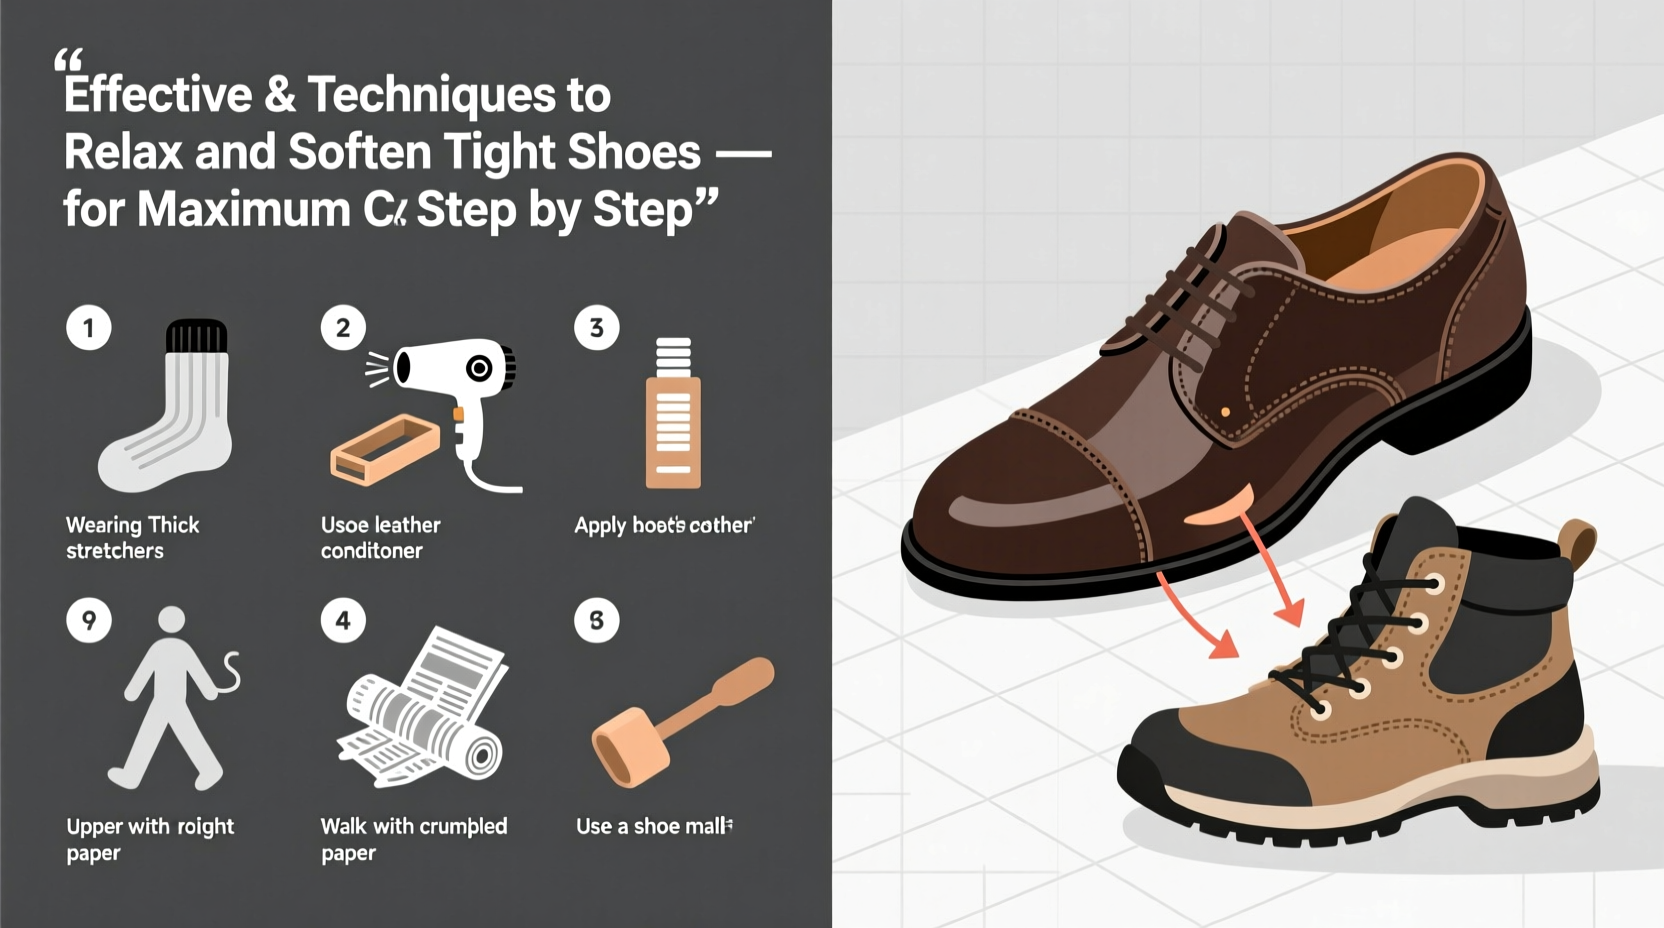
Softening tight shoes doesn’t require expensive tools or professional services. Most effective methods use household items and leverage natural material properties. Below is a detailed timeline of actions you can take to gradually loosen shoes without compromising durability.
- Wear Them Indoors with Thick Socks (Days 1–3): Put on a pair of thick wool or thermal socks and wear the shoes around the house for 30–60 minutes daily. The added volume stretches the upper slightly while heat from your feet softens fibers.
- Apply a Leather Conditioner (Day 4): For leather shoes, apply a small amount of leather conditioner to areas that press against your foot. This hydrates the material, increasing pliability.
- Use a Hairdryer While Wearing (Day 5): Put on thick socks, wear the shoes, and use a hairdryer on medium heat to warm tight spots for 20–30 seconds. Walk in them until they cool. Heat opens pores in leather and synthetics, allowing them to stretch as they cool under tension.
- Freeze Method for Non-Wearable Stretching (Optional, Day 6): Fill two sealable plastic bags with water, place them inside the shoes where tightness occurs, then freeze overnight. As water expands into ice, it gently pushes outward, stretching the upper.
- Repeat and Assess (Days 7+): After a week, test the fit during normal activity. Repeat conditioning or heat application as needed.
Material-Specific Techniques for Maximum Effectiveness
Different shoe materials respond uniquely to stress and moisture. Using the wrong method can damage delicate fabrics or leave permanent creases. The table below outlines recommended approaches based on common shoe materials.
| Material | Safe Softening Methods | Avoid |
|---|---|---|
| Full-Grain Leather | Leather conditioner + heat molding, wear with thick socks, shoe trees | Excessive water soaking, direct flame |
| Suede/Nubuck | Steam treatment, specialized suede brush, gradual wear | Water immersion, standard leather conditioners |
| Synthetic Uppers | Heat molding with socks, short indoor wear sessions | Freezing method, oil-based products |
| Cloth/Fabric (e.g., canvas) | Damp cloth wrap, light wear while damp, freezing method | Heat guns, heavy conditioning |
| Knit/Engineered Mesh | Gradual wear only – minimal stretching possible | All aggressive methods; these materials resist structural change |
For example, suede shoes benefit from gentle steam exposure. Hold the shoe 6–8 inches from a steamer for 10–15 seconds per panel, then immediately wear with thick socks for 20 minutes. The moisture relaxes the nap without saturating the material.
Common Mistakes That Worsen Discomfort
Many people rush the break-in process, leading to irreversible damage. Avoid these pitfalls:
- Skipping socks to force stretch: This causes friction burns and accelerates material fatigue.
- Using alcohol-based sprays: These dry out leather and reduce suppleness over time.
- Over-wetting shoes: Soaking can weaken adhesives, cause sole separation, or lead to odor-causing mildew.
- Ignoring shoe trees: Cedar shoe trees absorb moisture and maintain shape during the softening process, preventing collapse in the arch or heel cup.
Real Example: Breaking in Hiking Boots for a Long Trail
Mark, an avid hiker, purchased a new pair of full-grain leather hiking boots for an upcoming 7-day trek. On his first test walk, he developed blisters on both heels after just two hours. Instead of returning them, he followed a structured softening routine over 10 days. He wore the boots indoors with thick hiking socks for increasing durations, applied mink oil every other day, and used a hairdryer to warm the ankle collar before walking. By day eight, he completed a 5-mile trail hike with no pain. “The boots now feel molded to my feet,” he said. “They supported me all week with zero hot spots.”
Essential Checklist for Safe Shoe Softening
Follow this checklist to ensure you’re relaxing your shoes effectively and safely:
- ✅ Identify the shoe material before selecting a method
- ✅ Use thick socks during indoor wear sessions
- ✅ Apply appropriate conditioner for leather or suede
- ✅ Limit direct heat exposure to under 30 seconds per area
- ✅ Try the freezer method for spot-specific stretching
- ✅ Insert shoe trees when not wearing to maintain shape
- ✅ Test fit frequently—stop if seams begin to lift or crack
FAQ
Can I speed up the softening process without damaging my shoes?
Yes, combining controlled heat and moisture accelerates softening. Wear the shoes with damp socks (not soaked) for 20–30 minutes. The combination of body heat and slight moisture helps fibers relax faster. Do not exceed two sessions per day to avoid over-saturation.
How long does it typically take to break in tight shoes?
Most shoes improve noticeably within 3–7 days of consistent, careful use. Full break-in may take 2–4 weeks depending on material thickness and frequency of wear. High-quality leather often takes longer to mold but provides superior long-term comfort.
Are shoe stretch sprays worth using?
Some sprays containing ethanol and conditioners can help, but results vary. They work best on smooth leathers and should be paired with wearing the shoes immediately after application. Avoid cheap sprays with high alcohol content—they dry out materials. Always patch-test first.
Final Thoughts: Comfort Is Within Reach
Tight shoes don’t have to mean months of discomfort. With patience and the right approach, you can transform stiff, unyielding footwear into a comfortable extension of your stride. The key lies in understanding your shoe’s material, applying gradual pressure and moisture, and avoiding shortcuts that compromise integrity. Whether you're preparing for a wedding, hitting the trails, or stepping into a new workweek, properly softened shoes make all the difference.
💬 Have a favorite trick for breaking in tough shoes? Share your experience in the comments and help others find relief from tight footwear!