Plush keychains have become more than just accessories—they’re personal statements, comfort objects, and expressions of individuality. Whether it’s a tiny panda, a retro game character, or a custom-made pet replica, these soft charms bring joy to daily routines. But attaching them securely to a backpack without compromising durability or risking damage is a common challenge. Many people resort to flimsy key rings or clips that loosen over time, leading to lost favorites. The solution lies in combining creativity with structural reliability. This guide explores practical, stylish, and long-lasting methods to keep your plush keychain safely displayed.
Why Secure Attachment Matters
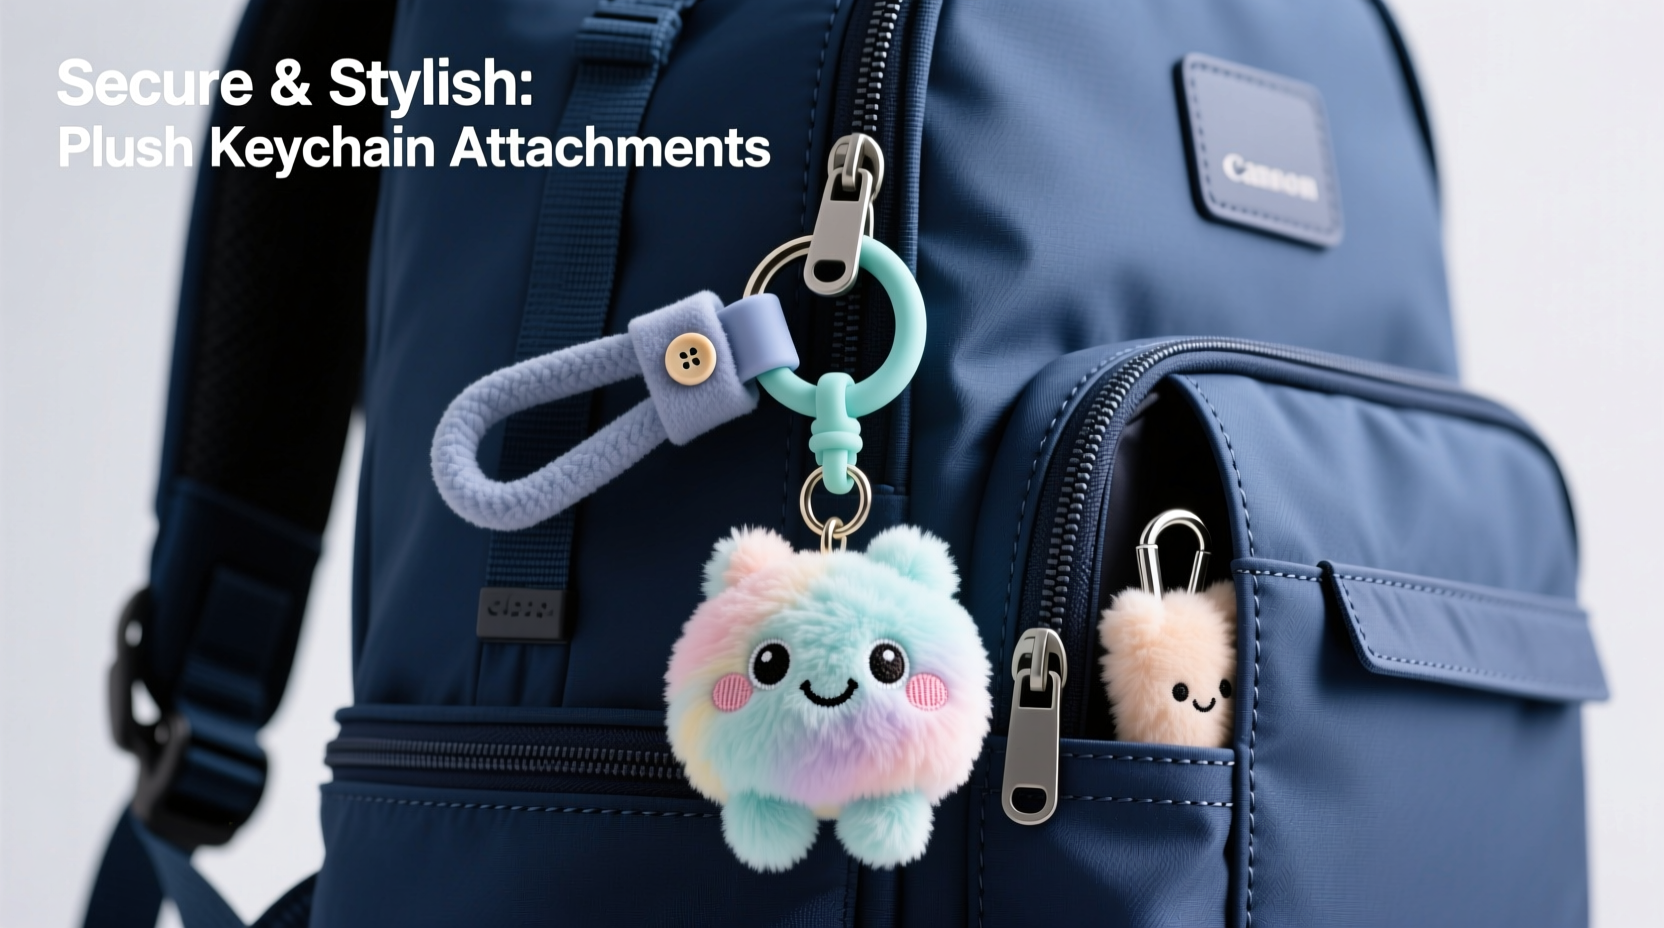
A loosely attached plush keychain isn’t just inconvenient—it can be heartbreaking when a sentimental item is lost. Backpacks endure constant movement, friction, and environmental exposure. Zippers snag, straps shift, and crowded spaces increase the risk of detachment. A secure attachment prevents:
- Loss during transit (commutes, travel, school)
- Damage from repeated tugging or snagging
- Wear on the plush material from rubbing against fabric
- Accidental unclipping due to poor hardware
The goal is to maintain both aesthetic appeal and functional resilience. A well-attached plush should stay visible, intact, and firmly in place through daily use.
Tip: Always test the strength of any attachment method by gently tugging the plush after installation—simulate real-world movement before relying on it.Creative & Secure Attachment Methods
1. Lanyard Loop with Reinforced Stitching
Instead of relying solely on a small metal ring, integrate a lanyard-style loop made from nylon webbing or grosgrain ribbon. Sew this loop directly into the top seam of the plush, reinforcing it with triple stitching. Then thread the loop through a backpack zipper pull or D-ring.
This method distributes weight evenly and reduces stress on a single point. It also allows for easy swapping between bags.
2. Carabiner + Key Fob Adapter
Use a miniature stainless steel carabiner clipped to a reinforced loop on the plush. Attach a silicone or leather key fob sleeve around the carabiner to prevent noise and reduce wear on the backpack’s fabric.
Carabiners offer superior grip and locking mechanisms (especially twist-lock versions), making them ideal for active users. Choose a compact size (1–1.5 inches) to avoid bulkiness.
3. Magnetic Snap Integration
Sew two lightweight magnetic snaps—one into the plush, one onto a small fabric patch—then attach the patch permanently to the backpack. This allows for quick attachment and removal while maintaining strong hold.
Ideal for frequent changes or seasonal plush displays. Ensure magnets are fully enclosed to prevent ingestion hazards and fabric abrasion.
“Magnetic closures are gaining popularity in accessory design because they balance convenience and security—when properly installed.” — Lena Park, Soft Goods Engineer at Urban Gear Labs
4. Braided Paracord Tether
Create a short (3–4 inch) tether using braided paracord knotted at both ends. Attach one end to the plush’s loop using a double half-hitch knot, and the other to a backpack D-ring. Paracord is abrasion-resistant and holds knots exceptionally well.
Add a bead or charm along the cord for customization. This method adds a rugged, outdoor-inspired look while ensuring the plush stays within reach even if partially detached.
5. Zipper Pull Replacement
Remove the original zipper pull from a side pocket or main compartment and replace it with the plush keychain. Use pliers to open a jump ring, slide it through the zipper slider, then close it around the plush’s attachment loop.
This keeps the plush functional as part of the bag’s mechanism, reducing flopping and increasing visibility. Best suited for smaller plushes that won’t interfere with zipper operation.
Step-by-Step: Installing a Reinforced Loop System
For plush toys without a durable built-in loop, upgrading the attachment point is essential. Follow this process to ensure longevity:
- Evaluate the plush’s top seam—identify where internal stitching connects the head to the body.
- Cut a 2-inch strip of nylon webbing or sturdy ribbon (preferably 1/4 inch wide).
- Fold the ends under and hand-stitch the strip into a loop using waxed polyester thread.
- Position the loop over the existing seam and sew through all layers with a backstitch every 2–3 mm.
- Knot securely and apply clear nail polish to the thread ends to prevent fraying.
- Allow 24 hours for adhesive to cure before attaching to the backpack.
This reinforcement transforms a weak factory loop into a load-bearing anchor capable of withstanding years of use.
Do’s and Don’ts: Plush Keychain Attachment Guide
| Do’s | Don’ts |
|---|---|
| Use UV-resistant thread to prevent sun degradation | Attach oversized plushes that drag on the ground |
| Inspect attachments monthly for wear | Rely on thin plastic connectors or novelty clips |
| Match attachment strength to daily activity level | Place plushes near sharp zippers or buckles |
| Rotate plushes seasonally to reduce wear | Wash the backpack with plush still attached |
| Choose hypoallergenic fabrics if carried frequently | Ignore signs of loose stitching or stretched loops |
Real Example: Maya’s Travel Companion Solution
Maya, a college student and avid traveler, lost her favorite cat plush twice during semester commutes. After the second loss, she redesigned her attachment system. She removed the plush’s flimsy plastic ring and replaced it with a hand-sewn nylon loop. She then attached a micro carabiner with a silicone sleeve to her backpack’s hydration port loop.
The new setup held through bus rides, hiking trips, and airport security checks. Over 18 months, the plush remained intact and secure. “It’s not just about keeping it from falling off,” she said. “Now it feels like part of my gear, not just something hanging on.”
Checklist: Secure Plush Keychain Setup
- ✅ Assess plush size and weight relative to backpack attachment points
- ✅ Upgrade weak loops with reinforced stitching or durable materials
- ✅ Select appropriate hardware (carabiner, lanyard, magnet, etc.)
- ✅ Test attachment strength with simulated movement
- ✅ Inspect monthly for signs of wear or loosening
- ✅ Remove before washing or exposing to moisture
- ✅ Store plush separately when not in use for extended periods
Frequently Asked Questions
Can I wash my plush if it's permanently attached?
No. Even removable attachments should be taken off before washing. Water and detergent can weaken adhesives, cause metal parts to rust, and lead to mold growth inside seams. Always detach plush keychains prior to cleaning your backpack.
What’s the maximum weight a backpack attachment can handle?
Most D-rings and zipper sliders support 2–5 lbs (0.9–2.3 kg) under static load. However, dynamic forces (like swinging or bumping) multiply stress. For plush keychains, aim to stay under 6 oz (170 g) for optimal safety and fabric preservation.
Are magnetic attachments safe for electronics?
Small, low-strength magnets used in plush attachments pose minimal risk to phones or laptops. However, avoid placing magnetic pairs directly over device pockets. Modern electronics are largely shielded, but caution is advised with older models or medical devices.
Final Thoughts: Make It Personal, Keep It Secure
A plush keychain is more than decoration—it’s a piece of identity, memory, or emotional comfort. Attaching it thoughtfully reflects respect for its value and ensures it lasts through adventures. By combining clever engineering with personal style, you can create a display that’s both eye-catching and dependable.
Whether you choose a minimalist carabiner, a hidden magnetic snap, or a handcrafted paracord tether, the key is intentionality. Invest time in strengthening weak points, choosing quality materials, and inspecting regularly. These small efforts preserve what matters most.
💬 How do you keep your plush keychains secure? Share your favorite method or DIY hack in the comments—your idea might inspire someone else to protect their beloved companion!