A clean car isn’t just about curb appeal—it directly affects your driving experience, air quality, and even resale value. Over time, crumbs, dust, pet hair, spilled drinks, and UV exposure take a toll on your vehicle’s interior. A surface wipe-down won’t cut it anymore. What you need is a comprehensive deep clean that restores freshness, eliminates odors, and brings back that showroom shine. This guide walks you through every step, tool, and technique necessary to achieve a truly revitalized car interior—no professional detailing required.
Why Deep Cleaning Your Car Interior Matters
Your car’s cabin is a high-touch environment. You spend hours inside it, breathing recirculated air, touching surfaces coated in oils from your hands, and tracking in dirt from shoes. Studies by the American Automobile Association (AAA) show that the average vehicle interior harbors more bacteria than a public restroom. Beyond hygiene, neglecting deep cleaning accelerates wear on upholstery, dashboard materials, and electronics.
Regular maintenance prevents permanent staining, cracking of leather, fading of fabrics, and lingering odors caused by mold or food residue. More importantly, a well-maintained interior boosts driver satisfaction and can increase trade-in value by up to 15%, according to Kelley Blue Book assessments.
“Most people underestimate how much grime accumulates in their car over six months. A thorough deep clean twice a year keeps materials healthy and interiors feeling luxurious.” — Daniel Ruiz, Certified Auto Detailer with 12 years of experience
Essential Tools and Supplies Checklist
Before diving into the process, gather the right tools. Using improper products can damage surfaces or leave residues. Here’s what you’ll need:
- Vacuum cleaner with crevice tool and upholstery brush
- Microfiber cloths (lint-free, at least 6)
- All-purpose interior cleaner (pH-balanced)
- Leather cleaner and conditioner (if applicable)
- Fabric & carpet cleaner (foam-based preferred)
- Soft-bristle brushes (various sizes)
- Dental picks or plastic trim tools
- Detailing brushes (narrow for vents)
- Steam cleaner (optional but highly effective)
- Glass cleaner (ammonia-free)
- Odor neutralizer (enzyme-based)
- Plastic trim restorer
Step-by-Step Deep Cleaning Process
Follow this systematic approach for maximum results without missing key areas.
- Remove all personal items: Take out floor mats, trash, phone holders, chargers, and anything loose. Empty glove compartments and center console storage.
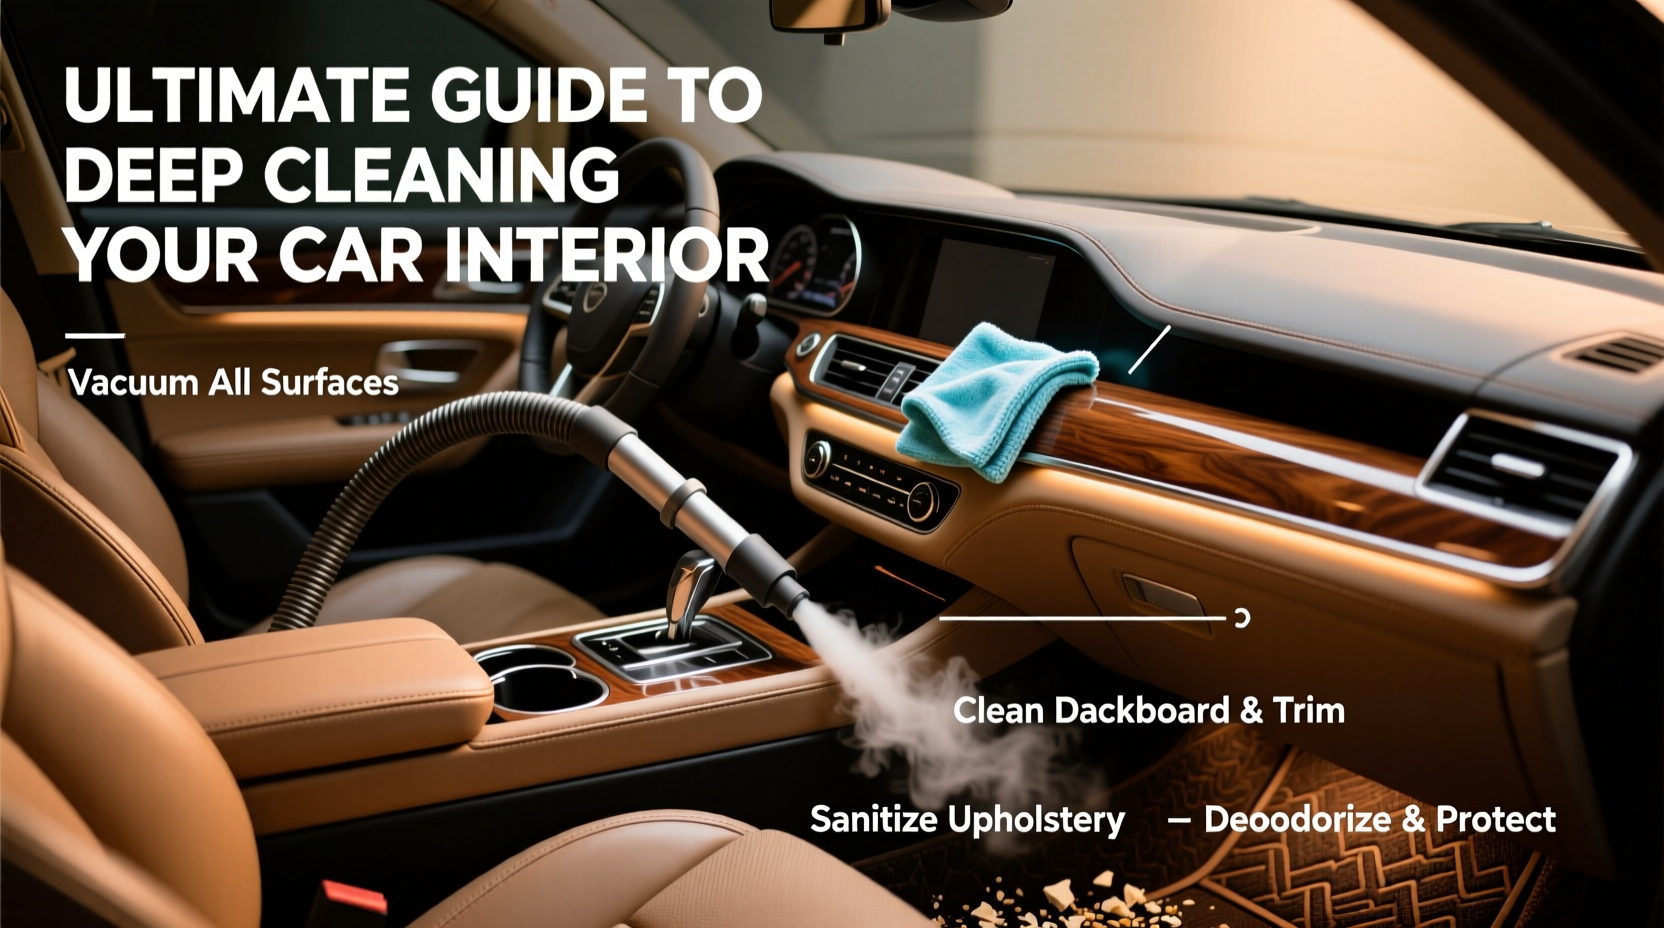
- Vacuum thoroughly: Start with seats, then move to floor mats, footwells, under seats, and between cushions. Use the crevice tool along door seams and AC vents.
- Shake out floor mats: Beat them outside if possible, then vacuum both sides. For rubber mats, rinse with water and mild soap.
- Treat stains on fabric: Apply fabric cleaner to visible spills or soiled spots. Gently agitate with a soft brush, then blot dry. Avoid soaking—excess moisture leads to mildew.
- Deep clean carpets and upholstery: Use a foam cleaner or steam extraction method. Work in small sections, allowing time to dry completely before reassembling.
- Clean hard surfaces: Wipe down dashboard, steering wheel, gear shift, door handles, and climate controls with an interior-safe cleaner. Use narrow brushes for air vents.
- Condition leather (if applicable): Clean first with a dedicated leather cleaner, then apply conditioner to prevent drying and cracking.
- Clean windows and mirrors: Spray ammonia-free glass cleaner onto a microfiber cloth—not directly on surfaces near electronics—and wipe in an “S” pattern to avoid streaks.
- Neutralize odors: Spray an enzyme-based odor eliminator into vents and seating areas. Let it sit for 10–15 minutes before airing out the cabin.
- Restore plastic trim: Apply a UV-protective trim restorer to faded black plastics to bring back depth and prevent further bleaching.
Do’s and Don’ts: Common Mistakes to Avoid
| Do’s | Don’ts |
|---|---|
| Use microfiber cloths to avoid scratches | Use paper towels—they leave lint and can scratch |
| Apply cleaners to cloth, not directly on surfaces | Spray liquids near electrical components (e.g., dash buttons) |
| Let wet surfaces air-dry fully before closing doors | Trap moisture inside closed vehicles—leads to mold |
| Condition leather every 3–6 months | Use household furniture polish on car interiors |
| Vacuum weekly to reduce buildup | Ignore cracks between seats where debris hides |
Real Example: Reviving a Neglected SUV Interior
Jenna, a mother of two, used her 2018 SUV daily for school runs, soccer practices, and grocery trips. After 18 months without a proper clean, the backseat had juice stains, crumbs were embedded in floor mats, and the cabin emitted a sour milk smell. She attempted quick wipes but saw no improvement.
Following this guide, she spent one Saturday removing all contents, vacuuming deeply with attachments, and using a foam fabric cleaner on the seats. She cleaned each vent slat individually with a toothbrush and applied a leather conditioner to the steering wheel and armrests. After treating the entire interior, she sprayed an enzyme odor eliminator and left the doors open to ventilate.
The result? Her husband didn’t recognize the inside. The smell disappeared, surfaces looked renewed, and she reported feeling more relaxed during drives. Six months later, she maintains cleanliness with bi-weekly vacuuming and monthly wipe-downs.
FAQ: Common Questions About Car Interior Cleaning
How often should I deep clean my car interior?
At minimum, perform a full deep clean twice a year. If you have pets, children, or eat frequently in the car, consider quarterly sessions. High-use vehicles may benefit from four times per year.
Can I use household cleaners like Windex or Clorox wipes?
No. Most household cleaners contain ammonia or alcohol that can degrade dashboard plastics, cause screen hazing, or strip protective coatings. Always use automotive-specific products designed for sensitive interior materials.
Is steam cleaning safe for car interiors?
Yes, when done correctly. Steam cleaning effectively sanitizes fabric, kills bacteria, and lifts grime without chemicals. However, avoid oversaturating materials. Use low-pressure settings and allow ample drying time—ideally 2–4 hours with windows slightly open.
Final Tips for Long-Term Interior Care
Deep cleaning is only part of the equation. Sustaining results requires consistent habits:
- Keep a mini cleaning kit in your trunk: microfiber cloth, wipes, and a small vacuum.
- Use sunshades in hot climates to reduce UV damage to dashboards.
- Place floor liners under all seats to trap dirt and simplify cleanup.
- Wipe down high-touch areas weekly—steering wheel, gear knob, touchscreen.
- Avoid eating in the car when possible; if necessary, clean immediately after.
Conclusion: Drive Proud with a Pristine Interior
Your car’s interior reflects your standards. With the right tools, timing, and attention to detail, achieving a fresh, like-new finish is entirely within reach. This isn’t just about aesthetics—it’s about creating a healthier, more enjoyable space every time you turn the key. Whether you’re preparing to sell, boosting daily comfort, or simply taking pride in ownership, a deep-cleaned cabin makes all the difference.
🚀 Start this weekend. Dedicate a few hours to transform your car’s interior. Share your before-and-after story in the comments—your journey might inspire someone else to reclaim their ride.