
Air trapped inside a water pump or its associated piping can severely impact performance, leading to reduced flow, overheating, and even mechanical failure. Known as \"air binding,\" this issue prevents the pump from creating proper suction and pressure, forcing it to work harder than necessary. Over time, this strain shortens the lifespan of internal components like seals and impellers. Bleeding air from your water pump is a simple yet essential maintenance task that restores efficiency and prevents costly repairs. Whether you're managing a residential well system, irrigation setup, or industrial application, understanding how to properly purge air ensures consistent, reliable operation.
Why Air Accumulation Is a Serious Problem
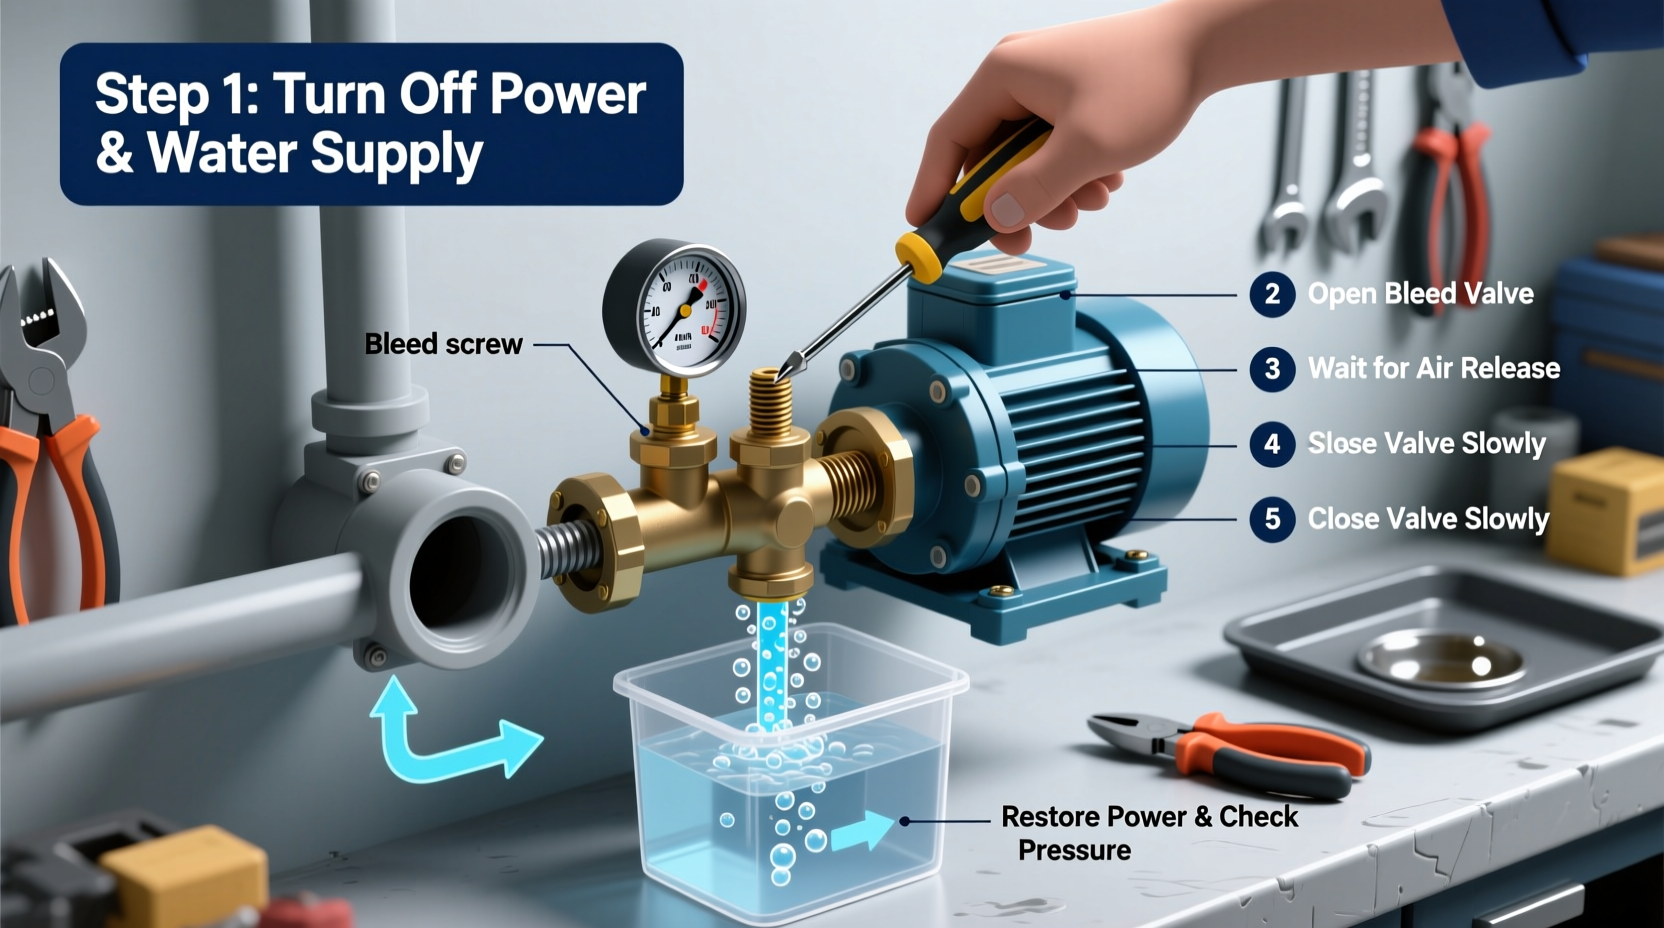
Water pumps rely on a continuous column of liquid to function efficiently. When air enters the system—through leaks, low water levels, or improper priming—it breaks this liquid seal. Since air is compressible and water is not, the pump cannot generate the vacuum needed to draw in more water. This results in cavitation, where vapor bubbles form and collapse violently inside the pump, eroding metal surfaces and generating noise and vibration.
Common signs of air in the system include:
- Pump runs but delivers little or no water
- Intermittent water flow with spurting or sputtering
- Loud humming, grinding, or clicking noises
- Excessive heat buildup in the motor housing
- Frequent cycling on and off without delivering pressure
If left unaddressed, these symptoms can lead to premature seal failure, bearing wear, and complete pump burnout. Regular bleeding helps maintain hydraulic integrity and extends equipment life.
Tip: Always shut off power before working on or near the pump to prevent accidental startup and injury.Tools and Materials You’ll Need
Bleeding a water pump doesn’t require specialized tools, but having the right items on hand makes the process faster and safer. Gather the following before beginning:
| Item | Purpose |
|---|---|
| Adjustable wrench or pliers | To open and close bleed screws or fittings |
| Screwdriver (flathead or Phillips) | For accessing certain pump covers or plugs |
| Bucket or hose | To capture water during purging |
| Rag or towel | For wiping up spills and checking for leaks |
| Safety gloves and goggles | Protection from pressurized water and debris |
Ensure all connections are accessible and free from rust or corrosion. If bleed valves are seized, apply penetrating oil and allow time to loosen before forcing them open.
Step-by-Step Guide to Bleeding Air from Your Water Pump
The exact procedure may vary slightly depending on whether you have a jet pump, submersible pump, or centrifugal surface pump. However, the principles remain consistent across most systems. Follow this universal sequence for safe and effective air removal.
- Turn off the power supply. Locate the circuit breaker or disconnect switch and de-energize the pump completely. Never attempt maintenance while the system is live.
- Close the discharge valve. This isolates the outlet side of the pump and prevents backflow during bleeding.
- Locate the air bleed point. Most pumps have a small brass screw or plug at the highest point on the casing—this is the vent for trapped air. Consult your manual if unsure.
- Place a container beneath the bleed screw. Loosen the screw slowly using a wrench. Expect a hiss of air followed by a trickle of water.
- Allow air to escape until water flows steadily. Once only water comes out—with no bubbles—the air has been fully purged. Tighten the screw gently to avoid stripping.
- Open the discharge valve partially. Reopen the outlet valve about halfway to allow controlled re-pressurization.
- Restore power and monitor startup. Turn the pump back on and observe for smooth operation. Listen for unusual sounds and check for steady water flow.
- Verify system pressure. If your system includes a pressure tank, ensure it reaches the cut-off pressure (typically 40–60 psi) without cycling rapidly.
If the pump still fails to prime, there may be an underlying leak in the suction line allowing air to re-enter. Inspect joints, gaskets, and foot valves carefully.
Tip: For stubborn airlocks, briefly crack open a downstream faucet to help release trapped pockets during startup.Common Mistakes to Avoid
Even experienced technicians sometimes make errors when bleeding pumps. These missteps reduce effectiveness and can introduce new problems.
| Mistake | Consequence | Best Practice |
|---|---|---|
| Skipping power shutdown | Risk of electrocution or mechanical injury | Always lock out the power source |
| Over-tightening bleed screws | Cracked housing or stripped threads | Snug only—do not force |
| Bleeding under full pressure | Uncontrolled water spray and flooding | Depressurize system first |
| Ignoring recurring air issues | Undetected suction-side leaks | Inspect pipes and seals regularly |
One frequent oversight is assuming that submersible pumps don’t need bleeding. While they’re less prone to air entry due to being fully submerged, air can still accumulate in the drop pipe or pressure tank after servicing. In such cases, opening a high-point faucet near the pressure tank allows air to escape naturally as the system refills.
“Proper venting isn’t just maintenance—it’s preventive engineering. A single ounce of air can disrupt hundreds of gallons of flow.” — Carlos Mendez, Senior Hydraulic Systems Engineer, AquaFlow Dynamics
Real-World Example: Fixing a Rural Well System
In rural Nebraska, a homeowner reported that their jet pump was running continuously but delivering weak water pressure. The system had recently undergone repair after a dry spell lowered the well level. Upon inspection, the technician noticed the pump housing was warm and water output was erratic.
Following standard diagnostics, he confirmed the impeller was intact and voltage levels normal. He then checked the priming plug and found it slightly loose. After tightening it, he bled the pump using the top-mounted vent screw. A burst of air released, followed by a steady stream of water within 30 seconds. Once reassembled and powered, the pump reached full pressure in under two minutes.
The root cause? During reassembly after servicing, the technician hadn’t fully purged the system. Residual air caused cavitation, reducing efficiency and mimicking low-water symptoms. Simple bleeding restored full function—no parts replaced.
Preventive Maintenance Checklist
To minimize future air accumulation, follow this monthly checklist:
- ✅ Visually inspect all suction-side piping for cracks or loose fittings
- ✅ Test pump startup and shutoff pressures for consistency
- ✅ Check for moisture around joints indicating micro-leaks
- ✅ Verify tank pre-charge pressure (should be 2 psi below cut-in setting)
- ✅ Open bleed valve briefly if pump has been idle for extended periods
- ✅ Ensure intake strainer is clean and submerged during low-water conditions
Integrating these checks into your routine reduces downtime and protects against unexpected failures.
Frequently Asked Questions
How often should I bleed my water pump?
Under normal conditions, bleeding is only necessary after installation, repairs, or prolonged shutdowns. However, if you notice performance drops or noisy operation, perform a quick check—even partial air pockets can degrade efficiency over time.
Can I bleed a submersible pump the same way?
Not directly. Submersible pumps are sealed units located deep in the well. Instead, let the system run with a nearby faucet open after power restoration. This allows air in the drop pipe to escape gradually through the plumbing. If air persists, suspect a faulty check valve or leaking coupling.
What if bleeding doesn’t solve the problem?
If the pump still won’t prime, investigate potential sources of air ingress: cracked suction lines, worn O-rings, damaged shaft seals, or a defective foot valve. Also confirm the water source level hasn’t dropped below intake depth. Persistent issues may require professional diagnostics.
Final Thoughts and Action Steps
Maintaining peak performance in any water pumping system starts with attention to detail. Air may seem insignificant, but its presence undermines everything from energy efficiency to equipment longevity. By mastering the technique of proper air bleeding and incorporating regular inspections, you protect your investment and ensure uninterrupted water delivery.
Don’t wait for symptoms to escalate. Take action now: locate your pump’s bleed point, verify tool availability, and schedule a test purge—even if the system seems fine. Proactive care today prevents emergency calls tomorrow.
💬 Have experience troubleshooting air-bound pumps? Share your insights or questions in the comments—your knowledge could help others keep their systems running smoothly!